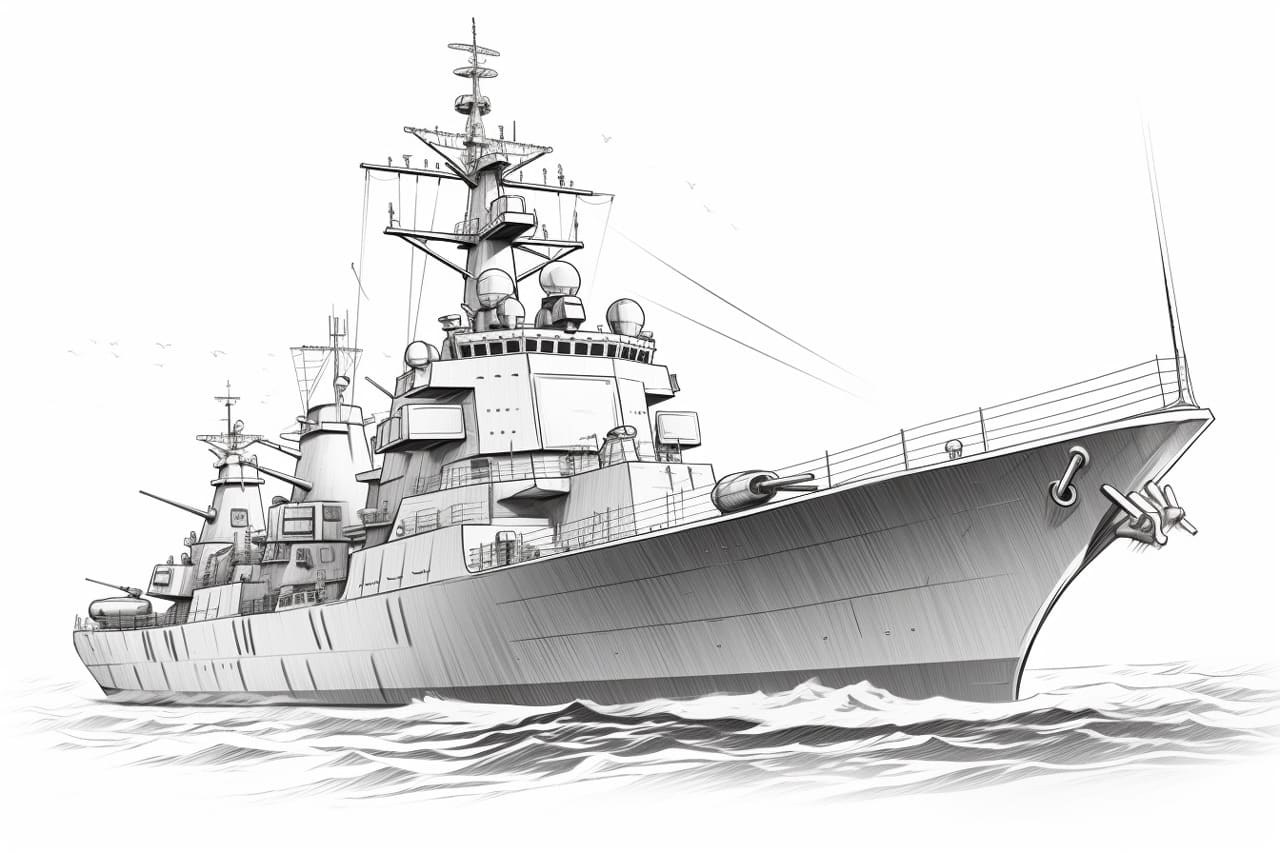
Welcome to this step-by-step guide on how to draw a battleship. Whether you are an aspiring artist or simply want to explore your creative side, drawing can be a fun and rewarding activity. In this tutorial, we will walk you through the process of creating your very own battleship drawing. So, let’s dive in!
Materials Required
Before we begin, let’s gather the materials you will need for this drawing tutorial:
- Drawing paper or sketchbook
- Pencil
- Eraser
- Fine-tip marker or pen
- Ruler
- Compass (optional)
- Colored pencils or markers (optional)
Now that you have all your materials ready, let’s get started on drawing a battleship!
Step 1: Sketch the Basic Shape
Start by lightly sketching a horizontal rectangle in the center of your paper. This will serve as the body of the battleship. Make sure to leave enough space on the sides and top for the various components of the ship.
Step 2: Draw the Bow and Stern
Next, draw the bow (front) and stern (back) of the battleship. The bow should have a pointed shape, while the stern can be squared off. Add curved lines to connect the bow and stern to the sides of the rectangle.
Step 3: Outline the Deck
Outline the top of the battleship to create the deck. Add a series of horizontal lines to represent different levels of the ship. You can make these lines straight or slightly curved, depending on the style you prefer.
Step 4: Add the Bridge
Draw a small rectangle near the front of the ship to represent the bridge. This is where the captain and crew members control the battleship. Add smaller rectangular shapes on top of the bridge to indicate windows or other details.
Step 5: Create the Superstructure
Extend upward from the bridge to create the superstructure of the ship. This is the area where additional equipment and structures are located. Use straight lines and geometric shapes to add depth and dimension to the superstructure.
Step 6: Design the Funnel
Add a large rectangular shape towards the rear of the battleship to represent the funnel. This is where smoke and gases are released from the ship’s engines. You can make the funnel wider at the base and taper it towards the top.
Step 7: Draw the Mast and Antennas
Extend a vertical line from the rear of the ship to create the mast. This structure supports antennas and communication devices. Add smaller lines and shapes to indicate antennas and other equipment on the mast.
Step 8: Sketch the Gun Turrets
Draw circular or cylindrical shapes on either side of the battleship to represent the gun turrets. Battleships often have multiple turrets, so feel free to add more if you’d like. Add smaller details to the turrets, such as gun barrels or hatches.
Step 9: Add Details and Features
Now it’s time to add smaller details and features to your battleship drawing. You can include elements like lifeboats, radar equipment, railings, or any other details you find interesting. Use reference images or your imagination to make your battleship unique.
Step 10: Refine and Ink the Drawing
Once you are satisfied with the sketch, trace over the final lines of your battleship drawing with a fine-tip marker or pen. Be careful and take your time to achieve clean and precise lines. Let the ink dry, and erase any remaining pencil marks.
Step 11: Color Your Drawing (Optional)
If you prefer, you can add color to your battleship drawing using colored pencils or markers. Research different battleships or use your imagination to choose an appropriate color scheme. Add shading and highlights to make your drawing more realistic and vibrant.
Conclusion
Congratulations! You have successfully learned how to draw a battleship. By following these step-by-step instructions, you have created your own unique piece of artwork. Remember, practice is key to improving your drawing skills, so keep exploring new subjects and techniques. Have fun, and enjoy your artistic journey!