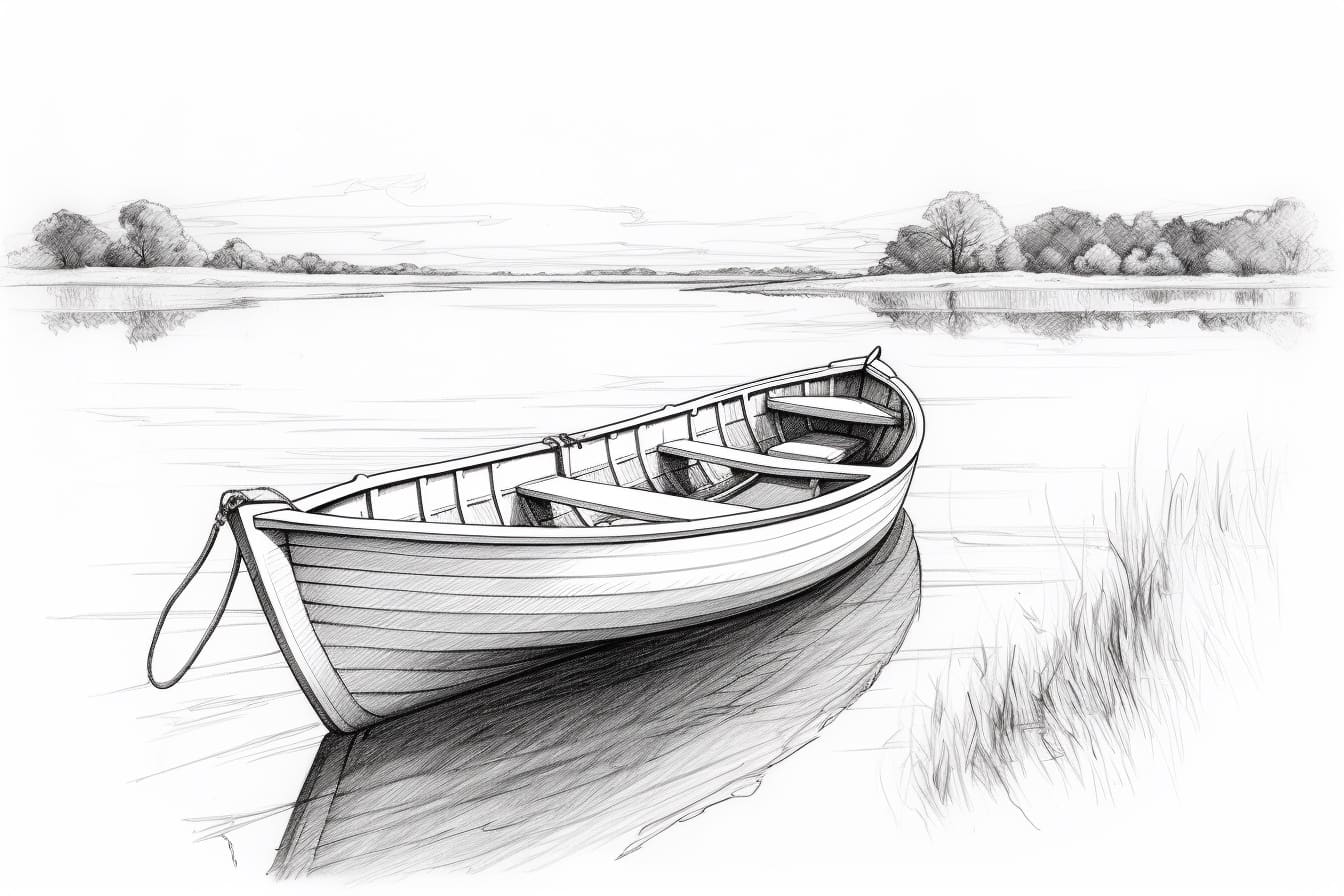
Drawing is a wonderful hobby that allows you to express your creativity and bring your imagination to life. If you’re looking to enhance your drawing skills, why not try drawing a rowboat? Rowboats are simple yet charming watercraft that can be a great addition to any artwork. In this step-by-step guide, we will walk you through the process of drawing a rowboat, from the basic structure to the intricate details. So grab your drawing tools and let’s get started!
Materials Required
Before we dive into the steps, let’s gather the materials you’ll need to complete this drawing:
- Pencil: Use a pencil with a soft lead, such as an HB or 2B, for easy shading and erasing.
- Eraser: A good quality eraser will help you correct any mistakes or stray lines.
- Paper: Choose a smooth, heavyweight paper that can handle pencil shading without smudging.
- Ruler: A ruler will assist you in drawing straight lines and maintaining proportion.
- Fine-tip pens or markers: These will come in handy for adding finer details and outlining your drawing.
- Reference Image: Find a clear image of a rowboat to use as a visual reference.
Now that we have everything we need, let’s begin the process of drawing a rowboat!
Step 1: Sketching the Basic Shape
Start by lightly sketching an elongated oval shape to serve as the body of the rowboat. This shape will determine the overall size and proportions. Next, draw a horizontal line across the middle of the oval to act as the waterline. This line will help you position the rowboat correctly in the drawing.
Step 2: Adding the Hull and the Bow
Using the basic oval shape as a guide, start drawing the hull of the rowboat. Make the bottom of the hull slightly flat and widen it towards the bow (front) of the boat. The bow should have a pointed shape resembling a triangle. To achieve this, draw two lines that converge at the tip of the bow.
Step 3: Creating the Stern
Next, draw the stern (back) of the rowboat. It should have a slightly curved shape that tapers towards the waterline. The stern should be shorter and narrower compared to the bow. Draw a gently curved line that connects the back of the hull to the waterline to complete the stern.
Step 4: Adding the Seats
Rowboats typically have one or more seats positioned across the width of the boat. To draw the seats, sketch two parallel lines inside the hull, towards the center. These lines should be slightly curved to follow the shape of the boat. Add horizontal lines across the seats to indicate the wooden planks.
Step 5: Drawing the Oars
Now it’s time to draw the oars for the rowboat. Start by drawing two long, vertical lines extending from the seats towards the waterline. These lines will represent the handles of the oars. Then, draw two shorter lines extending horizontally from the handles to form the blades of the oars. Remember to curve the blades slightly to give them a realistic shape.
Step 6: Adding Details
To make your rowboat come to life, it’s important to add some details. Draw a small rectangular shape at the stern of the boat to represent the rudder. You can also add a few oarlocks along the sides of the rowboat, near the seats, by drawing small circles or rectangles. Don’t forget to add some textures, such as lines or cross-hatches, to create the appearance of wooden planks on the boat.
Step 7: Outlining and Shading
Once you are satisfied with the basic structure and details, it’s time to outline your drawing. Use a fine-tip pen or marker to carefully trace over the pencil lines, emphasizing the shape of the rowboat and its various elements. After outlining, erase any remaining pencil marks to clean up the drawing.
To add depth and dimension, you can also shade certain areas of your rowboat drawing. Identify the areas where shadows would naturally fall, such as the underside of the hull or the space beneath the seats, and add some light shading using your pencil. Gradually build up the shading by applying more pressure to the pencil where the shadows are darkest.
Conclusion
Congratulations! You have successfully learned how to draw a rowboat. By following these step-by-step instructions and using your creativity, you can create realistic and captivating rowboat drawings. Remember to practice regularly and experiment with different techniques to further enhance your drawing skills. Happy drawing!


