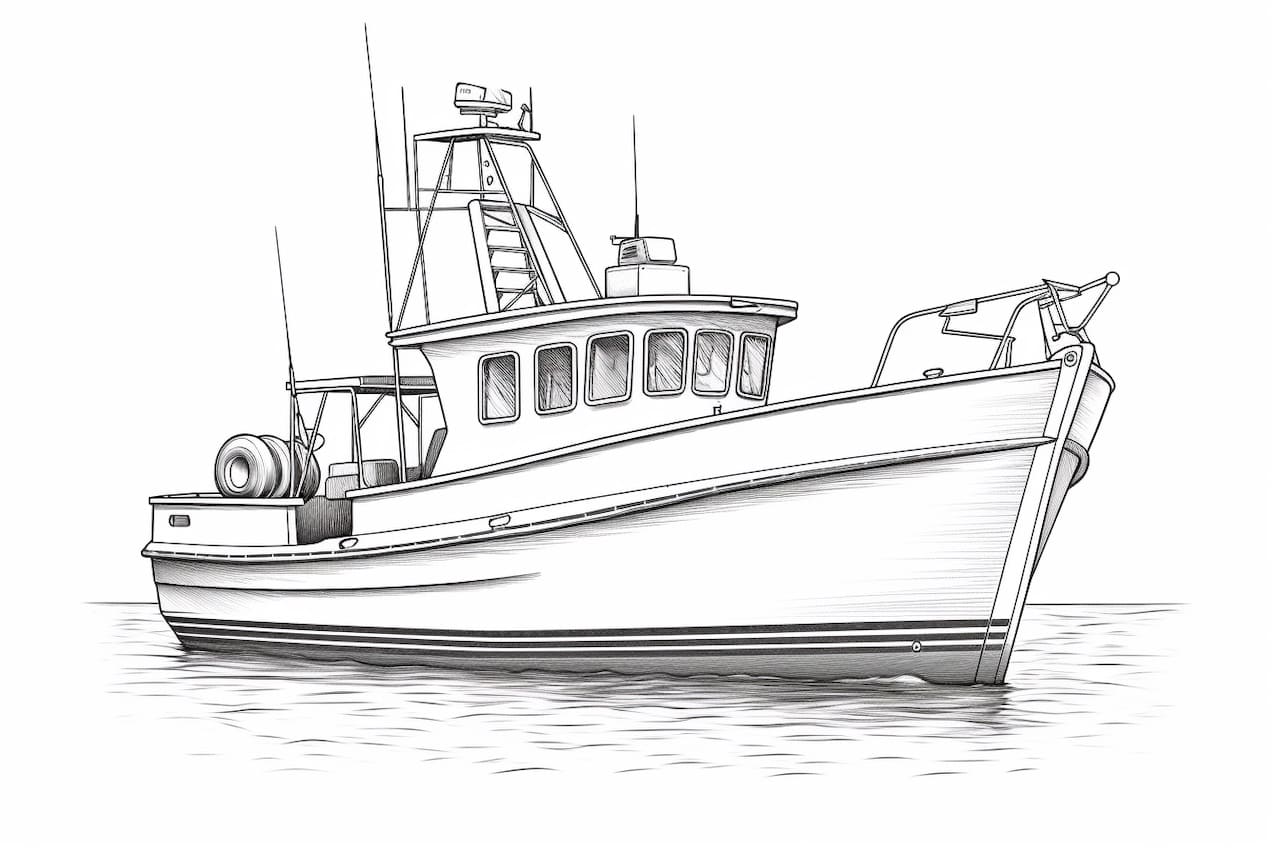
Fishing boats are a common subject for artists, as they possess an interesting and distinct shape. Drawing a fishing boat may seem challenging, but with a step-by-step approach, it can be a rewarding experience. In this article, I will guide you through the process of how to draw a fishing boat using simple and easy-to-follow instructions. So, let’s grab our pencils and get started!
Materials Required
Before we begin, gather the following materials:
- Drawing paper
- Pencil (HB or B)
- Eraser
- Ruler
- Compass
- Colored pencils (optional)
Now that we have our materials ready, let’s dive into the process of drawing a fishing boat.
Step 1: Sketching the Hull
Start by drawing a horizontal line near the bottom edge of the paper. This line will serve as the waterline. Above the waterline, draw another long horizontal line slightly curved downwards towards the ends. This line will form the hull of the fishing boat.
Step 2: Adding the Deck
Draw another horizontal line parallel to the waterline, but slightly higher up. This line represents the deck of the fishing boat. Ensure that the length of the deck is slightly shorter than the hull.
Step 3: Outlining the Bow
At the front end of the hull, sketch a triangular shape that forms the bow of the fishing boat. The bow should be slightly curved and pointed.
Step 4: Drawing the Stern
On the opposite end of the boat, draw a flat and wide shape for the stern. The stern should be rectangular and wider than the bow.
Step 5: Creating the Structure
To create the structure of the fishing boat, draw vertical lines extending upwards from the deck at regular intervals. These lines will represent the supports for the boat’s superstructure.
Step 6: Adding the Cabin
Draw a rectangular shape on top of the deck, towards the stern, to create the cabin of the fishing boat. This cabin can vary in size and shape, depending on the specific type of boat you are drawing.
Step 7: Sketching the Windows and Doors
Within the cabin, draw rectangular shapes for the windows and a larger rectangular shape for the door. You can add additional details, such as handles or portholes, to make the cabin more realistic.
Step 8: Adding Details to the Hull
To add depth and texture to the hull, draw a few horizontal lines spaced evenly along the length of the boat. These lines simulate planks and give the boat a more realistic appearance.
Step 9: Drawing the Mast and Rigging
Extend a vertical line upwards from the center of the boat. This line represents the mast. From the top of the mast, draw diagonal lines extending towards the bow and stern. These lines represent the rigging of the fishing boat. Add small triangles at the ends of these lines to symbolize the sails.
Step 10: Final Details
Now that the basic structure of the fishing boat is complete, it’s time to add some final details. You can draw oars, nets, fishing equipment, or even small seagulls flying around the boat to add more interest and realism.
Conclusion
Drawing a fishing boat may seem daunting at first, but by following these simple step-by-step instructions, you can create a beautiful representation of this unique vessel. Remember to take your time, practice, and enjoy the process of bringing this fishing boat to life on paper. Happy drawing!

