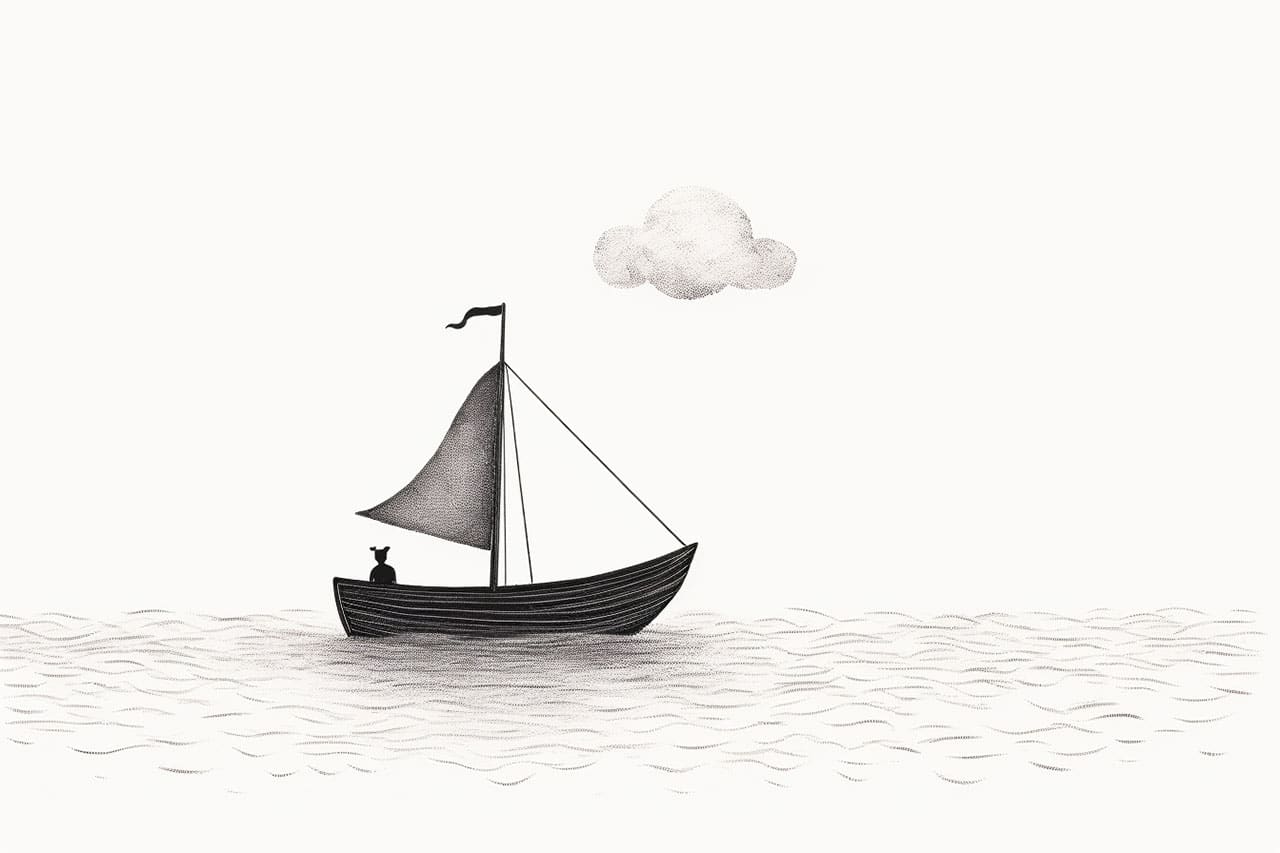
Drawing a boat can be a fun and rewarding experience, whether you are an aspiring artist or just looking for a creative way to pass the time. In this step-by-step guide, I will walk you through the process of how to draw a boat, starting with the basic shapes and gradually adding details to bring your creation to life. So grab your pencil and paper, and let’s get started!
Materials Required
Before we dive into the drawing process, let’s make sure you have all the necessary materials. Here’s what you’ll need:
- Pencil: Use a regular graphite pencil for sketching and shading.
- Paper: Choose a smooth paper that is suitable for drawing, such as a sketchbook or drawing pad.
- Eraser: Have a soft eraser handy to correct any mistakes or smudges.
- Ruler: A ruler will come in handy for drawing straight lines and measuring proportions.
- Colored pencils or markers (optional): If you want to add color to your boat drawing, you can use colored pencils or markers.
Now that you have all your materials ready, let’s begin the boat drawing process.
Step 1: Sketch the Basic Shape
Start by sketching the basic shape of the boat. Draw a horizontal line near the bottom of your paper to represent the waterline. Above the waterline, draw a slightly curved shape that resembles a narrow, elongated oval. This will be the hull of the boat.
Step 2: Add the Deck and Cabin
Next, add the deck and cabin to your boat. Draw two long, slightly curved lines parallel to the top edge of the hull to create the deck. Extend the lines slightly beyond the hull on both ends. Then, draw a rectangle shape on top of the deck to represent the cabin. The cabin can be as simple or as detailed as you like.
Step 3: Draw the Bow and Stern
Now, let’s add some details to the front and back of the boat. Draw a curved line at the front of the hull to form the bow. Make the line slightly pointed to give the boat a sleek look. At the back of the boat, draw a similar curved line to create the stern. The stern can be more rounded compared to the pointed bow.
Step 4: Define the Hull and Deck
To add depth and dimension to your boat drawing, start by defining the hull and deck. Use your pencil to shade the sides of the hull, making them slightly darker than the rest of the boat. This will create a shadow effect and give the boat a three-dimensional appearance. Shade the deck lightly, and leave some areas blank for the windows and other details.
Step 5: Add Details to the Cabin
Now it’s time to add some details to the cabin. Draw small rectangles or squares for the windows. You can also add a door, some lines to represent wooden planks, or any other details you like. Be creative and make the boat your own.
Step 6: Draw the Sail
If you want to draw a sailboat, this step is for you. Draw a long, diagonal line from the top of the mast (located on the cabin) to the back of the boat. This will be the main mast. Add a smaller line at an angle to connect the top of the main mast to the front of the boat. This will be the jib or the front sail.
Step 7: Add Finishing Touches
To complete your boat drawing, add some finishing touches. You can draw waves or ripples in the water, seagulls flying in the sky, or even a sailor standing on the deck. Use your imagination and have fun with it!
Conclusion
Congratulations! You have successfully learned how to draw a boat. By following these step-by-step instructions, you can create your own boat drawing with ease. Remember to take your time, practice, and experiment with different styles and details. Whether you want to draw a sailboat, a speedboat, or a fishing boat, the possibilities are endless. So let your creativity sail away and enjoy the process!


