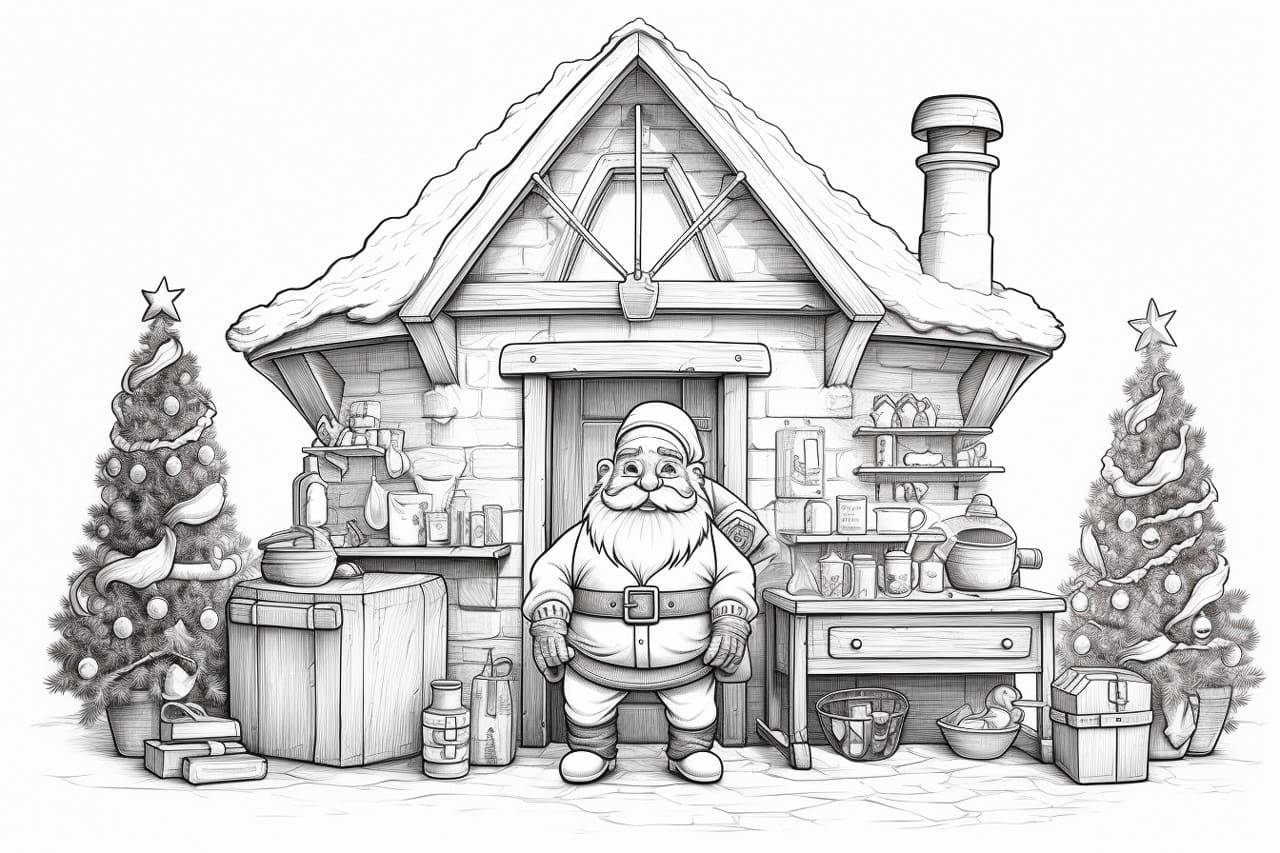
Welcome to this step-by-step guide on how to draw Santa’s Workshop! In this tutorial, we will create a festive and detailed illustration of Santa’s bustling workshop, where all the toys are made and prepared for Christmas. So, grab your drawing materials and let’s get started!
Materials Required
Before we begin, make sure you have the following materials:
- Drawing paper or sketchbook
- Pencil (preferably HB or 2B)
- Eraser
- Fine-tip markers or pens
- Colored pencils or markers (optional)
Now that everything is ready, let’s begin creating Santa’s Workshop!
Step 1: Sketch the Basic Structure
Start by lightly sketching the basic structure of Santa’s Workshop. Begin with a horizontal line near the bottom of the page to indicate the ground. Above the ground line, draw a rectangular shape to represent the main building of the workshop. Add a triangular roof to the rectangle, extending slightly beyond its edges.
Step 2: Add Windows and Doors
Next, add windows and doors to the workshop building. Draw rectangular shapes for the windows and a slightly larger rectangular shape for the main entrance door. Add small details like doorknobs or window frames if you’d like.
Step 3: Decorate the Workshop
It’s time to add some festive holiday decorations to the workshop. Drawstrings of colorful lights hang from the roof, wrapping around the windows and across the entrance. You can also add a wreath on the door and snowflakes falling from the sky.
Step 4: Draw Chimneys and Smoke
Since Santa’s Workshop is always busy, there must be some chimneys to accommodate all the hardworking elves. Draw one or two chimneys on the roof, and add some smoke rising from them. The smoke can be depicted using curvy lines that dissipate as they go higher.
Step 5: Outline the Details
Now, refine your sketch by outlining the main details of the workshop. Trace over your initial sketch with a pen or fine-tip marker to make it bold and clear. Pay attention to the lines of the building, windows, doors, and decorations. Add any extra details you’d like, such as bricks on the walls or a sign with the workshop’s name.
Step 6: Add Texture and Shading
Use hatching or cross-hatching techniques to add depth and texture to your drawing. Apply light shading to areas such as the walls, roofs, and doors to give them a three-dimensional appearance. Pay attention to the direction of light and add shading accordingly.
Step 7: Color your Drawing (Optional)
If you prefer to add color to your illustration, now is the time. Use your colored pencils or markers to bring Santa’s Workshop to life. Imagine the vibrant colors of the decorations, the green of the wreaths, and the warm tones of the bricks. Remember to work in layers and build up the colors gradually.
Step 8: Finalize Your Drawing
Once you’re satisfied with your drawing, please take a moment to review it and make any necessary adjustments or additions. Erase any stray pencil lines or streaks, and clean up the overall appearance of your artwork. You can also add some final touches, like highlights on the windows or snowflakes, using a white gel pen or colored pencils.
Conclusion
Congratulations on completing your drawing of Santa’s Workshop! You’ve captured this special place’s magical atmosphere and charm where all the holiday magic happens. Just imagine all the Christmas presents being made there. We hope you enjoyed this step-by-step guide and that it inspired your creativity. Remember, practice makes perfect, so keep drawing and exploring your artistic skills. Happy holidays! Finally, keep in mind that Santa’s Workshop isn’t much without Santa himself. Learn how to draw Santa Claus with our helpful tutorial.


