Wedding cakes are a delicious treat and a beautiful centerpiece at any wedding reception. If you are an artist or simply someone who enjoys drawing, why not try your hand at learning how to draw a wedding cake? In this step-by-step guide, I will walk you through the process of drawing a stunning wedding cake that will make a great addition to your art portfolio or as a heartfelt gift for a newlywed couple.
Materials Required
Before we begin, make sure you have the following materials ready:
- Drawing paper or sketchbook
- Pencil
- Eraser
- Fine black pen or fine-tip marker
- Colored pencils or markers (optional)
- Ruler
- Circular objects of various sizes (for drawing the tiers)
Step 1: Sketch the Outline of the Cake
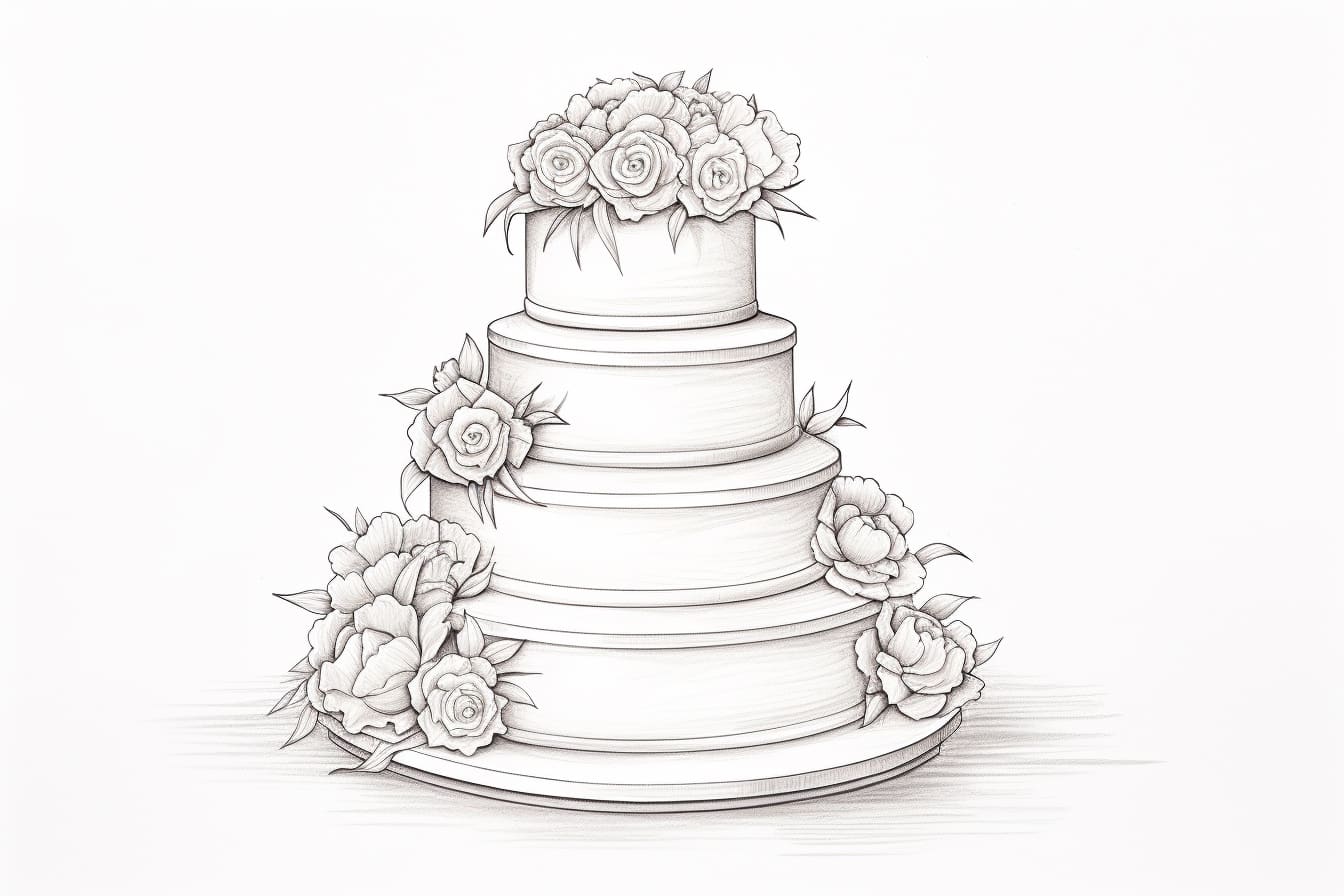
To start, take your pencil and sketch the outline of the cake on your drawing paper. Begin by drawing a rectangle that will serve as the base of the cake. This rectangle will determine the overall size and proportion of your cake. Next, draw two or three smaller rectangles on top of the base to represent the tiers of the cake. Remember to vary the sizes of the tiers to create an interesting and visually appealing cake design. Use your ruler to ensure the edges are straight and the tiers are evenly spaced.
Step 2: Add Details to the Tiers
With the basic structure in place, it’s time to add some details to the tiers of the cake. Start by drawing small, vertical lines along the edges of each tier to represent the folds of the cake layers. These lines should curve slightly to create a sense of depth and dimension. Next, add a decorative border to each tier. This can be a simple scalloped design or something more intricate like lace or floral patterns. Take your time with this step and let your creativity shine.
Step 3: Draw the Cake Stand
No wedding cake is complete without a beautiful cake stand to hold it up. Draw a long, curved line beneath the base of the cake to represent the cake stand. Make sure the line is smooth and graceful to give the illusion of elegance and stability. You can also add some decorative elements to the cake stand, such as swirls or floral motifs, to enhance its visual appeal.
Step 4: Add Embellishments and Decorations
Now it’s time to add some flair to your wedding cake drawing. Start by drawing the top tier of the cake. This can be a smaller, separate cake or a cake topper in the shape of a bride and groom. Be creative with your design, and don’t be afraid to experiment with different shapes and styles. Next, add some decorative elements to the other tiers, such as flowers, ribbons, or intricate piping designs. These details will bring your wedding cake to life and make it truly special.
Step 5: Refine and Ink the Drawing
Once you are satisfied with the overall design of your wedding cake, go over your pencil lines with a fine black pen or fine-tip marker to create bold, defined outlines. Take your time and work carefully to ensure clean and precise lines. Once the ink is dry, erase any remaining pencil lines to clean up your drawing.
Step 6: Add Color (Optional)
If you prefer a colorful wedding cake drawing, now is the time to bring out your colored pencils or markers. Start by selecting a color palette that complements the overall theme and style of the cake. Begin coloring the different tiers, paying attention to shading and highlights to create a three-dimensional look. Experiment with different coloring techniques and layering to achieve the desired effect. Don’t forget to add color to the embellishments and decorations as well.
Conclusion
Drawing a wedding cake may seem like a daunting task, but with a little patience and practice, anyone can create a beautiful representation of this beloved tradition. By following these step-by-step instructions and letting your creativity shine, you’ll be able to create a stunning wedding cake drawing that will impress your friends and family. So grab your materials and get started on your masterpiece today!