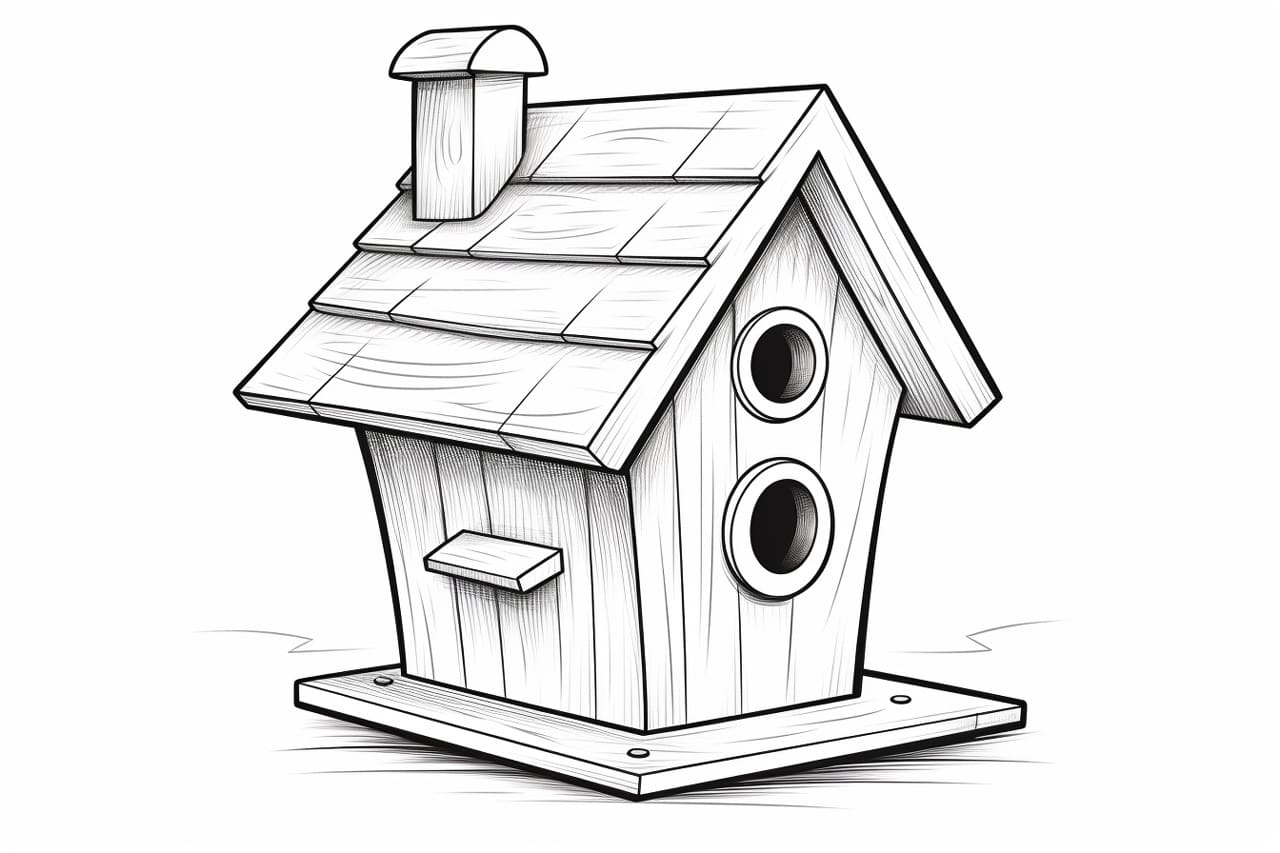
Birdhouses are not only functional, but they can also be charming decorative pieces for your garden or backyard. Learning how to draw a birdhouse is a fun and rewarding activity that allows you to unleash your creativity while honing your artistic skills. In this step-by-step guide, I will walk you through the process of drawing a birdhouse from start to finish. So grab your pencils, paper, and let’s get started!
Materials Needed:
- Paper (preferably drawing paper or sketchbook)
- Pencils (HB, 2B, and 4B)
- Eraser
- Ruler
- Compass (for drawing the circular entrance hole, optional)
- Colored pencils or markers (optional, for adding color to your drawing)
Step 1: Start with Basic Shapes
First, let’s begin by drawing the basic shapes of the birdhouse. Start with a rectangle to create the main body of the birdhouse. Use a light pencil stroke to ensure easy erasing later if needed.
Step 2: Add the Roof and Base
Next, add a triangle-shaped roof on top of the rectangle. Make sure the sides of the triangle align with the edges of the rectangle. Then, draw a rectangle at the bottom of the birdhouse to create the base.
Step 3: Draw the Entrance Hole
Now, it’s time to draw the entrance hole for the birds. You can either use a compass to create a perfect circle or draw it freehand for a more organic look. Place the entrance hole slightly below the roof, closer towards one side of the birdhouse.
Step 4: Add Perches and Details
To make your birdhouse more authentic, add perches under the entrance hole. These perches will provide birds a place to rest. Draw small rectangles or sticks, protruding from the birdhouse. Additionally, you can add windows, flowers, or any other decorative details to personalize your birdhouse.
Step 5: Refine and Erase Guidelines
Now that the basic structure is complete, refine your drawing by adding more definition and detail to the birdhouse. Use a darker pencil (2B or 4B) to outline the birdhouse and make the lines more defined. Erase any unnecessary guidelines and clean up the drawing.
Step 6: Add Texture and Shading
To give your birdhouse a more realistic look, add texture and shading. Use light pencil strokes to create wood grain on the birdhouse. Shade the areas that would be in shadow, such as under the roof or inside the entrance hole. This will add depth and dimension to your drawing.
Step 7: Optional – Add Color
If you prefer a colored birdhouse, you can use colored pencils or markers to add vibrant hues to your drawing. Experiment with different color combinations and shading techniques to bring your birdhouse to life. Remember to use light and smooth strokes to apply the colors.
Conclusion
Drawing a birdhouse allows you to unleash your creativity and create a beautiful piece of art. By following these step-by-step instructions, you can easily draw a realistic and detailed birdhouse. Enjoy the process and don’t be afraid to personalize your drawing with your own unique touches.
Remember, practice makes perfect, so keep drawing and exploring your artistic skills. Soon, you’ll be able to create more intricate birdhouse designs or even design your own!
So gather your materials and let your imagination soar as you draw your very own birdhouse masterpiece!