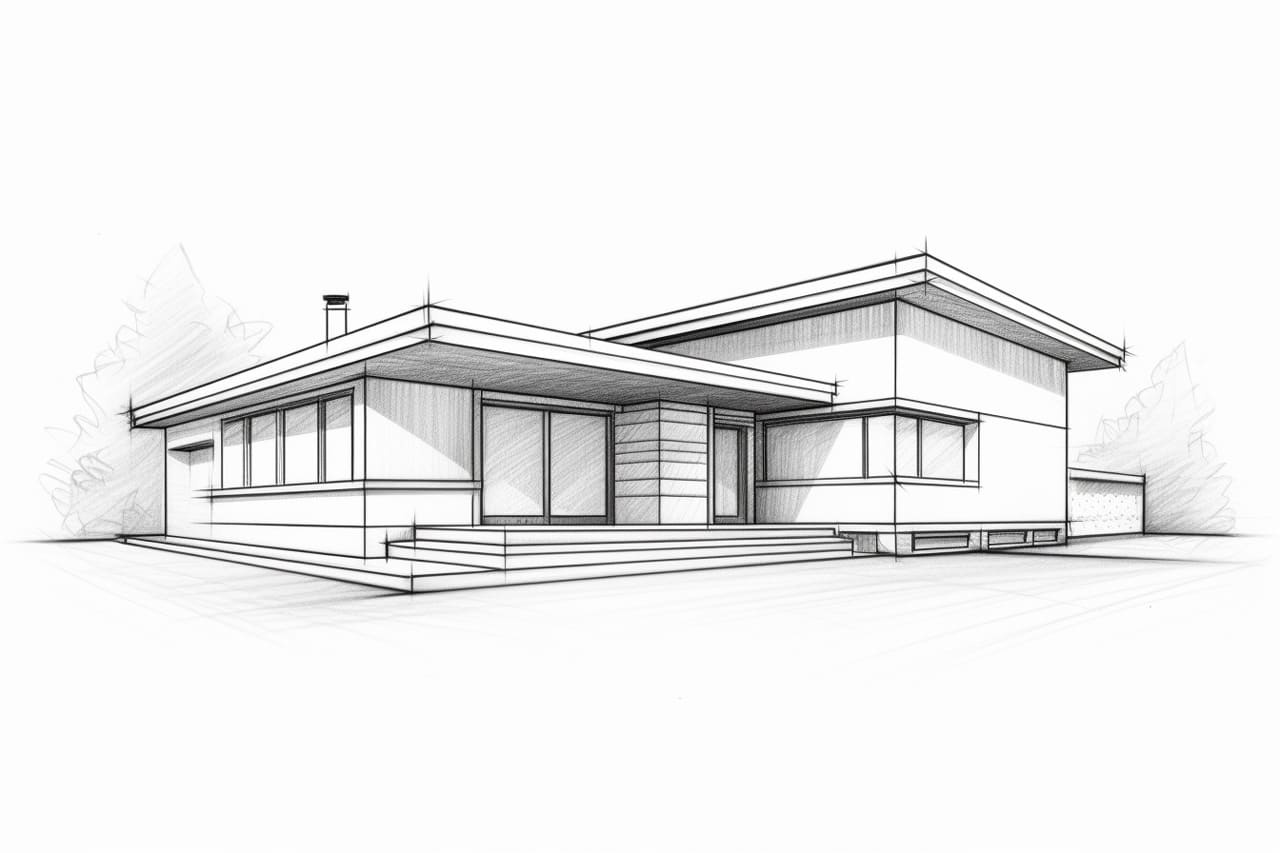
Are you interested in drawing and want to challenge yourself with a three-dimensional project? Drawing a 3D house is a fun and rewarding task that will enhance your artistic skills. This step-by-step guide will walk you through the process of creating your very own 3D house drawing. So grab your pencils and let’s get started!
Materials Required
Before getting started, you will need the following materials:
- Drawing paper or sketchbook
- Pencils (preferably a range of H and B grades)
- Eraser
- Ruler
- Compass
- Protractor
- Colored pencils or markers (optional)
With these materials in hand, you’re ready to begin your 3D house drawing.
Step 1: Start with the Foundation
Begin by drawing a horizontal line near the bottom of your paper to represent the ground. This line will act as the foundation for your house. Make sure it is straight and extends across the entire width of the paper.
Step 2: Draw the Base Shape
Next, draw a rectangle on top of the foundation line to create the base of the house. Use your ruler to ensure that the lines are straight and the angles are accurate. This rectangle will serve as the starting point for adding depth to your drawing.
Step 3: Add Depth to the Walls
To make the walls of the house appear three-dimensional, add depth by drawing two vertical lines from each corner of the base rectangle. These lines should be parallel to each other and extend upwards to the desired height of the house. It’s important to maintain consistent spacing between the lines for a realistic effect.
Step 4: Define the Roof
Now it’s time to add a roof to your house. Draw a triangle on top of the walls, connecting all the upper ends. The angle of the roof depends on your preference—experiment with different angles to find the look you like best. Make sure the roof aligns properly with the walls and appears balanced.
Step 5: Add Windows and Doors
To bring life to your house, add windows and doors. You can choose any style you like, whether it’s a traditional rectangular window or a unique shape of your own design. Remember to consider the perspective and angle of your drawing to ensure the windows and doors look proportional.
Step 6: Incorporate Details and Features
Now it’s time to add the finer details that will make your house drawing more realistic. Think about elements such as chimneys, balconies, or decorative features. These small touches will add depth and character to your 3D house. Take your time with this step and pay attention to the overall composition.
Step 7: Finalize the Outlines
Once you are satisfied with the overall structure and details of your house, it’s time to finalize the outlines. Go over your drawing with a darker pencil or pen, refining the lines and erasing any unnecessary guidelines or rough sketches. This will help emphasize the three-dimensional effect of your house.
Step 8: Add Shadows and Shading
To further enhance the three-dimensional aspect of your drawing, add shadows and shading. Determine the direction of the light source and use a lighter pencil or a blending tool to create shading on the sides of the house opposite the light source. This will make your house appear more realistic and add depth to the overall composition.
Step 9: Color Your House (Optional)
If you want to add a pop of color to your drawing, now is the time to do so. Use colored pencils or markers to bring your house to life. Think about the materials your house is made of and how they might appear when colored. Experiment with different color combinations to find the one that suits your vision.
Conclusion
Drawing a 3D house allows you to explore your artistic skills and create a visually captivating piece of art. By following these step-by-step instructions and using the suggested materials, you’ll be able to bring your house to life on paper. Remember to take your time, practice, and have fun throughout the process. Happy drawing!