If you’re captivated by the underwater adventures of the beloved animated film Finding Nemo, you might find yourself wanting to capture the charm of its iconic character: Nemo, the adorable clownfish. Drawing him brings not only joy but also a wonderful opportunity to improve your artistic skills. Whether you’re a novice stepping into the world of art or a seasoned illustrator looking for a delightful challenge, you’ve come to the right place!
In this comprehensive, step-by-step guide, we will walk you through the entire process of drawing Nemo, ensuring that you can create your own vibrant rendition of this charming aquatic character. Each section of this tutorial is designed to help you grasp the basics of shape, detail, and color, making it accessible for artists of all levels. From the initial sketch to the final touches, you’ll soon find that bringing Nemo to life on paper isn’t just a task—it’s a creative adventure!
So, gather your materials, spark your imagination, and let’s dive into the delightful world of drawing Nemo! Get ready to make a splash with every stroke of your pencil as we unfold the steps to create a breathtaking tribute to this lovable fish!
Materials Required:
Before we dive into the step-by-step process, let’s gather the materials you’ll need to draw Nemo:
- Drawing paper: Choose a smooth, sturdy paper suitable for sketching and coloring.
- Pencil: Select a pencil with a medium lead (HB or 2B) for sketching Nemo’s outline.
- Eraser: Have a soft eraser handy to remove any unnecessary lines and mistakes.
- Fine-tip black marker or pen: This will be used to trace the final lines of your drawing.
- Colored pencils or markers: To add vibrant colors to your Nemo drawing.
- Reference image: Find a clear picture of Nemo to assist you in capturing his distinctive features accurately.
Now that we have all our materials ready, let’s begin drawing Nemo step-by-step!
Step 1: Sketch Nemo’s Outline
Start by lightly sketching an oval shape for Nemo’s body. Then, add two slightly curved lines intersecting in the center to signify his facial features. Draw a larger oval shape above the intersecting lines for his eyes. Finally, add a smaller oval below the intersecting lines to indicate Nemo’s mouth.
Step 2: Add Details to the Face
Within the eye oval, draw a smaller circle for Nemo’s iris. Shade the iris, leaving a small portion unshaded to create a reflection effect. Add a smaller circle within the iris to represent the pupil. Repeat these steps for the second eye.
Next, draw a gentle curve above each eye to depict Nemo’s eyebrows. These curves should give Nemo a friendly and expressive appearance.
Step 3: Define Nemo’s Body and Fins
Extend the outline of Nemo’s body by adding two long curves on each side, making sure they taper towards the end. These curves will serve as his side fins.
Beneath the body, draw a slightly curved line for Nemo’s belly. Then, extend two smaller curves from the bottom of the body, angling them towards the back. These curves will represent Nemo’s tail fin.
Step 4: Draw Nemo’s Stripes
Nemo’s iconic stripes are an essential part of his character. Sketch three diagonal lines across his body, starting from the top and ending near the belly. These lines should slightly curve along the body’s contours.
Step 5: Add Final Details
Refine your sketch by adding a few finishing touches. Draw a small triangular shape at the top of Nemo’s head to represent his dorsal fin. Add small curves near the side fins to represent his gills. Finally, add details to his tail fin by sketching a wavy pattern.
Step 6: Ink Your Drawing
Once you are satisfied with your pencil sketch, it’s time to ink your drawing. Carefully trace over the final lines of your drawing using a fine-tip black marker or pen. Allow the ink to dry completely before erasing any remaining pencil lines.
Step 7: Color Nemo
Now comes the fun part – coloring Nemo! Using vibrant colored pencils or markers, fill in the body with orange. Leave the stripes blank for now. Color his side fins and tail fin with black or a dark shade of gray.
Next, surround the iris of Nemo’s eyes with a bright shade of orange. Leave a small white portion uncolored to depict the reflection. Color the pupil with black or a dark shade of gray.
Finally, carefully color the three stripes with alternating shades of black and white or light gray. Add some shading by lightly blending darker and lighter shades of orange on Nemo’s body to create depth and dimension.
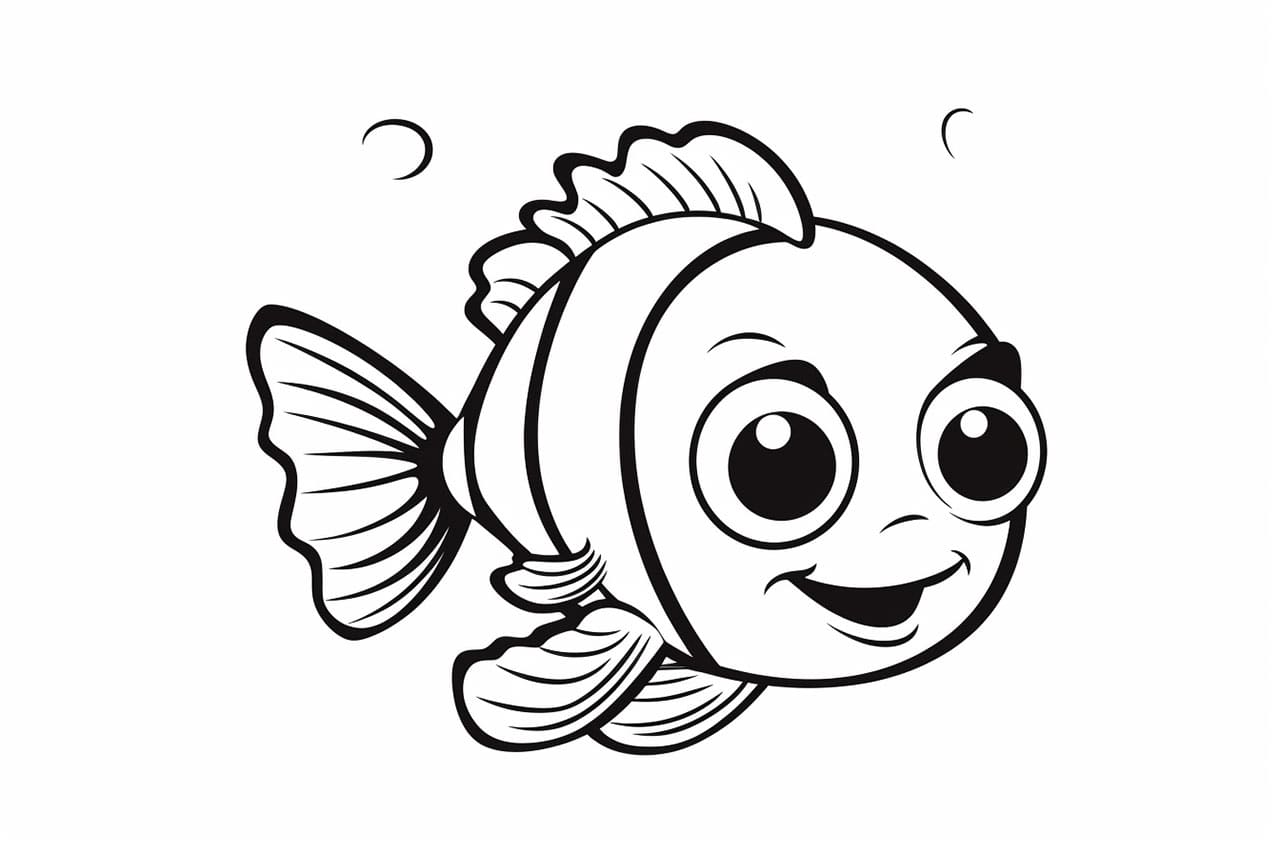
And there you have it – your very own Nemo! Now, step back and admire your artwork.
Conclusion
Drawing Nemo may seem challenging at first, but with this step-by-step guide and a little practice, you’ll be able to create a delightful representation of this beloved character. Remember to take your time, use references if needed, and enjoy the process of bringing Nemo to life on paper.
We hope you found this tutorial helpful and enjoyable. So grab your materials and get ready to dive into the fascinating world of drawing Nemo!
Fun Facts About Nemos
- Nemos, specifically clownfish, belong to the Amphiprioninae subfamily and can form symbiotic relationships with sea anemones.
- There are over 30 species of clownfish, and they are native to warmer waters of the Pacific and Indian Oceans.
- Clownfish, including Nemos, are protandrous hermaphrodites, meaning they are born male and can change to female if necessary.
- Their vibrant orange and white colors are protective, as they deter predators while the fish hides within the stinging tentacles of anemones.
- A layer of mucus on the Nemos’ skin makes them immune to the stings of sea anemones.
- Nemos are known to communicate by making popping and clicking sounds.
- Nemo and other clownfish species can repair damaged sea anemones by improving water circulation and removing debris.
- Although born small, Nemos can grow up to 4.3 inches (11 centimeters) in length.
- In the wild, female clownfish are usually larger than males, with a strict social hierarchy within the group.
- The popularity of clownfish like Nemo increased significantly following the release of the animated film “Finding Nemo.”
Suggestions for Scenes and Settings for Nemo Drawings
- Coral Reef Adventure: Illustrate Nemos darting around a vibrant coral reef, surrounded by colorful fish and swaying sea plants.
- Anemone Hideaway: Show Nemos nestled within the wavy tentacles of a sea anemone, with curious eyes peeking out.
- Underwater Playground: Create an engaging ocean scene with Nemos playing hide and seek among coral caves and sandy crevices.
- Ocean Current Ride: Depict Nemos surfing the Eastern Australian Current, surrounded by sea turtles and other marine travelers.
- Seaglass Lagoon: Draw Nemos exploring a lagoon filled with shimmering seaglass pieces and radiant underwater lighting.
- Shipwreck Mystery: Illustrate Nemos venturing through the ruins of an ancient shipwreck, discovering hidden treasures.
- Deep Ocean Quest: Show Nemos bravely venturing into darker ocean depths, guided by glowing jellyfish and bioluminescent creatures.
- Bubble Festival: Imagine Nemos participating in an underwater festival where bubbles in various shapes ascend around them.
- Sunlight Shallows: Capture Nemos swimming through sunlit shallows with sunbeams piercing the water and illuminating their path.
- Tropical Paradise: Picture Nemos near a pristine tropical island shoreline with vivid palm trees visible from underwater.