Whether you’re an experienced artist or just starting out, learning how to draw a cave can be a fun and rewarding challenge. Caves have a unique and mysterious atmosphere that can be captivating to recreate on paper. In this step-by-step guide, we will walk you through the process of drawing a cave, from the initial sketch to the final details. So, grab your drawing materials and let’s get started!
Materials Required
Before we begin, make sure you have the following materials on hand:
- Drawing paper or sketchbook
- Pencils (HB or 2B for sketching, and various grades for shading)
- Eraser
- Blending stump or cotton swabs (optional)
- Charcoal or graphite sticks (optional for additional texture)
Now that you have all your materials ready, let’s dive into drawing a cave!
Step 1: Basic Outline
Start by lightly sketching the basic outline of the cave on your paper. You can create an irregular shape with curves and jagged edges to give it a natural and organic look. Keep in mind that caves tend to have an asymmetrical shape with uneven walls and openings.
Step 2: Entrance and Opening
Next, focus on the entrance and opening of the cave. Draw a smaller, narrower opening, and then expand it gradually to create the larger cave entrance. Pay attention to the direction and shape of the rocks around the opening. Add some texture and irregularities to make it more realistic.
Step 3: Interior Walls
Now, let’s add some depth to the cave by drawing the interior walls. Start by sketching the outline of the walls, keeping in mind the perspective. The lines should converge towards a vanishing point to create the illusion of depth. Make the walls jagged and uneven to create a rough texture.
Step 4: Stalactites and Stalagmites
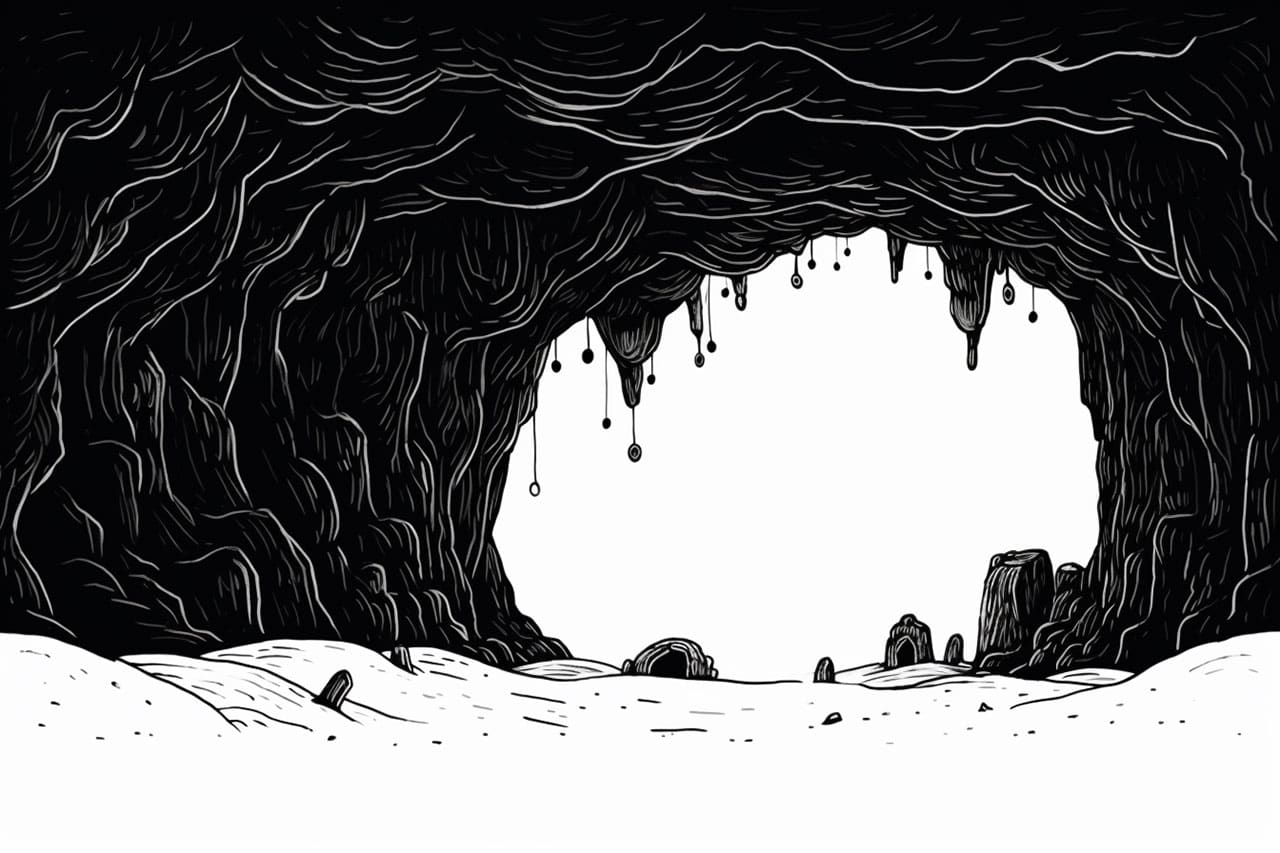
Caves are often adorned with stalactites (hanging from the ceiling) and stalagmites (rising from the floor). These formations add interest and detail to your cave drawing. Sketch long, thin, and tapering lines downwards from the cave ceiling to represent stalactites. For stalagmites, draw shorter, wider, and tapering lines upwards from the cave floor. Vary their sizes and shapes to create a natural look.
Step 5: Shadows and Shading
To give your cave drawing dimension and depth, add shadows and shading. Identify a light source in your drawing, and imagine where the shadows would fall. Use different grades of pencils to create various tones and values. Apply light shading to the areas that are less exposed to light, and darker shading to the recessed areas and corners.
Step 6: Adding Texture
To make your cave drawing more realistic, add texture to the walls, rocks, and formations. You can achieve this by lightly shading with a pencil or using a blending stump or cotton swabs to create a soft and blended effect. Experiment with different techniques, such as stippling or cross-hatching, to create the desired texture.
Step 7: Details and Finishing Touches
Now it’s time to add some final details and finishing touches to your cave drawing. Pay attention to the smaller elements, such as rocks, cracks, and crevices. Enhance the texture and depth by adding extra shading or highlights. Don’t be afraid to experiment and let your imagination guide you in adding unique features to make your cave drawing truly one-of-a-kind.
Conclusion
Drawing a cave can be an exciting and creative endeavor. By following these step-by-step instructions, you can capture the mysterious and captivating atmosphere of a cave on paper. Remember to start with a basic outline, add depth and texture, and finish with attention to details. With practice and patience, you’ll be able to create stunning cave drawings that transport viewers into a whole new world. So, grab your drawing materials and let your artistic skills shine as you embark on this cave-drawing journey!