Drawing a pumpkin is a delightful and educational exercise that allows you to explore art fundamentals, including shapes, perspective, and shading. In this step-by-step guide on how to draw a pumpkin quickly, we will break down each phase to help you create a charming pumpkin drawing. Whether you’re a beginner or looking to hone your artistic skills, let’s embark on this creative journey together.
Step 1: Draw a Circle
To begin your journey of drawing a pumpkin, you can start with the fundamental step of drawing a circle. This seemingly simple act serves as the cornerstone of your pumpkin drawing, establishing its overall shape and structure. However, don’t feel pressured to create a perfect circle – after all, pumpkins in the natural world are rarely flawless spheres. Instead, aim for an imperfect, slightly elongated process that captures the organic essence of this iconic autumn gourd.
As you sketch this initial circle, please look at its size and placement on your drawing paper. The dimensions of your process will dictate the scale of your pumpkin, so adjust it accordingly based on your desired outcome. Please remember that the beauty of drawing lies in your ability to adapt and modify as you go along, so feel free to make any changes you need.
This circle lays the foundation for your pumpkin and serves as a canvas upon which you will add intricate details in the subsequent steps. So, take your time to ensure that your circle is the size and shape you envision for your pumpkin drawing. With this fundamental shape in place, you are well on your way to creating a captivating and realistic depiction of a pumpkin.
Step 2: Add Guide Lines
In this crucial step, we will introduce guide lines within the circle you’ve drawn in the previous step. These guide lines serve as the architectural framework of your pumpkin, providing a solid structure upon which you will build the distinct ridges and details that define its character.
Begin by locating the center of your circle, and from this central point, draw a single vertical line that extends from the top to the bottom of the circle. This central line acts as the backbone of your pumpkin, ensuring symmetry and helping you maintain proportion throughout your drawing.
Next, on either side of the central line, draw two more vertical lines. These additional lines should be evenly spaced, framing the central line and dividing your circle into equal parts. The purpose of these lines is to guide you in creating the gentle curves and ridges that are characteristic of a pumpkin.
The vertical guide lines provide a reference for shaping the ridges later in the process. These ridges give your pumpkin its unique texture and visual interest, making them a vital element of your drawing.
As you sketch these guide lines, remember that they don’t need to be perfectly straight or rigid. In fact, allowing them to be slightly irregular can enhance the natural, organic look of your pumpkin. These lines are your scaffolding, supporting the artistic structure that will bring your pumpkin to life. With these guidelines in place, you’re well-prepared to embark on the next steps of shaping your pumpkin’s distinct features.
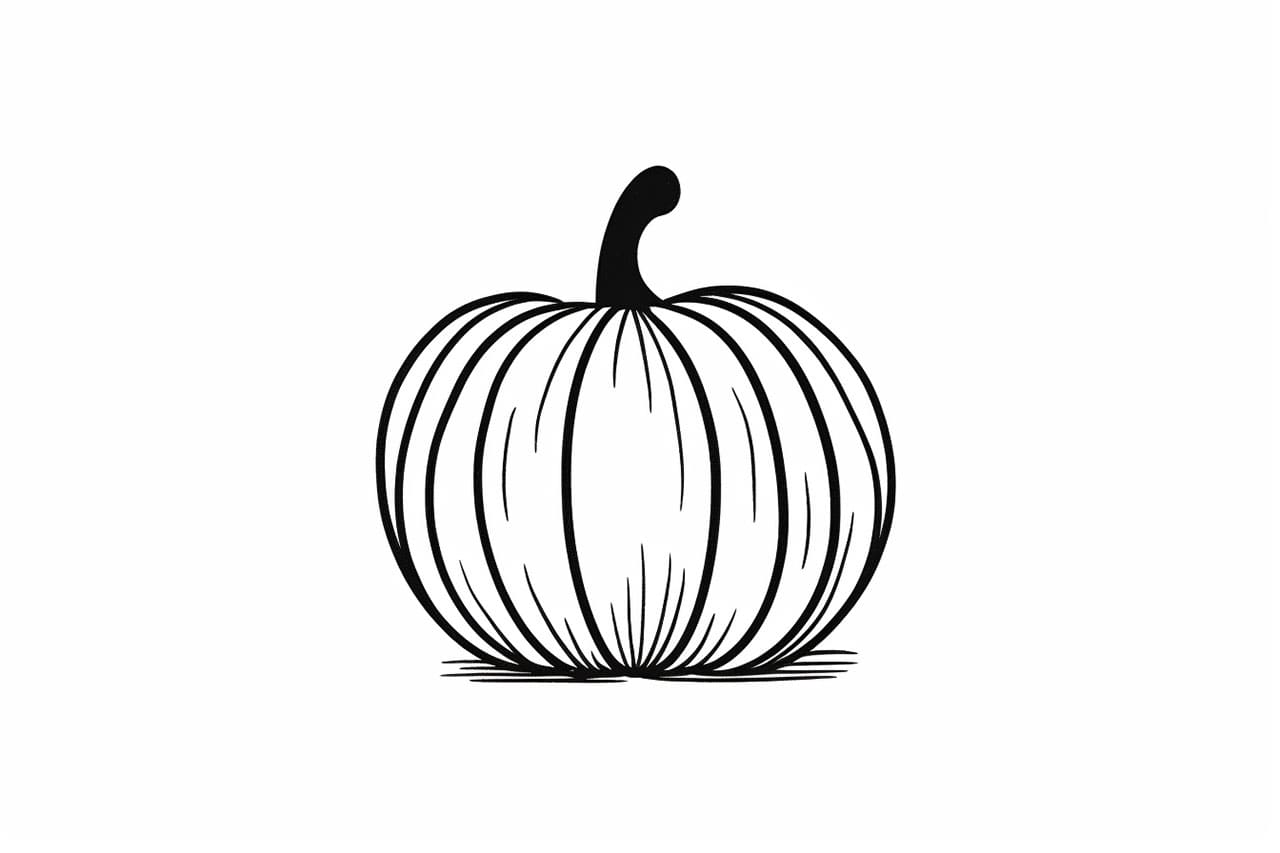
Step 3: Shape the Ridges
Now, let’s delve into the fascinating process of giving your pumpkin those distinctive, curving ridges that are essential to its appearance. This step will transform your basic circle into a convincing pumpkin shape. Here’s how to do it:
- Starting from the Top: Begin at the top of your vertical guide lines. Imagine these lines as the starting points for your ridges.
- Draw Curved Lines: From each of these starting points, draw gently curving lines that extend downwards toward the bottom of the circle. These lines should gracefully follow the contour of your circle.
- Touching the Edges: Ensure that these curved lines touch both the upper and lower edges of your circle. This touch creates the illusion of the ridges seamlessly blending into the pumpkin’s overall shape.
- Ridge Placement: You can decide on the number and spacing of these ridges based on your artistic preference. Pumpkins often have between eight to twelve ridges, but feel free to add more or fewer to achieve the desired look.
- Varied Curvature: Don’t be afraid to introduce subtle irregularities in the curvature of your lines. These imperfections mimic the natural variations found in real pumpkins and add authenticity to your drawing.
By following these steps, you’re effectively transforming your basic circle into a recognizable pumpkin shape. Each curved line represents a ridge, and the combination of these ridges will give your pumpkin its characteristic texture and appearance. Take your time with this step, as the careful placement and shape of these ridges play a significant role in the final outcome of your drawing.
Step 4: Draw the Stem
Now, let’s focus our attention on the upper portion of the pumpkin, where we’ll bring the stem to life. The stem is a defining feature of the pumpkin, and drawing it with care adds authenticity to your artwork.
- Start by drawing a short, slightly curved line that extends upward from the top surface of the pumpkin. This initial line represents the base of the stem.
- At the end of this line, create a small curve that forms the tip of the stem. This curved detail mimics the natural appearance of a pumpkin’s stem.
- Extend a second line downward from the tip of the stem, connecting it to the top of your pumpkin. This line completes the stem’s structure, providing it with a solid and realistic appearance.
The stem is an essential element that contributes to the overall character of your pumpkin drawing. By following these step-by-step instructions and paying attention to the subtle curves and details, you’ll be able to capture the unique essence of the pumpkin’s stem accurately.
Step 5: Add Depth to the Stem
To give the stem dimension and a more realistic appearance, draw two curved lines that descend from the base of the stem. These lines should taper as they extend, meeting the top ridge of your pumpkin. This shading technique conveys depth, making the stem appear more three-dimensional.
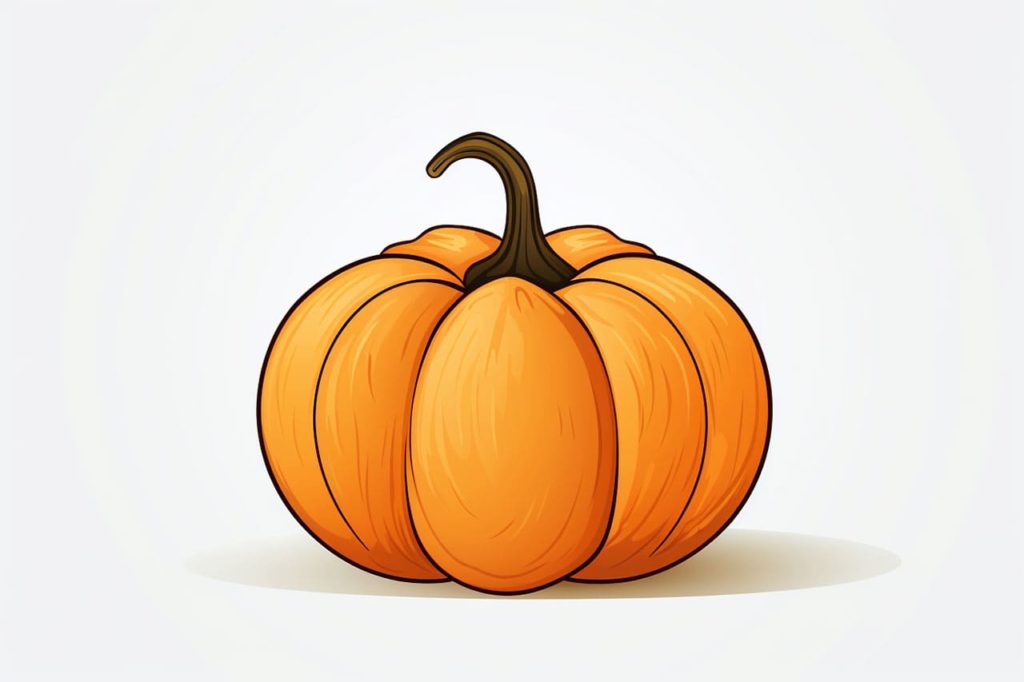
Step 6: Shade Your Pumpkin
In this final step, it’s time to add shading to your pumpkin, enhancing its three-dimensionality and realism. Focus on the areas beneath the ridges and at the bottom of the pumpkin to create shadows. These shadowed areas should appear darker than the rest, giving the pumpkin a sense of volume and depth. Carefully blend your shading to achieve smooth transitions and a lifelike effect.
Conclusion
Congratulations! You’ve successfully learned how to draw a pumpkin with ease. This artistic journey has allowed you to practice essential skills such as understanding shapes, perspective, and shading. Whether you’re a beginner or an experienced artist, remember that continuous practice is the key to improvement. Each stroke of your pencil brings you closer to mastering the art of drawing, and the more you draw, the more confident and skilled you’ll become.
In conclusion, drawing a pumpkin provides not only a delightful artistic exercise but also a valuable opportunity to enhance your artistic abilities. Embrace the imperfections of nature, appreciate the beauty of organic shapes, and let your creativity flow. Happy drawing, and may your artistic journey continue to flourish!
Looking for more Halloween-themed drawing ideas?
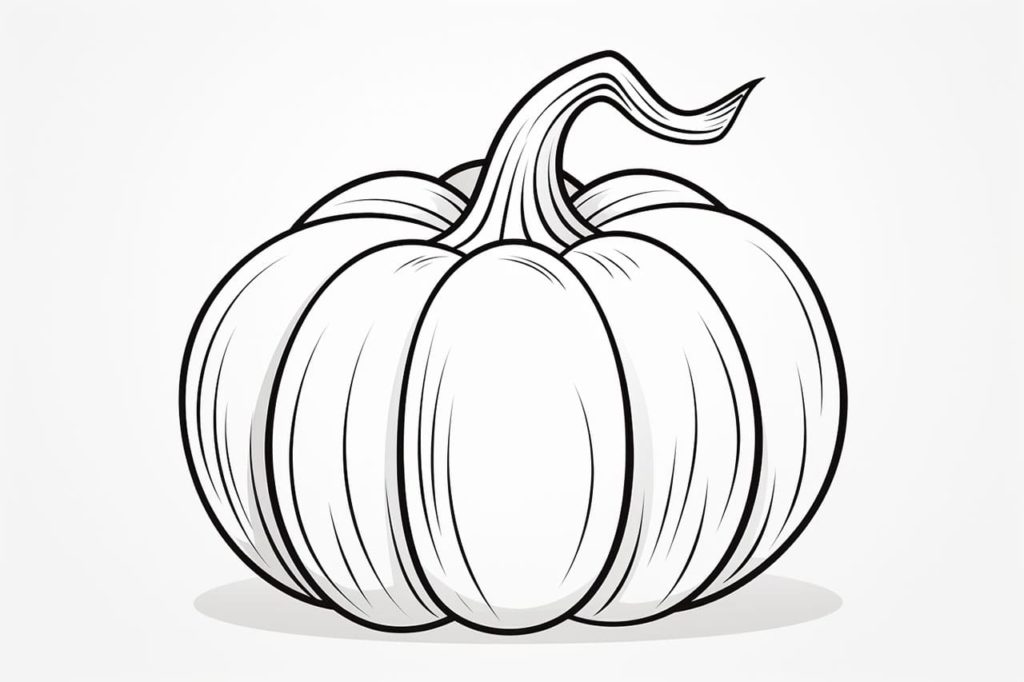
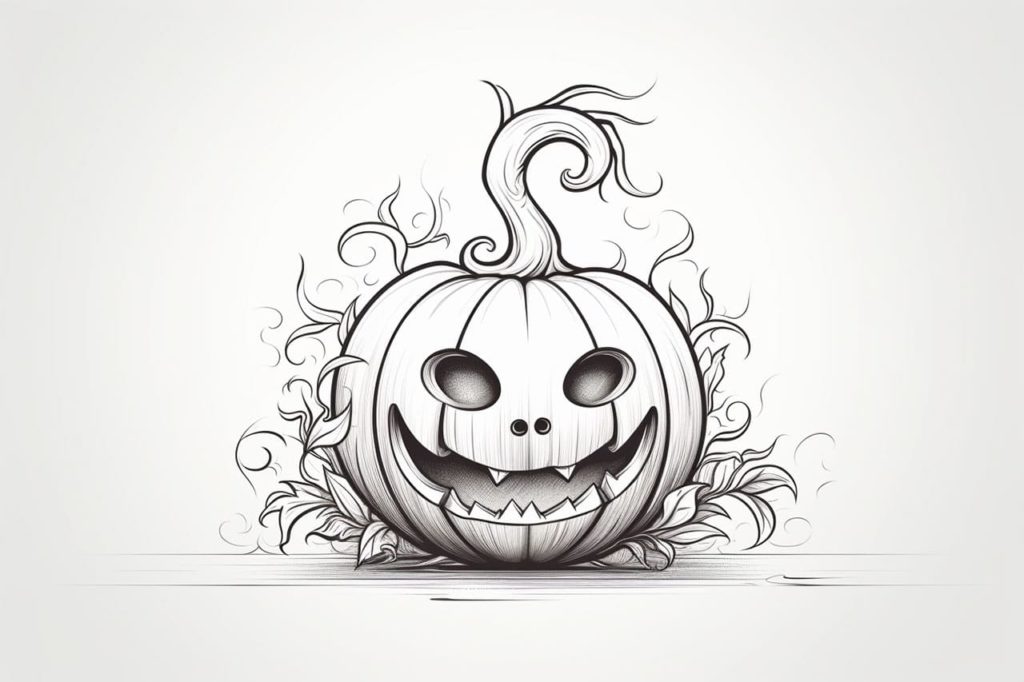
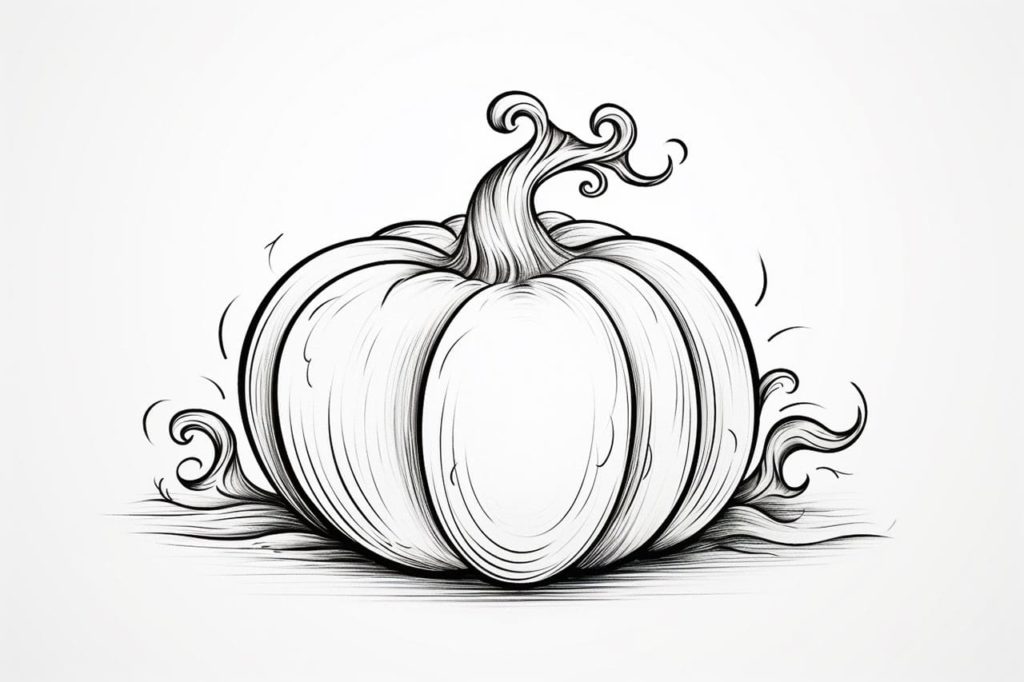
Gallery of Pumpkin Drawings
Fun Facts about Pumpkins
Pumpkins are not only a staple of autumn and Halloween but also fascinating plants with a rich history and interesting characteristics. Here are some fun and interesting facts about pumpkins:
- Not Just for Carving: While many associate pumpkins primarily with Halloween decorations, they are incredibly versatile in the kitchen. Pumpkins can be used in soups, pies, and other baked goods. Even the seeds are edible and nutritious, often roasted as a snack.
- Origins: Pumpkins are native to North America. The oldest evidence of pumpkin seeds dates back between 7000 and 5500 BC in Mexico. Pumpkins were a significant part of the Native American diet and were introduced to Europeans when they arrived in the New World.
- A Fruit, Not a Vegetable: Scientifically speaking, pumpkins are a fruit because they are the part of the plant that contains seeds. More specifically, they are a type of berry known as a pepo, characterized by a thick rind and fleshy interior.
- Record-Breaking Sizes: The world of competitive pumpkin growing produces some giants. The current world record for the heaviest pumpkin is 2,624.6 pounds (1,190.5 kilograms), set by Mathias Willemijns of Belgium in 2016.
- Varieties Galore: There are over 45 different varieties of pumpkin. They come in a range of sizes, shapes, and colors, including the traditional orange, as well as white, blue, and even striped. Each variety has its unique taste and culinary uses.
- Symbol of Harvest and Halloween: Pumpkins have become a symbol of fall, harvest time, and Halloween. Carving pumpkins into jack-o’-lanterns is a popular tradition that originated from an Irish myth about a man named Stingy Jack and was brought to America by immigrants.
- Nutritional Powerhouse: Pumpkins are rich in vitamins, minerals, and antioxidants. They are especially high in vitamin A, which is good for your eyesight, and contain compounds that can boost your immune system.
- Flowers Are Edible: Not only is the pumpkin itself edible, but so are its flowers. Pumpkin flowers can be eaten raw, stuffed, or fried. They are a delicacy in many parts of the world.
- Pumpkin Festivals: Many countries, especially the United States, celebrate pumpkin festivals in the fall. These festivals often feature pumpkin carving contests, pumpkin chucking competitions, and the sale of pumpkin-flavored foods and beverages.
- Pumpkins in Popular Culture: Pumpkins have a prominent place in folklore and fiction. The most famous pumpkin might be Cinderella’s carriage, magically transformed from a pumpkin by her fairy godmother. The “Great Pumpkin” is a fictional character in the Peanuts comic strip by Charles M. Schulz.
- Bees Love Pumpkins: Pumpkins are pollinated by bees, and they play a crucial role in the growth of pumpkins. Without bees, it would be challenging to produce enough pumpkins for commercial use and personal enjoyment.
These facts highlight the intriguing nature of pumpkins, demonstrating their importance in culture, cuisine, and agriculture.