Welcome to this step-by-step guide on how to draw grapes. Whether you’re an aspiring artist or simply looking to enhance your drawing skills, this tutorial will walk you through the process of creating a realistic representation of a bunch of grapes. With a little practice, you’ll be able to capture the texture, color, and shape of these delicious fruits in no time.
Materials Required
Before we dive into the step-by-step instructions, let’s make sure you have all the necessary materials at hand. Here’s what you’ll need:
- Drawing paper
- Pencil (preferably a set of graphite pencils with various degrees of hardness)
- Eraser
- Ruler
- Colored pencils or markers (optional)
Now that you have your materials ready, let’s get started!
Step 1: Sketch the Basic Shape
Begin by lightly sketching the basic shape of a bunch of grapes on your drawing paper. Start with a circular shape to represent the largest grape in the center, then add smaller oval shapes around it to form the surrounding grapes. Keep the ovals irregular to create a more natural look. Don’t worry about the details at this stage; focus on getting the overall shape and proportions right.
Step 2: Add the Stem
Using a slightly curved line, draw the stem of the grapes extending from the top of the bunch. Make sure it’s attached to the larger grape in the center. The stem can be thin and slightly wavy to add interest to your drawing.
Step 3: Define the Grapes
Next, define the individual grapes by adding more shape and volume to each one. Use curved lines to give them a plump appearance. Vary the sizes and angles of the ovals to create a realistic cluster of grapes.
Step 4: Create Shadows and Highlights
Now it’s time to add some depth and dimension to your drawing. Begin by shading the areas where the grapes overlap or cast shadows on each other. This will help create depth and make the grapes appear more three-dimensional. Use a softer pencil or shading tool to achieve a smooth gradient.
Next, identify the light source in your drawing. Imagine where the light is coming from and how it would hit the grapes. Add highlights to the grapes accordingly. Keep in mind that the grapes are likely to have a glossy surface, so the highlights should be bright and concentrated.
Step 5: Add Details and Texture
To make your grapes look more realistic, it’s important to incorporate details and texture. Start by adding small irregular shapes and lines on each grape to represent the texture of the skin. Grapes have a slightly bumpy or wrinkled surface, so don’t be afraid to experiment with different shapes and sizes.
Step 6: Refine the Stem
Go back to the stem and add more detail to make it appear more realistic. Draw thin lines along the length of the stem to represent the ridges and texture. You can also add small leaves or tendrils branching out from the stem to enhance the overall composition.
Step 7: Final Touches
Take a step back and assess your drawing. Are there any areas that need further refinement? Do the grapes look balanced and well-proportioned? Make any necessary adjustments to achieve the desired outcome.
If you prefer a colored drawing, you can now use colored pencils or markers to add vibrant hues to your grapes. Experiment with different shades of purple, green, and red to create a realistic color scheme.
Conclusion
Congratulations! You have successfully learned how to draw grapes step-by-step. By following these instructions and practicing regularly, you’ll improve your drawing skills and be able to capture the essence of grapes and other fruits with ease.
Remember, drawing is a skill that takes time and patience to master. So enjoy the process, embrace imperfections, and keep exploring your artistic journey.
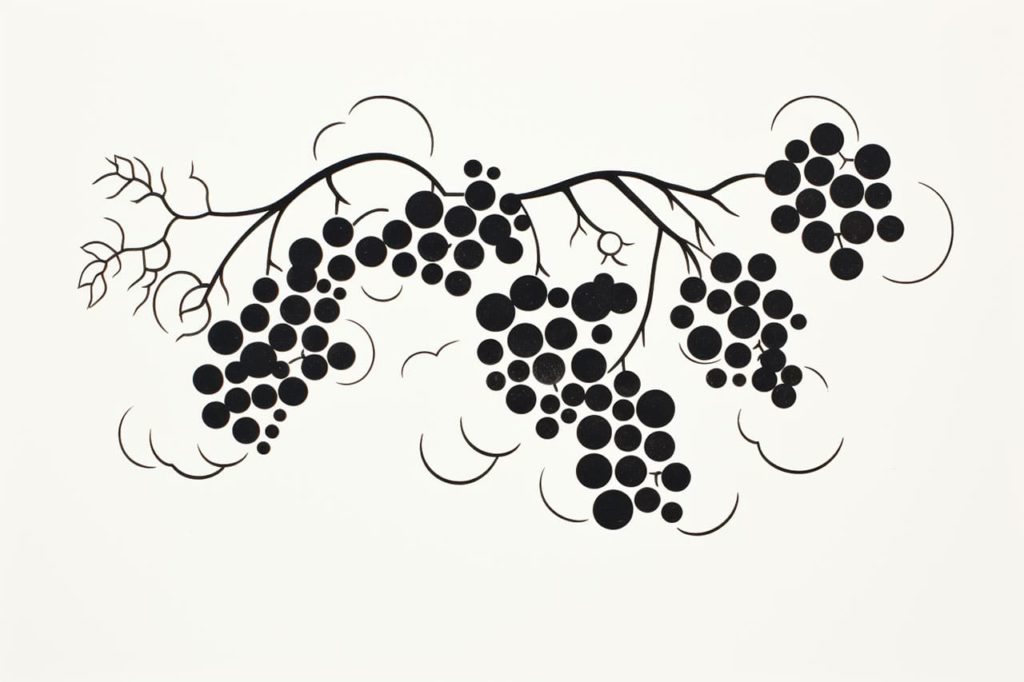
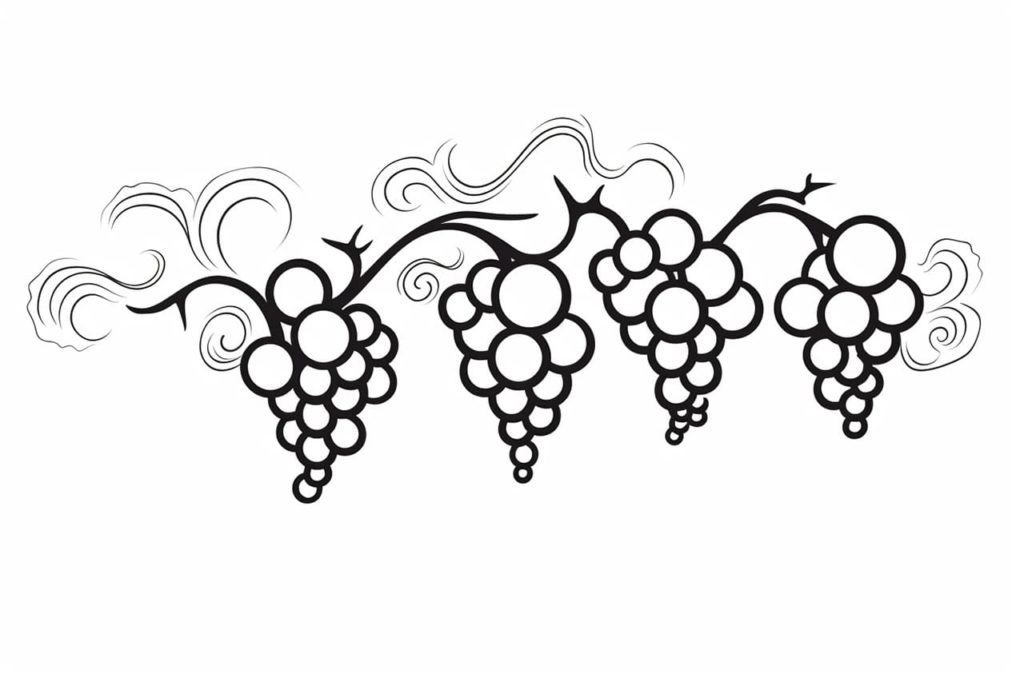
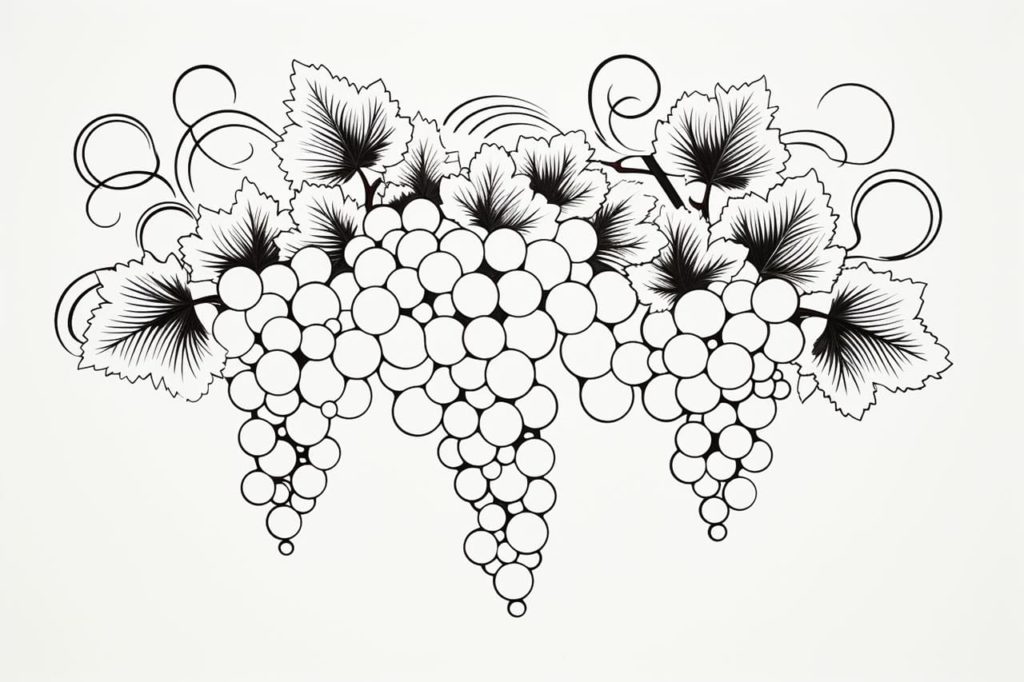
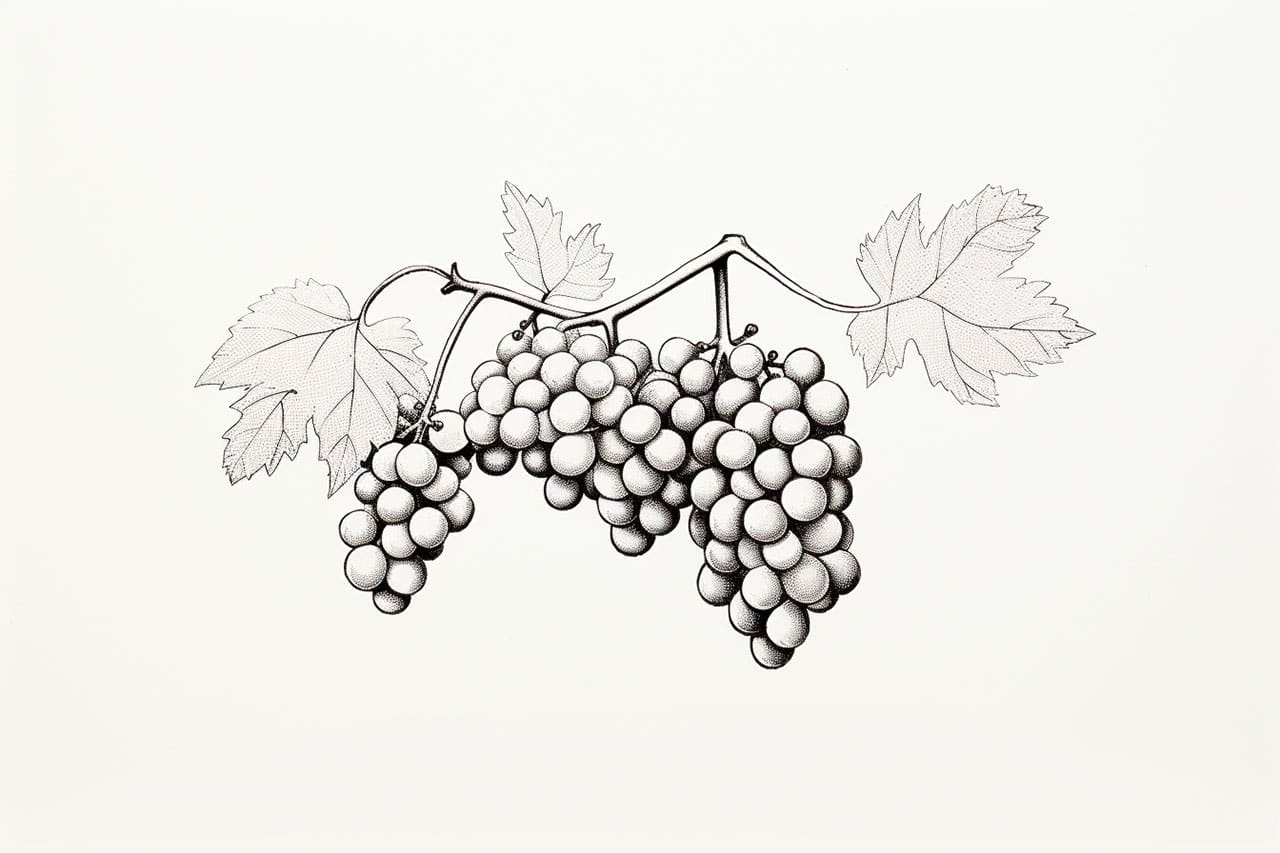
Gallery of Grape Drawings