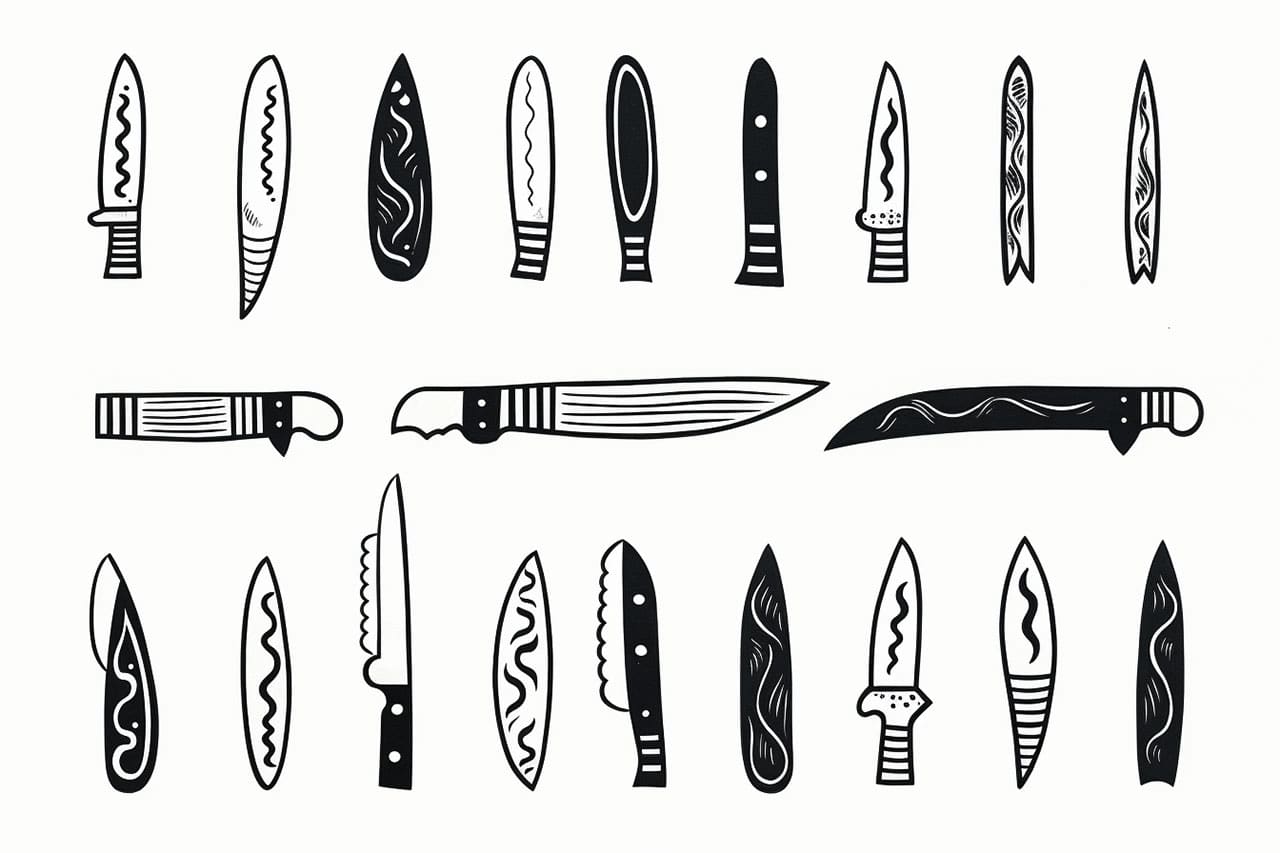
Drawing knives can be a challenging task, but with the right techniques and practice, you can create stunning and realistic knife illustrations. In this step-by-step guide, I will walk you through the process of how to draw knives, from understanding the basic shapes to adding intricate details. So, grab your pencils and let’s get started!
Materials Required
Before we begin, make sure you have the following materials:
- Pencils: It’s best to start with a range of graphite pencils, from hard (H) to soft (B), to achieve different tones and shading effects.
- Erasers: A kneaded eraser is perfect for lifting and lightening pencil marks, while a vinyl or rubber eraser can be used for more precision.
- Paper: Opt for a smooth, heavyweight paper or a dedicated drawing pad to avoid smudging and provide a sturdy surface.
- Knife references: Gather a collection of knife images or actual knives to observe their details and understand their forms better.
Now that you have your materials ready, let’s dive into the step-by-step process of drawing knives!
Step 1: Basic Shapes
Begin by lightly sketching the basic shapes that make up the knife. Most knives have a long, slender blade, a handle, and sometimes a guard. Pay attention to proportions and angles. Start by drawing a straight vertical line for the blade and a rectangle for the handle. Adjust the size and proportions according to your reference.
Step 2: Refining the Blade
Refine the shape of the blade by adding curves to create a tapered edge. Observe the different types of knives as they may have unique blade shapes. Some blades may be straight, while others can have a curved or serrated edge. Take your time to capture these details accurately.
Step 3: Handle Details
Next, focus on adding details to the handle of the knife. Study your reference closely to observe any texture, patterns, or ergonomic elements present. Pay attention to the grip and any embellishments such as grooves or decorative elements. Use light pencil strokes to sketch these details and refine them as you go.
Step 4: Guard and Bolster
If your knife has a guard or bolster (a metal piece between the blade and handle), carefully sketch these elements. They can vary in shape and size depending on the type of knife. Ensure they are proportionate to the rest of the knife and situated correctly.
Step 5: Shadows and Shading
Now comes the fun part – adding depth and dimension to your drawing! Start by identifying the light source in your reference. This will help you determine where the shadows will fall. Use a range of pencils to create different tones and textures. Apply light pressure for lighter areas and increase pressure for darker shadows and textures.
Start with light, even layers of shading and gradually build up the dark areas. Pay attention to the reflections and highlights on the blade and handle. Use an eraser to lift out highlights and create smooth transitions between light and dark areas.
Step 6: Finer Details
Once you have established the basic shading, it’s time to add finer details to your drawing. Look closely at your reference to capture any text, logos, or engravings on the blade. Be patient and take your time with these intricate details, using a sharp pencil or a fine-tip pen for precision.
Step 7: Final Touches
Review your drawing and make any necessary adjustments or refinements. Use your eraser to clean up any smudges or unwanted marks. Pay attention to the overall composition, ensuring that your knife appears balanced and well-proportioned. Congratulations, you’ve successfully drawn a realistic knife!
Conclusion
Drawing knives requires careful observation, attention to detail, and practice. By following these step-by-step instructions, you can create impressive knife illustrations that showcase your artistic abilities. Remember to start with basic shapes, refine the blade and handle, add shadows and shading, and finish with finer details. With time and practice, you’ll be able to draw knives with confidence and precision.
So, grab your pencils and unleash your creativity as you embark on this exciting artistic journey. Happy drawing!

