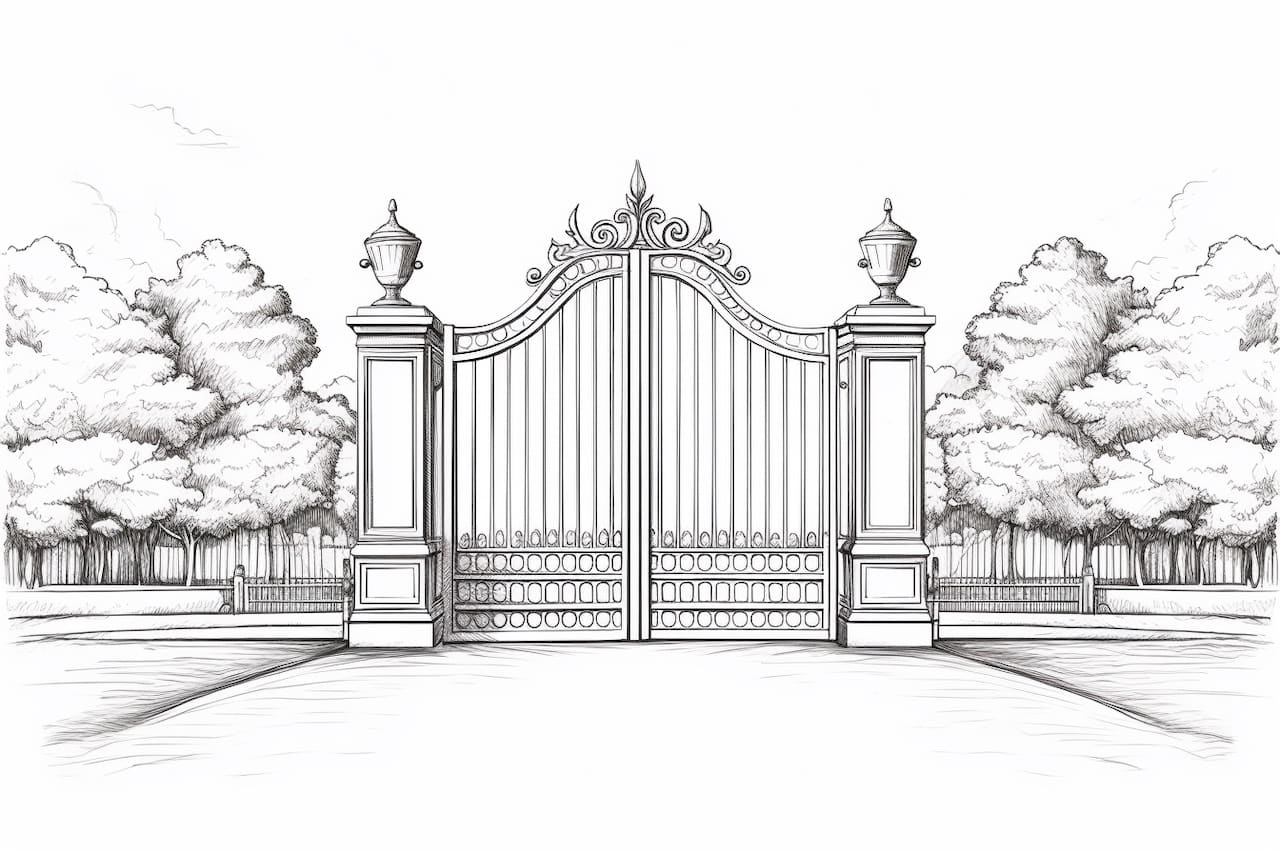
Welcome to this step-by-step guide on how to draw a gate. Whether you’re an aspiring artist or simply want to add a touch of creativity to your projects, drawing a gate can be a fun and rewarding experience. In this article, we will walk you through the process of creating a gate drawing, providing clear and concise instructions along the way.
Before we begin, let’s gather the necessary materials:
- Paper: You can use any type of paper, but thicker paper such as drawing paper or cardstock works best.
- Pencil: Choose a pencil with a medium hardness (HB or 2B) for sketching.
- Eraser: Opt for a soft eraser that won’t damage the paper when corrections are needed.
- Ruler: A straight edge will be useful for creating straight lines and ensuring accurate proportions.
- Fine-tip pen or marker: This will be used for outlining the final drawing.
- Colored pencils or markers (optional): If you wish to add color to your gate drawing, have some colored pencils or markers ready.
Now that we have our materials ready, let’s dive into the step-by-step process of drawing a gate.
Step 1: Sketch the Gate’s Basic Shape
Start by lightly sketching the basic shape of the gate. Use your pencil to draw two vertical lines parallel to each other, representing the sides of the gate. Then, connect these lines with a horizontal line at the top and bottom, forming a rectangle. Make sure to leave enough space at the bottom for the gate’s base.
Step 2: Add Details to the Gate Structure
Next, it’s time to add some detail to the gate’s structure. Begin by drawing diagonal lines connecting the top corners of the rectangle to the bottom corners. These lines will give the gate a three-dimensional appearance. Then, draw two vertical lines near the center of the gate, parallel to the sides, to indicate the gate’s hinges.
Step 3: Design the Gate’s Pattern
Now, let your creativity flow as you design the pattern of the gate. Feel free to improvise and add any decorative elements that appeal to you. Experiment with curves, arcs, or even straight bars for a more minimalistic look. Remember to take your time and use light lines for this step, as you may need to make adjustments later on.
Step 4: Refine the Gate’s Details
Once you’ve finalized the gate’s pattern, refine the details to make them more defined. Darken the lines that form the gate’s structure, such as the sides, top, bottom, and hinges. You can also add additional embellishments, such as scrolls, leaves, or small shapes, to enhance the overall design.
Step 5: Add Shadows and Highlights
To make your gate drawing more realistic and visually appealing, add shadows and highlights. Determine the direction of the light source and shade the areas where the gate would naturally cast shadows. Use hatching or crosshatching techniques with your pencil to create depth and volume. Additionally, use an eraser to lighten areas that would catch the light, such as the edges of the gate or decorative elements.
Step 6: Outline the Final Drawing
With the shadows and highlights in place, it’s time to outline the final drawing. Take a fine-tip pen or marker and carefully trace over the pencil lines, making them more bold and defined. Pay attention to preserving the intricate details and maintaining a smooth and steady line quality. Once the ink is dry, erase any remaining pencil marks.
Step 7: Add Color (Optional)
If you wish to give your gate drawing a colorful touch, now is the time to add color. Choose your preferred medium, whether it’s colored pencils or markers, and carefully fill in the areas with your chosen shades. Consider using different colors for the gate’s structure, decorative elements, and background to create contrast and visual interest. Take your time and blend colors smoothly for a polished look.
Conclusion
Congratulations! You have successfully learned how to draw a gate. By following these step-by-step instructions and using your creativity, you can create beautiful gate drawings that will impress others. Remember to practice regularly to further refine your skills and experiment with different styles and designs. Enjoy the process and let your imagination guide you. Happy drawing!


