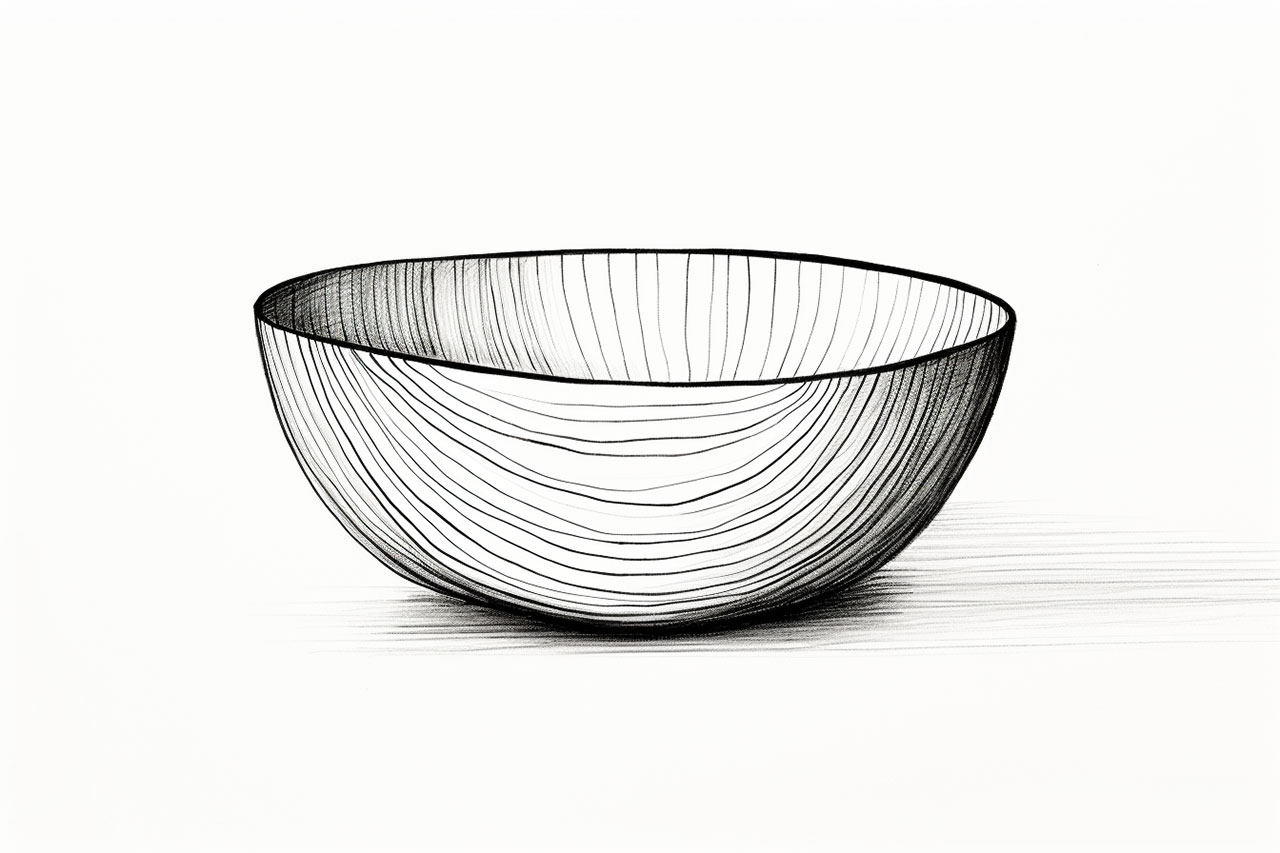
Drawing is a wonderful way to express your creativity and improve your artistic skills. In this step-by-step tutorial, you will learn how to draw a bowl with ease. Whether you are a beginner or an experienced artist, this guide will help you create a realistic and visually appealing bowl.
Materials Required
To draw a bowl, you will need the following materials:
- Drawing paper
- Pencil
- Eraser
- Ruler
- Compass (optional)
Now that you have gathered your materials, let’s begin!
Step 1: Outline the Shape of the Bowl
Start by lightly sketching an oval shape on your drawing paper. This will serve as the basic outline for your bowl. You can use a ruler or a compass to ensure that your oval shape is symmetrical and well-proportioned. Remember to keep the lines light, as you will be refining the shape in the following steps.
Step 2: Add Depth to the Bowl
To create the illusion of depth, we will now add thickness to the bowl. Draw two parallel lines around the outer edge of the oval shape, following the contour of the oval. These lines should be slightly curved to give the bowl a three-dimensional appearance. Connect the lines at the bottom to complete the base of the bowl.
Step 3: Define the Rim of the Bowl
Next, we will define the rim of the bowl. Draw a curved line that follows the top edge of the oval shape. Make sure the curvature is consistent and smooth. The size and shape of the rim will depend on the type of bowl you are drawing, so feel free to adjust it according to your preference.
Step 4: Add Details to the Bowl
Now it’s time to add some details to the bowl. Start by drawing a horizontal line across the middle of the bowl. This will serve as a guide for placing the objects inside the bowl. Next, draw a vertical line from the middle of the bowl to the base, dividing it into two halves. These lines will help you maintain symmetry as you add more elements to the drawing.
Step 5: Draw the Base of the Bowl
To draw the base of the bowl, extend the lines from the bottom of the oval shape. Make sure the lines are parallel and meet at a point to create a sense of perspective. You can add some curves or irregularities to the base to make it look more realistic.
Step 6: Add Shadows and Highlights
To make your bowl look more three-dimensional, it’s important to add shadows and highlights. Shade the areas where the bowl curves away from the light source, creating a darker tone. Leave the areas that are facing the light source lighter. Use your pencil to gradually build up the shading, blending the tones for a smooth transition.
Step 7: Refine the Details
Take a moment to step back and assess your drawing. Are there any areas that need refinement or adjustment? Pay attention to the curves, proportions, and overall balance of the drawing. Use your eraser to carefully erase any unwanted lines or smudges. Make any necessary adjustments to ensure that your bowl looks realistic and well-executed.
Conclusion
Drawing a bowl may seem simple, but it requires attention to detail and a keen observation of forms and shapes. By following these step-by-step instructions, you can create a realistic and visually appealing bowl drawing. Remember to practice regularly and experiment with different styles and techniques to further develop your artistic skills.
So go ahead, grab your pencil and start drawing! The possibilities are endless. With patience and practice, you’ll soon be creating stunning bowl drawings that will impress your friends and family.