Whether you’re an aspiring artist or simply looking to add a festive touch to your holiday decorations, learning how to draw a bell can be a fun and rewarding experience. In this step-by-step guide, I will walk you through the process of how to draw a bell from scratch. With practice, you’ll be able to create beautifully detailed bells that will impress your friends and family. So, let’s grab our pencils and get started!
Materials Required
Before we begin, make sure you have the following materials at hand:
- Paper: Choose a smooth-surfaced paper to ensure your lines and shading blend well.
- Pencil: A regular graphite pencil is ideal for sketching and shading.
- Eraser: Keep a good quality eraser handy for correcting any mistakes.
- Drawing compass: You’ll need a compass to create the perfect circle for the bell’s base.
Now that you have everything you need, let’s dive into the step-by-step process of drawing a bell.
Step 1: Sketch the Bell’s Basic Shape
Begin by lightly sketching a slightly elongated oval shape. This will serve as the main body of the bell. Remember to keep your lines light and loose, as you’ll be refining the shape later on.
Step 2: Add the Clapper
Inside the oval shape, draw a smaller oval that will represent the clapper – the part that creates the sound. Position it slightly off-center to give your drawing a more realistic look.
Step 3: Create the Bell’s Base
Using your drawing compass, draw a larger circle underneath the main oval shape. This will be the base of the bell. Ensure the base is proportionate to the body of the bell – not too large or too small.
Step 4: Sketch the Handle
Extend a curved line from the top of the bell’s body to create the handle. The handle can vary in shape and design, so feel free to get creative. Try different shapes, such as a simple loop or an intricate scrollwork design, to add your own personal touch.
Step 5: Refine the Shape
Now that you have the basic structure of the bell, it’s time to refine the shape. Use your pencil to darken the outline of the bell, erasing any unnecessary guidelines. Pay attention to the curves and contours, ensuring that they flow smoothly.
Step 6: Add Details to the Bell
Add details to the bell’s body, such as decorations or patterns. Popular choices include ribbons, holly leaves, or intricate floral designs. These details will enhance the overall appearance of the bell and make it more visually appealing.
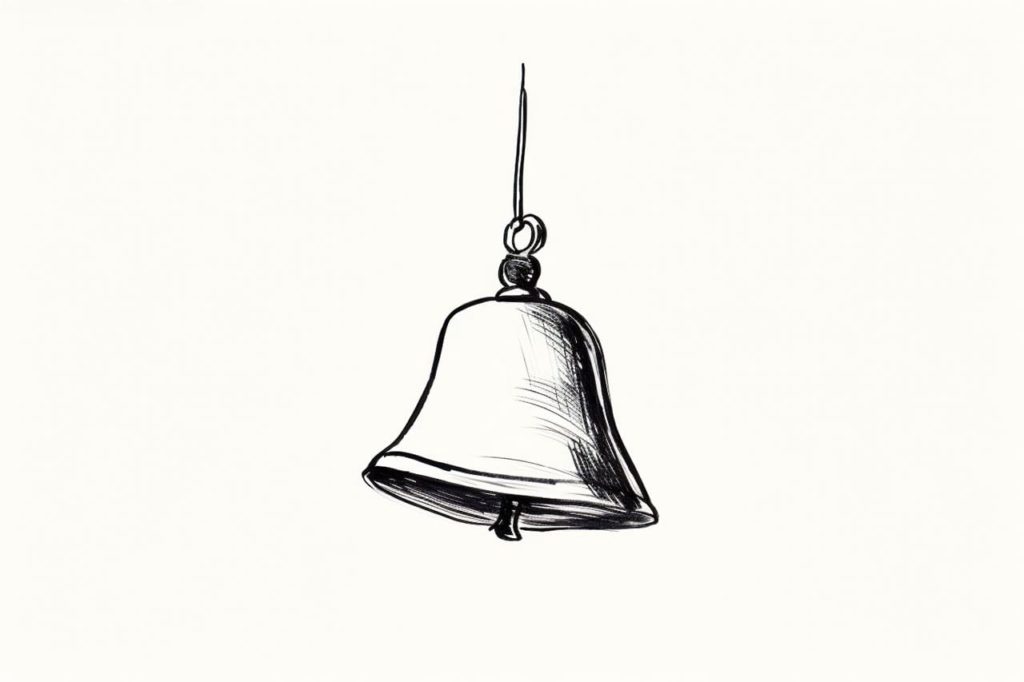
Step 7: Shade and Add Depth
To give your bell a three-dimensional look, add shading. Determine the direction of your light source and shade one side of the bell accordingly. Use a combination of light and dark shades to create depth and contrast. Pay attention to the areas where the light hits the bell and where shadows are cast.
Step 8: Enhance the Details
Refine the details of the bell by adding highlights and shadows. Use an eraser to create highlights on the rounded portions of the bell, mimicking the reflection of light. Darken the shaded areas to intensify the shadows and create a more realistic effect.
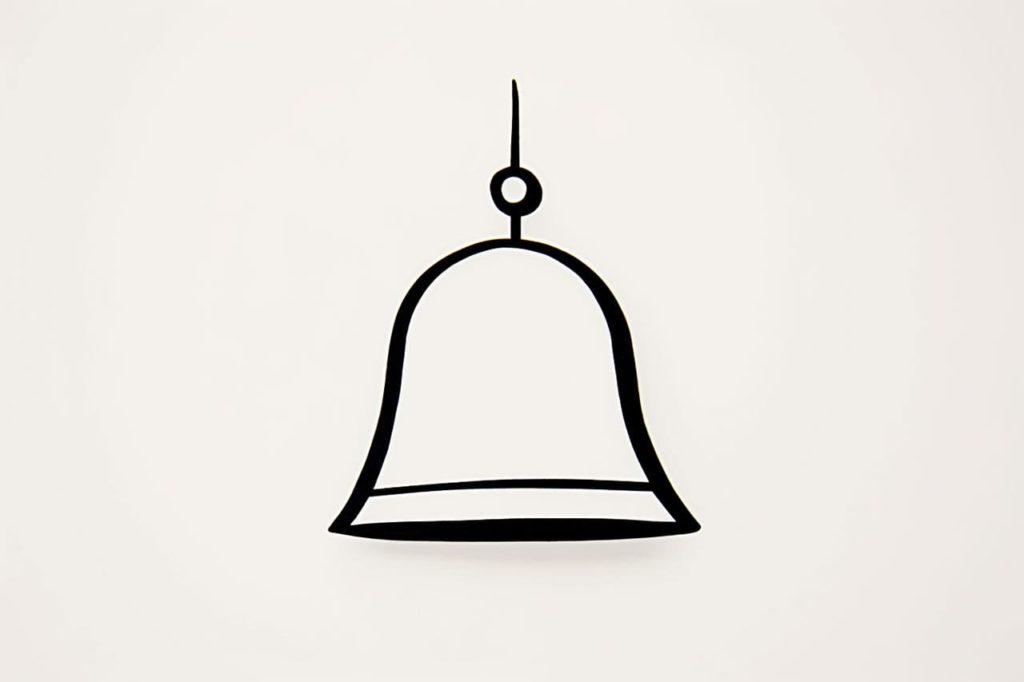
Step 9: Finalize the Drawing
Take a step back and evaluate your drawing. Make any necessary adjustments and touch-ups to finalize the artwork. Erase any remaining guidelines and smudges, ensuring that your bell stands out against the clean background.
Congratulations! You’ve successfully drawn a bell from start to finish. With practice, you’ll continue to refine your drawing skills and create even more intricate and detailed artwork.
Conclusion
Drawing a bell may seem challenging at first, but with the right guidance and practice, you can master this delightful subject. Remember to start with the basic shapes, gradually adding details and refining the drawing as you progress. By following the step-by-step instructions provided in this guide, you can create beautiful bells that will impress anyone who sees them.
So, grab your pencils and explore the world of bell drawing. Don’t be afraid to experiment and add your personal touch to each creation. Happy drawing!
Gallery of Bell Drawings