Welcome to this step-by-step guide on how to draw a ceiling fan! Drawing a ceiling fan may seem like a complex task, but with the right techniques and some practice, you can create a realistic and detailed representation of this common household fixture. In this article, I will guide you through the process, providing clear instructions and helpful tips along the way. So grab your drawing materials and let’s get started!
Materials Required
Before we begin, gather the following materials:
- Pencil (graphite or mechanical)
- Eraser
- Drawing paper
- Ruler
- Compass (optional)
Now that you have everything you need, let’s move on to the steps involved in drawing a ceiling fan.
Step 1: Sketch the Basic Shape
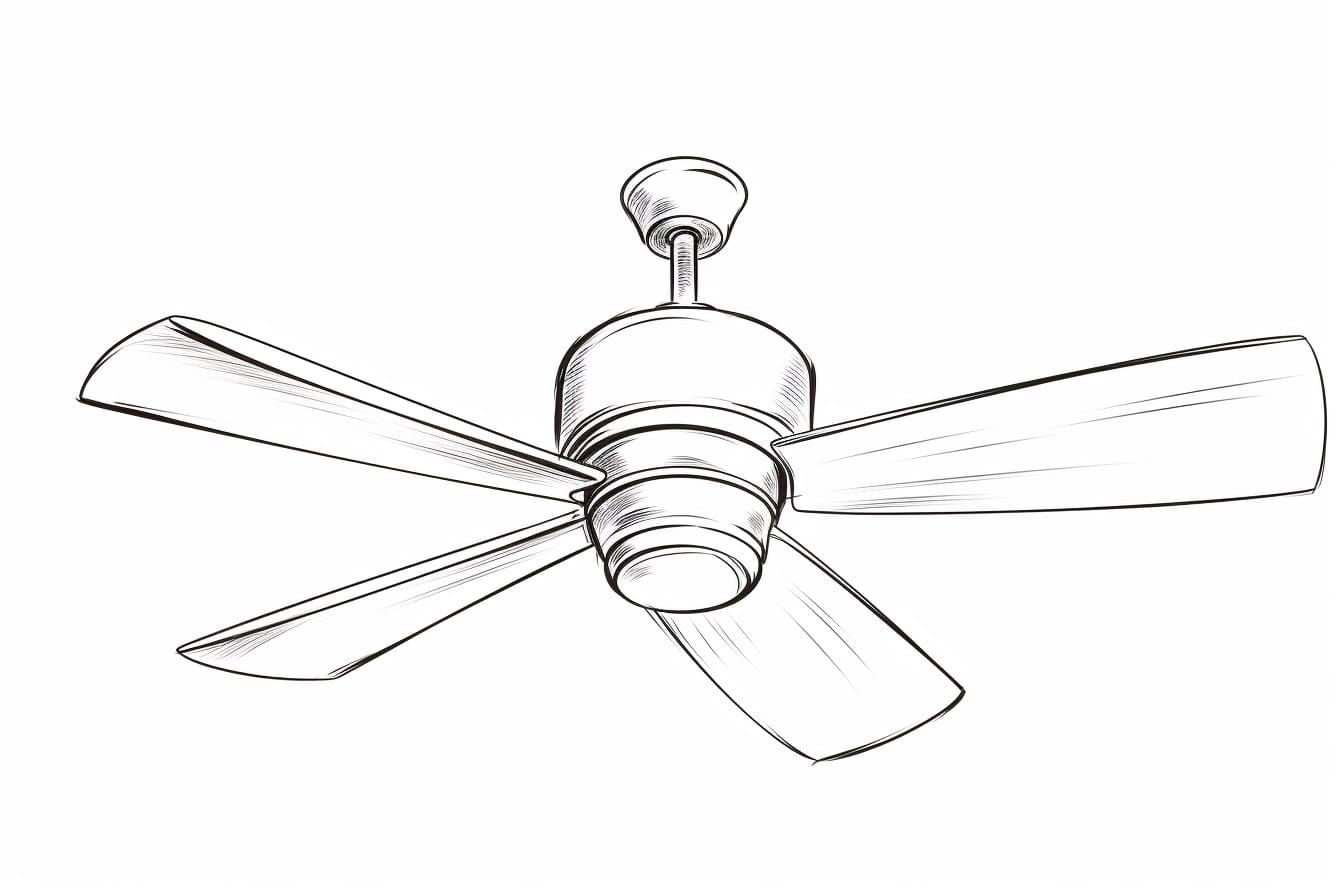
To start, lightly sketch a large circle near the center of your paper. This circle will serve as the body of the ceiling fan. You can use a compass to draw a perfect circle, or simply freehand it if you prefer a more organic look.
Step 2: Add the Blades
Next, draw five or more lines radiating out from the center of the circle. These lines will represent the fan blades. Make sure the lines are evenly spaced and extend beyond the circle, creating a symmetrical and balanced design.
Step 3: Define the Blade Shape
Now, take a closer look at the blades and notice their shape. Most ceiling fan blades are curved, tapering towards the end. To capture this shape, lightly sketch a curved line along each blade, starting from its base and gradually curving inward towards the tip. Repeat this process for every blade.
Step 4: Create Texture and Detail
To add a realistic touch to your drawing, texture and detail are essential. Begin by drawing small lines along the surface of each blade to indicate the wooden texture commonly found on ceiling fan blades. These lines should follow the curve of each blade and be evenly spaced.
Step 5: Draw the Motor Housing
Direct your attention to the center of the circle, where the motor housing is located. Sketch a slightly smaller circle within the larger one to represent the housing. This smaller circle should be positioned slightly below the center of the larger circle.
Step 6: Add Details to the Motor Housing
To give the motor housing more depth and dimension, draw a set of concentric circles inside the smaller circle. These circles will create the illusion of a three-dimensional shape. Additionally, draw a few small vertical lines extending from the top and bottom edges of the smaller circle to indicate screws or other hardware.
Step 7: Incorporate the Pull Chain
Most ceiling fans feature a pull chain that allows users to control the fan’s speed. To include this detail, draw a thin, vertical rectangle extending from the bottom of the motor housing. Then, add a small circle or sphere at the end of the rectangle to represent the chain or pull knob.
Step 8: Refine the Design
At this point, take a step back and evaluate your drawing. Fine-tune any areas that need adjustment, paying attention to proportions and symmetry. Erase any unwanted lines or smudges and make any necessary enhancements to ensure your ceiling fan drawing looks polished and accurate.
Conclusion
Congratulations! You have successfully learned how to draw a ceiling fan. By following the steps outlined in this article, you have created a detailed and realistic representation of this common household fixture. Remember, practice makes perfect, so don’t be afraid to experiment with different techniques and styles. With time and dedication, your drawing skills will continue to improve. Now, go grab your pencil and start creating amazing artwork featuring ceiling fans!