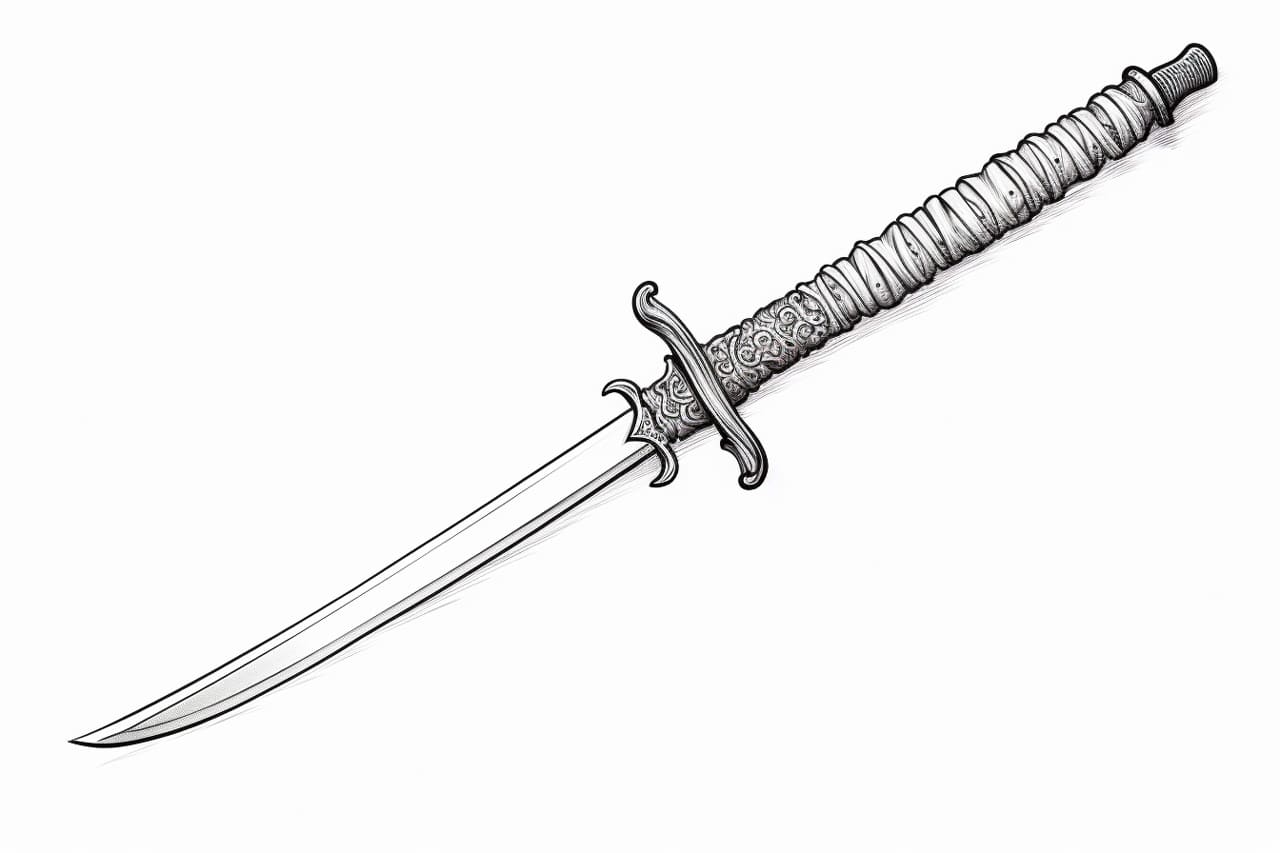
Drawing a samurai sword is a fascinating art form that requires precision and attention to detail. In this step-by-step guide, we will explore the process of how to draw a samurai sword, from understanding its basic structure to adding intricate details. Whether you are an aspiring artist or simply curious about this ancient weapon, this tutorial will help you bring the spirit of the samurai to life on paper.
Materials Required
Before we begin, let’s gather the materials you will need to draw a samurai sword:
- Drawing paper or sketchbook
- Pencil (preferably HB or 2B)
- Eraser
- Ruler
- Pen or fine liner (optional for outlining)
Now that you have everything ready, let’s jump into the steps involved in drawing a samurai sword.
Step 1: Basic Outline
Start by drawing a straight vertical line in the center of your paper. This line will serve as the core of the sword. Next, draw a shorter horizontal line about one-third of the way down from the top, intersecting the vertical line. This line represents the guard or tsuba of the sword.
Step 2: Blade and Point
Extend the vertical line upwards to create the blade of the sword. The blade should gradually taper towards the tip, forming a sharp point. Make sure to keep the lines clean and smooth. You can use a ruler to help achieve straight edges.
Step 3: Handle and Hilt
Draw a rectangle shape below the guard, extending from the vertical line. This rectangle represents the handle or tsuka of the sword. To add depth, draw another parallel line slightly curved inwards on each side of the handle to indicate the hilt or tsuka-ito.
Step 4: Guard and Pommel
Add details to the guard (tsuba) by drawing curved lines on each side of the horizontal line. These lines should resemble a flower or a symbolic design of your choice. Below the handle, draw a round or cylindrical shape for the pommel (kashira) of the sword.
Step 5: Details and Patterns
Now that we have the basic structure of the samurai sword, it’s time to add some intricate details. Study reference images or traditional samurai sword designs to get inspiration for patterns and decorations. You can add engravings, dragon motifs, or other elements to make your sword unique. Take your time and use light pencil strokes to sketch out these details before finalizing them.
Step 6: Refine the Lines
Once you are satisfied with the overall composition and details, it’s time to refine the lines. Go over the pencil lines with a pen or fine liner to create a bold, defined outline. Allow the ink to dry, and then erase any visible pencil marks. This will give your drawing a clean and professional look.
Step 7: Shading and Textures
To add depth and dimension to your samurai sword drawing, it’s important to incorporate shading and textures. Use your pencil to create shading along the blade and handle. Pay attention to the light source in your drawing and add darker tones where shadows would naturally fall. You can also experiment with cross-hatching or stippling techniques to create interesting textures on the sword.
Step 8: Finishing Touches
Take a moment to evaluate your drawing and make any necessary adjustments or additions. Add highlights to certain areas to create a sense of light reflection. Use your eraser to clean up any smudges or unwanted marks. Remember to take your time and be patient – the final touches can make a significant difference in the overall appearance of your drawing.
Conclusion
Drawing a samurai sword is a challenge that requires both technical skill and artistic interpretation. By following these step-by-step instructions and paying attention to details, you can create a stunning depiction of this iconic weapon. Embrace the rich history and symbolism of the samurai culture as you explore this art form. So grab your materials and start your creative journey into the world of the samurai sword.