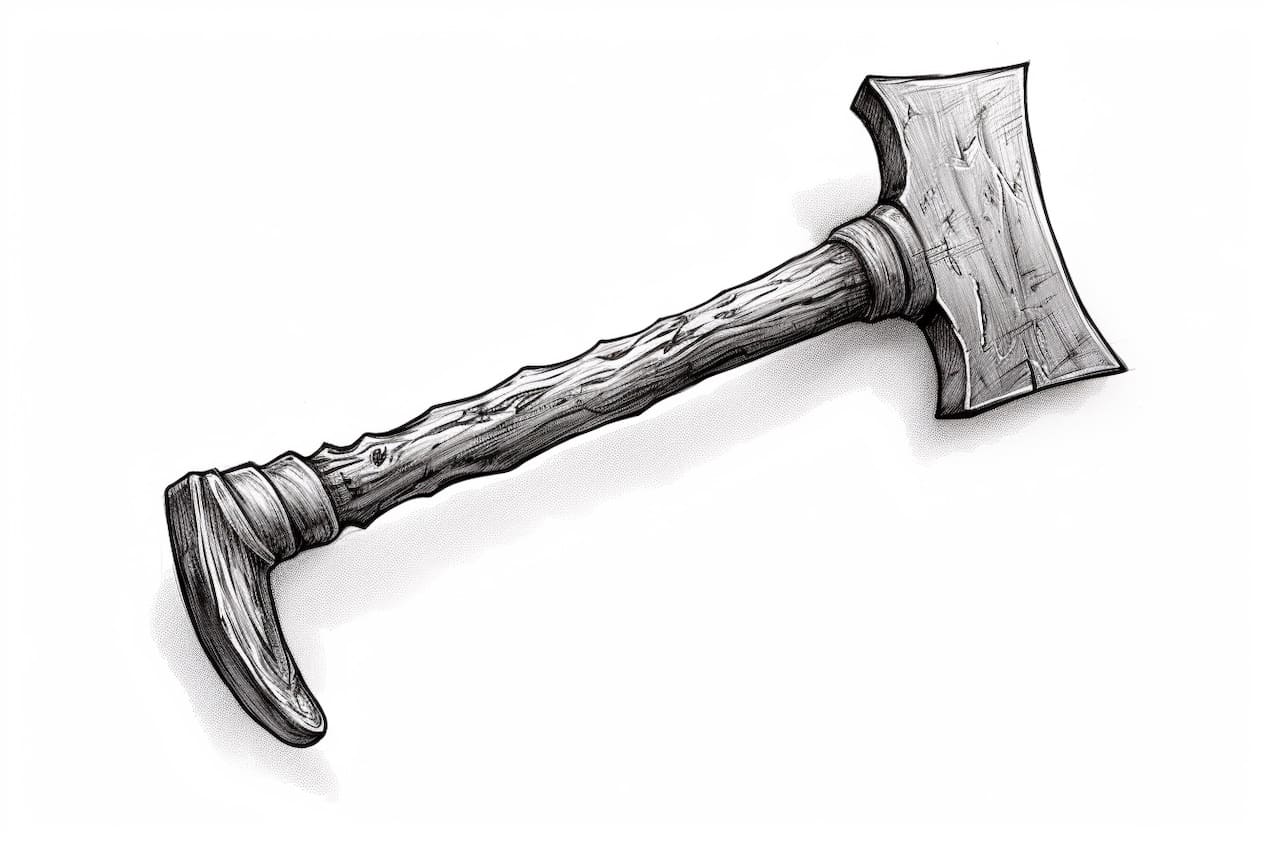
Drawing is a wonderful way to express your creativity and bring your imagination to life. If you’re interested in learning how to draw a hatchet, you’ve come to the right place. In this step-by-step guide, I’ll walk you through the process of creating a detailed and realistic representation of a hatchet. So, grab your pencils and let’s get started!
Materials Required
Before we dive into the drawing process, here’s a list of materials you’ll need:
- Drawing paper: Choose a smooth, heavyweight paper that can handle shading and blending.
- Pencils: Get a range of graphite pencils with different hardness levels, such as HB, 2B, 4B, and 6B.
- Eraser: A kneaded eraser works best for removing mistakes and lightening pencil marks.
- Pencil sharpener: Keep your pencils sharp for precise lines and details.
- Ruler: A straightedge ruler will help you draw straight lines and achieve accurate proportions.
- Reference image: Find a clear and detailed picture of a hatchet to guide your drawing.
Now that you have all the necessary materials, let’s move on to the step-by-step process of drawing a hatchet.
Step 1: Sketch the Outline
Start by lightly sketching a vertical line that represents the handle of the hatchet. Then, draw a horizontal line intersecting the vertical line towards the top, creating the shape of the hatchet head. Use a light touch with your pencil to make it easier to erase any mistakes later on.
Step 2: Define the Handle
Using the reference image as a guide, draw the shape of the hatchet handle around the vertical line. Pay attention to its thickness and curvature. Hatchet handles are usually wider towards the base and taper towards the top. Add details like wood grain and any other distinctive features you see.
Step 3: Add the Hatchet Head
Next, draw the outline of the hatchet head by following the shape you sketched in step 1. Hatchet heads have a broad blade and a pointed tip. Make sure the proportions and angles of the blade are accurate. Refine the shape until you’re satisfied with the overall appearance.
Step 4: Enhance the Details
Now it’s time to focus on the details that will make your hatchet drawing more realistic. Begin by adding the eye of the hatchet near the top of the blade, which is the hole where the handle is attached. Then, carefully add the cutting edge of the blade and any bevels or curves you see.
Step 5: Shading and Texturing
To give your drawing depth and dimension, it’s essential to master shading techniques. Start by lightly applying shading to the areas that should appear darker, such as the inside of the hatchet head and the handle where shadows are cast. Use your pencil to create smooth gradients by applying varying amounts of pressure.
Step 6: Darken the Shadows
Now, it’s time to deepen the shadows and add more contrast to your drawing. Gradually increase the pressure on your pencil to make the shaded areas darker. Pay attention to the direction of the light source in your reference image and ensure that your shadows align accordingly.
Step 7: Add Texture and Details
To make your hatchet drawing even more realistic, it’s crucial to add texture and small details. Use a pencil with a harder lead, such as an HB or 2B, to create wood grain on the handle. Lightly sketch short, curved lines to mimic the natural texture of wood. Don’t forget to add any logos, markings, or other unique features that appear on the hatchet in your reference image.
Step 8: Final Touches
At this stage, step back and assess your drawing as a whole. Make any necessary adjustments to ensure the proportions, angles, and details are accurate. Use your eraser to remove any stray marks or smudges, and refine any areas that need more precision. Take your time with these final touches to achieve a polished drawing.
And there you have it! By following these steps, you should now have a beautifully drawn hatchet. Drawing takes practice, so don’t worry if your first attempt isn’t perfect. Keep refining your skills, and soon you’ll be able to create stunning drawings of all kinds.
Conclusion
Drawing a hatchet may seem challenging at first, but with practice and patience, you can master it. By following the step-by-step instructions provided in this guide, you can create a detailed and realistic representation of a hatchet. Remember to gather the necessary materials before you start and use a reference image to guide your drawing. Enjoy the process of bringing your hatchet drawing to life, and let your creativity shine!

