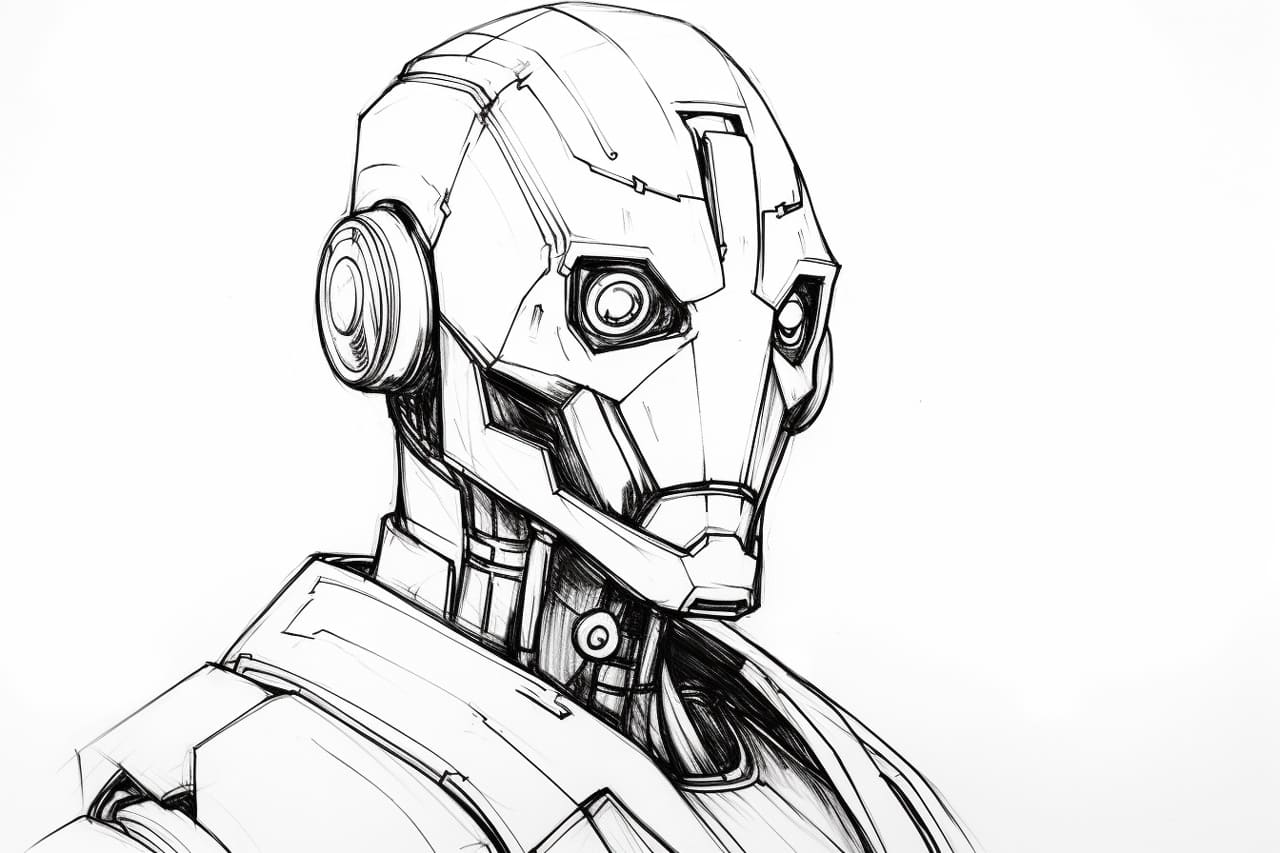
Are you ready to dive into the exciting world of robotics? Drawing a cool robot is a great way to let your imagination run wild and showcase your artistic skills. In this step-by-step guide, I will teach you how to create your own unique robot from scratch. So grab your pencils, paper, and let’s get started!
Materials Required:
To bring your cool robot to life, you will need the following materials:
- A pencil: Choose one that you feel comfortable with. A mechanical pencil or a regular graphite pencil will work just fine.
- Paper: Select a clean sheet of paper or a sketchbook. Make sure the paper is thick enough to withstand erasing and coloring.
- Eraser: We all make mistakes, so it’s essential to have a good eraser handy to correct any errors.
- Fine-tipped markers or colored pencils: These will be used to add color and details to your robot. You can choose any colors you like to make your creation pop!
Now that you have all your materials gathered, let’s dive into the steps of creating a cool robot.
Step 1: Sketching the Basic Shapes
Start by lightly sketching the basic shapes that will form the foundation of your robot. Begin with a square or rectangular shape for the body, and add circles for the head and joints. Play around with the proportions and placement to create an interesting and dynamic pose.
Step 2: Adding Details
Once you have the basic shapes in place, it’s time to add some details to bring your robot to life. Start by sketching the robot’s facial features, such as eyes, nose, and mouth, on the head circle. Then, add details to the body, like buttons, control panels, or any other unique features you can think of.
Step 3: Refining the Sketch
Now that you have the main structure and details in place, it’s time to refine your sketch. Go over the rough lines with more confident and defined strokes. Pay attention to the contours of the shapes and add any small details that you want to highlight.
Step 4: Inking the Lines
Once you’re satisfied with your refined sketch, it’s time to ink the lines. Use a pen or fine-tipped markers to trace over your pencil lines, making them bold and permanent. Take your time and be careful not to smudge the ink as you work.
Step 5: Coloring Your Robot
Now comes the fun part – coloring! Decide on the color scheme for your robot and start applying it to your drawing. Use colored pencils or markers to fill in the different parts of the robot, adding depth and shading as you go. Get creative with your color choices to make your robot truly unique and eye-catching.
Step 6: Adding Shadows and Highlights
To take your robot drawing to the next level, add shadows and highlights. Identify a light source in your drawing and use darker shades to create shadows on the opposite side. Conversely, use lighter shades or leave areas blank to indicate highlights where the light hits the robot.
Step 7: Adding Background
To complete your cool robot drawing, consider adding a background. It could be a futuristic cityscape, a laboratory, or any other environment that complements your robot’s theme. This will enhance the overall composition and provide context for your creation.
Conclusion
Congratulations! You’ve successfully learned how to draw a cool robot from start to finish. By following the step-by-step instructions and using your creative flair, you’ve created a unique and captivating piece of artwork. So keep practicing, experiment with different styles, and let your imagination soar as you continue your artistic journey.


