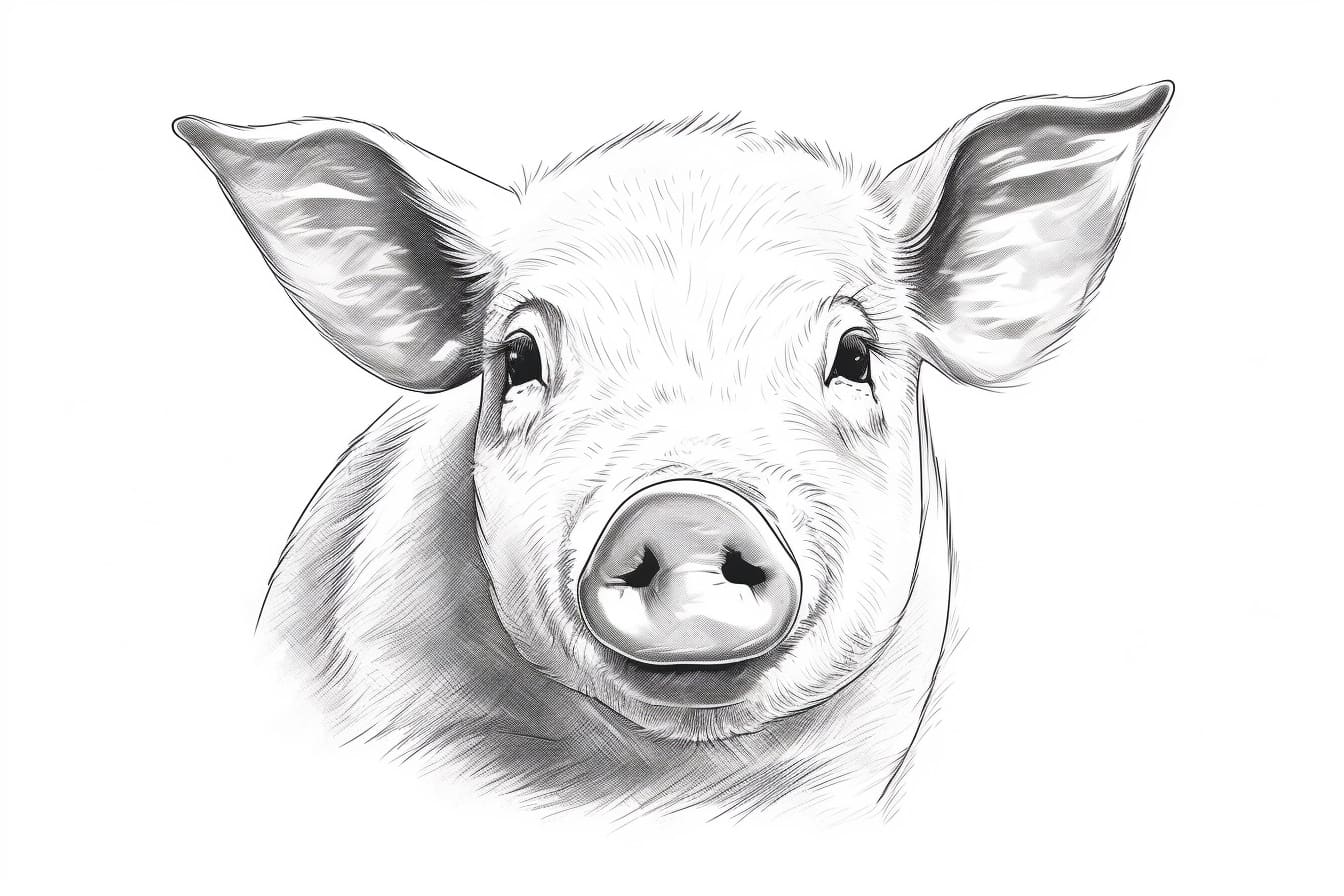
Welcome to this step-by-step tutorial on how to draw a pig face! Whether you are an aspiring artist or just looking for a fun activity, learning how to draw a pig face can be both enjoyable and rewarding. In this tutorial, I will guide you through each step, providing detailed instructions to help you create your own adorable pig face masterpiece. So, grab your drawing materials and let’s get started!
Materials Required
Before we begin, make sure you have the following materials on hand:
- A pencil
- Eraser
- Paper
- Colored pencils or markers (optional)
Now that you have everything you need, let’s dive into the step-by-step process of drawing a pig face.
Step 1: Basic Outline
To start, lightly sketch a circle on your paper. This circle will serve as the basis for the pig’s head. Don’t worry about perfect proportions at this stage; we will refine the shape in later steps.
Step 2: Snout and Ears
Next, draw a smaller oval shape at the bottom of the circle to create the pig’s snout. Then, on either side of the head, draw two curved lines that connect to the snout. These lines will form the pig’s ears. Make sure to leave enough space between the ears and the snout for the eyes later on.
Step 3: Eyes and nostrils
Now, within the snout, draw two circles to represent the pig’s nostrils. These circles should be relatively small and evenly spaced. Above the snout, draw two oval shapes for the eyes. Position the eyes so they are roughly centered between the ears and the snout.
Step 4: Mouth and Teeth
Extend the bottom of the snout slightly to shape the pig’s mouth. Then, within the mouth, draw a row of small overlapping curves to create the teeth. You can draw as many or as few teeth as you like, but make sure they are evenly spaced.
Step 5: Refining the Head Shape
Now, take a look at the overall shape of the pig’s head and make any necessary adjustments. Use your eraser to remove any unnecessary lines and refine the outline. Pay attention to the curves and angles of the head, ensuring a smooth and pleasing shape.
Step 6: Face Details
To add some character to your pig face, let’s focus on the face details. Within each eye, draw a smaller circle to represent the iris. Then, draw a smaller circle within the iris to create the pupil. You can also add eyelashes above each eye to make your pig face more expressive.
Step 7: Snout Texture
To give your pig’s snout some texture, draw a series of short, curved lines across the surface. These lines should follow the contour of the snout and give the impression of wrinkles and folds. Be mindful of the size and spacing of these lines, as they can greatly affect the appearance of the snout.
Step 8: Ears and Hair
Now, let’s give the pig’s ears some definition. Add curved lines within the ears to create an inner ear texture. You can also draw a few hairs at the base of each ear to make it look more realistic. Don’t forget to erase any unnecessary lines or guidelines as you go along.
Step 9: Color and Shading (optional)
If you prefer a colored drawing, this is the time to bring out your colored pencils or markers. Choose the colors you want for your pig face and gently add them to each part of the drawing. Don’t forget to consider light and shadow when shading your pig’s face to create a more three-dimensional look.
Conclusion
Congratulations, you have now successfully learned how to draw a pig face! By following these step-by-step instructions, you have created your very own adorable pig face drawing. Remember, drawing is a skill that improves with practice, so keep experimenting and exploring your creativity. Whether you are using this tutorial for educational purposes or simply as a fun activity, I hope you enjoyed the process and are satisfied with your final result. Happy drawing!