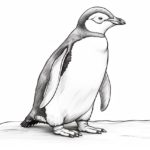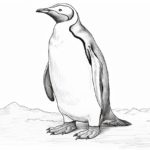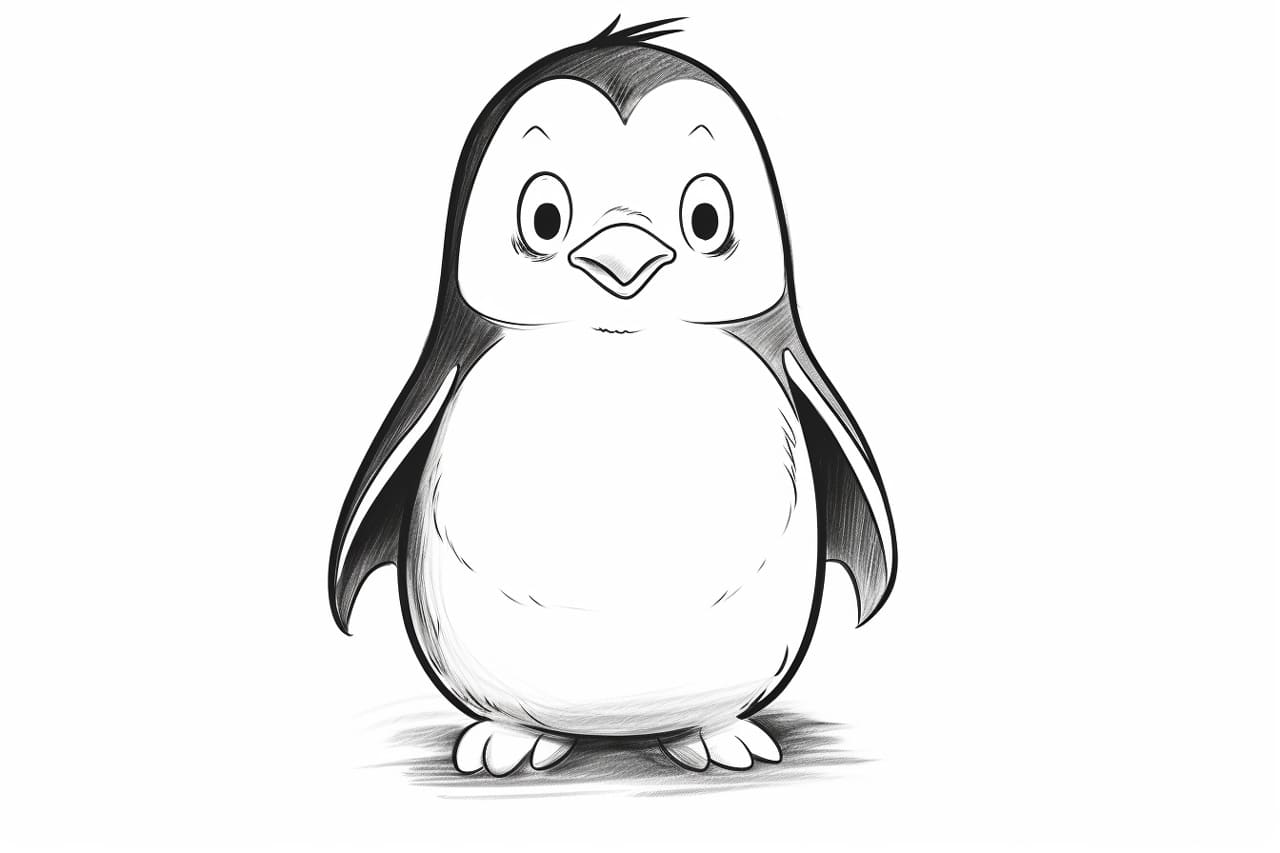
Welcome to this step-by-step guide on how to draw a cartoon penguin! Penguins are adorable creatures that often bring joy to our hearts. With just a few simple steps, you can create your very own cartoon penguin that will surely make everyone smile. So grab your drawing materials and let’s get started!
Materials Required
To begin drawing your cartoon penguin, you will need the following materials:
- Pencil
- Eraser
- Paper
- Black marker or pen
- Colored pencils or markers (optional, for coloring your penguin)
Now that you have everything you need, let’s dive into the drawing process!
Step 1: Basic Shapes
Start by drawing a large oval shape for the penguin’s body. This will be the main part of your penguin.
Next, draw a smaller oval shape above the larger one for the penguin’s head. Make sure to leave some space in between for the neck.
Step 2: Wings and Feet
Add two small, rectangular shapes on each side of the penguin’s body to create the wings. These will be the flippers.
Now, draw two short, curved lines at the bottom of the body to make the penguin’s feet. Penguins have webbed feet, so keep that in mind when drawing them.
Step 3: Eyes and Beak
On the penguin’s head, draw two large circles for the eyes. Leave a little space between the circles to create a cute, wide-eyed look.
Inside each eye, draw a smaller circle for the pupils. This will give your penguin a more lively appearance.
Below the eyes, draw a small triangle shape for the beak. Make sure the beak is centered between the eyes and slightly overlaps the larger oval shape.
Step 4: Details and Face
Add some small details to your penguin’s face. Draw a curved line above the eyes to create the forehead.
Next, draw a few short, curved lines above the beak to make the penguin’s eyebrows. This will give your penguin some expression.
To complete the face, draw a smiley mouth just below the beak. You can also add rosy cheeks by drawing two small circles on each side of the face.
Step 5: Body and Belly
To make your penguin look more three-dimensional, add some curved lines on the larger oval shape to create the penguin’s body. These lines should follow the contour of the oval, giving the illusion of feathers.
Now, draw a small curved shape at the bottom of the penguin’s body to create the belly. This will be a lighter shade than the rest of the body.
Step 6: Coloring (Optional)
If you want to add some color to your cartoon penguin, now is the time to do so! Grab your colored pencils or markers and have fun giving your penguin some personality.
Typically, penguins have black and white feathers, but feel free to get creative and use different colors if you’d like. You can also add some shading to give your penguin more depth and dimension.
Step 7: Final Touches
Once you’re satisfied with the main features of your penguin, go over your drawing with a black marker or pen to make the lines bold and crisp. This will give your cartoon penguin a finished and polished look.
Finally, erase any unnecessary pencil lines that may still be visible, and your cartoon penguin is complete!
Conclusion
Congratulations! You have successfully learned how to draw a cartoon penguin. With just a few simple steps, you were able to create an adorable and playful character that can bring joy to others.
Remember, don’t be afraid to experiment and add your own personal touch to each drawing. Every cartoon penguin can be unique and special in its own way.
So grab your pencil and paper, and start drawing more penguins! Whether it’s for fun or as a thoughtful gift, your cartoon penguins are sure to bring smiles to those who see them.