
Welcome to this step-by-step guide on how to draw Bulbasaur, the iconic Grass/Poison-type Pokémon. Whether you’re a seasoned artist or just starting out, this tutorial will walk you through each step to help you create your very own Bulbasaur masterpiece. So, grab your materials and let’s get started!
Materials Required
Before we begin, make sure you have the following materials:
- A blank sheet of paper
- Pencils (HB and 2B recommended)
- Eraser
- Black fine-tip pen or marker (optional for outlining)
- Colored pencils or markers (optional for coloring)
Now that you have all your materials ready, let’s dive into the step-by-step process of drawing Bulbasaur!
Step 1: Basic Outline
Begin by lightly sketching a large oval shape in the center of your paper. This will be Bulbasaur’s body. Next, draw a smaller oval shape on top of the body for Bulbasaur’s head. Add two small circles on the head for the eyes, leaving a small gap between them. Beneath the head, draw a curved line for the mouth.
Step 2: Facial Features
In this step, we will focus on adding more details to Bulbasaur’s face. Start by drawing the iris within each eye circle. Then, inside the iris, add a smaller circle for the pupil. Above the eyes, draw two curved lines for Bulbasaur’s distinctive brow ridges. These lines should slightly angle downwards towards the center of the face. Finally, add a small oval-shaped nostril on either side of the mouth.
Step 3: Bulbasaur’s Ears
Moving on to Bulbasaur’s ears, draw two long, curved lines on the top of its head, starting from the sides of the head and curving slightly inward. At the tips of the ears, add a small leaf shape on each side by drawing a curved line that splits towards the top.
Step 4: Bulbasaur’s Body
Extend two curved lines down from Bulbasaur’s body for its belly. These lines should curve slightly outward, giving Bulbasaur a rounded look. Next, draw two small arms by adding short curved lines on either side of the body near the top. At the bottom of the body, draw two curved lines that meet in a point to form Bulbasaur’s stubby legs. Add small ovals at the end of each leg for its feet.
Step 5: Bulbasaur’s Vine
Bulbasaur is known for the vine that grows out of its back. To draw this vine, start at the center of Bulbasaur’s back and draw a long, curved line moving upwards and to the left. Then, from the tip of this line, draw another curved line that moves downward and to the right, ending near the bottom of Bulbasaur’s body. Add small leaf shapes along the vine by drawing curved lines that split towards the top.
Step 6: Finalizing the Outline
Now that you have all the main features of Bulbasaur drawn, it’s time to finalize the outline. Using either a darker pencil or a fine-tip pen, carefully trace over your pencil lines, emphasizing the outlines of Bulbasaur’s body and features. Take your time with this step to ensure a clean and polished look.
Step 7: Adding Details
With the outline complete, it’s time to add more details to your Bulbasaur drawing. Start by adding Bulbasaur’s characteristic spots on its back. These spots are irregular in shape and vary in size. Strategically place them along Bulbasaur’s back, following the contours of its body.
Step 8: Coloring
If you wish to bring your Bulbasaur to life with color, grab your colored pencils or markers and let’s get coloring! Bulbasaur is primarily green, so start by filling in its body and head with a light green shade. Use a darker shade of green for the spots on its back and the vine. Bulbasaur’s eyes, brow ridges, and mouth can be colored in black.
Don’t be afraid to get creative with your color choices. You can experiment with different hues and shading techniques to add depth and dimension to your drawing.
Step 9: Final Touches and Shading
To add the finishing touches to your Bulbasaur drawing, take an eraser and carefully remove any stray pencil marks. You can also add shading to certain areas of Bulbasaur to create a more realistic look. Identify the areas where light would hit the Pokémon, such as the top of its head and body, and use a darker shade of green to add subtle shading in those areas.
Conclusion
Congratulations, you have successfully drawn Bulbasaur! By following this step-by-step guide, you’ve created your own unique interpretation of this beloved Pokémon. Remember, practice makes perfect, so keep honing your drawing skills and exploring new techniques.
We hope you enjoyed this tutorial on how to draw Bulbasaur. With a little patience and perseverance, you can bring your favorite Pokémon to life on paper. Happy drawing!
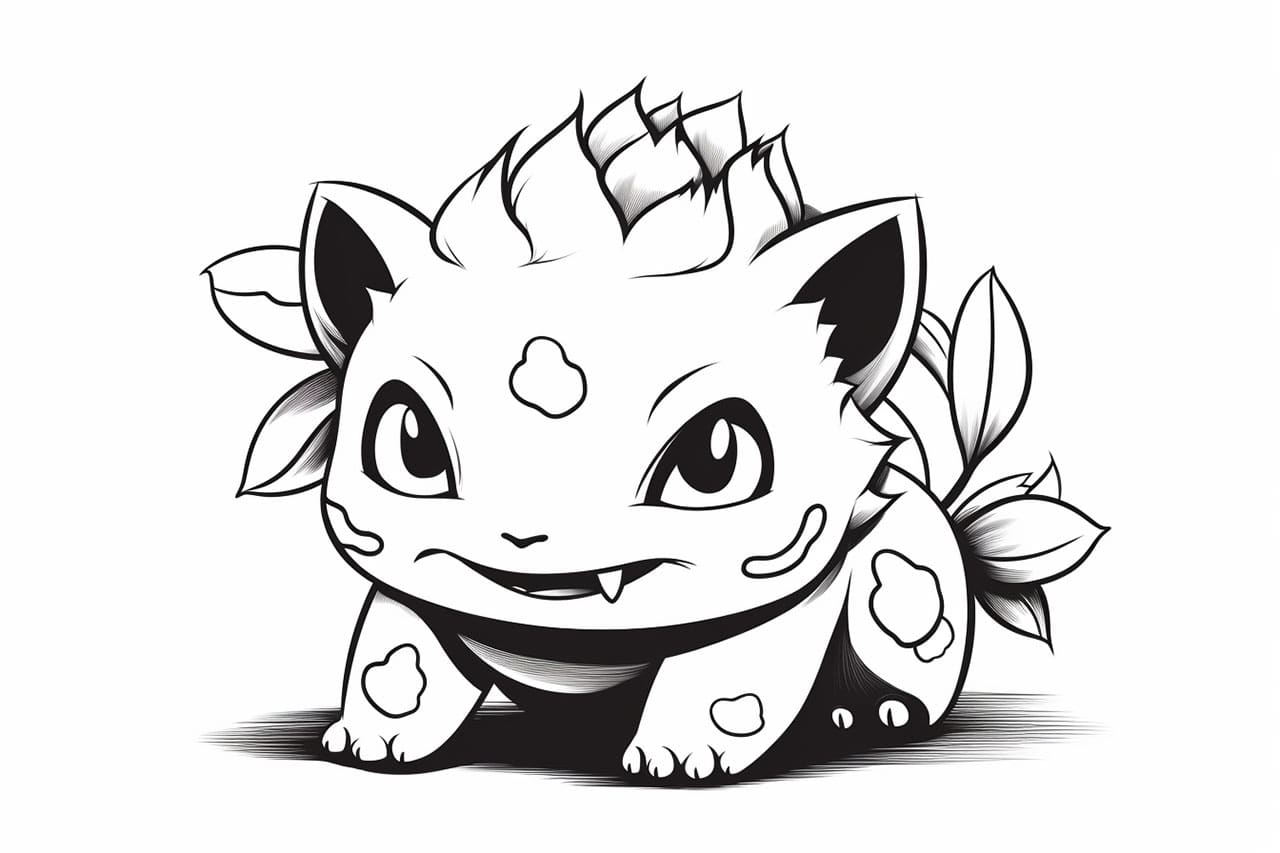
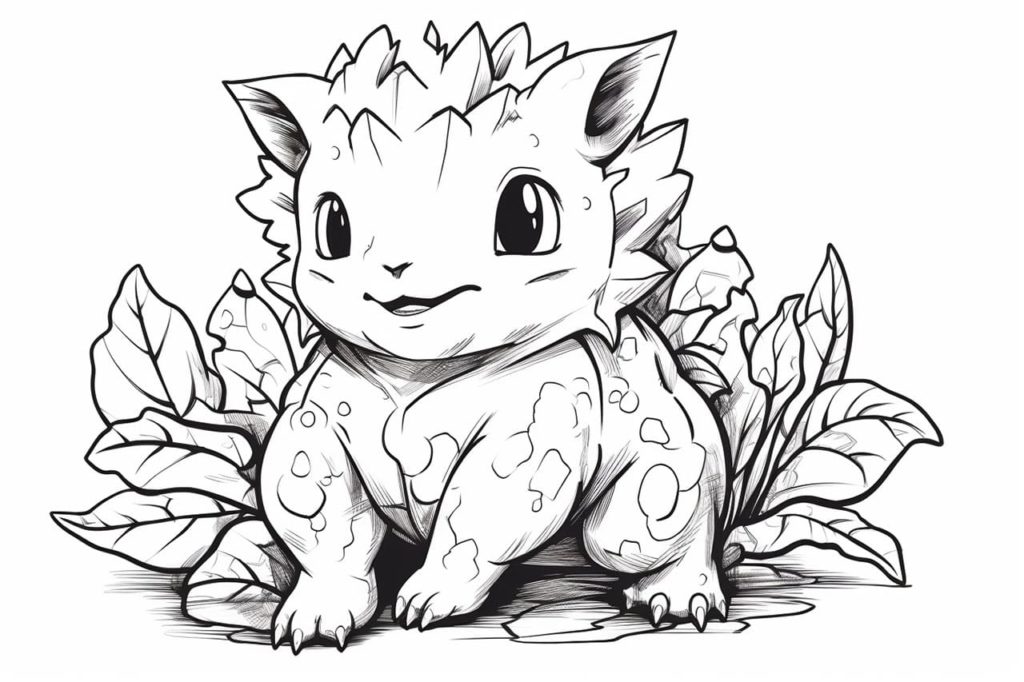
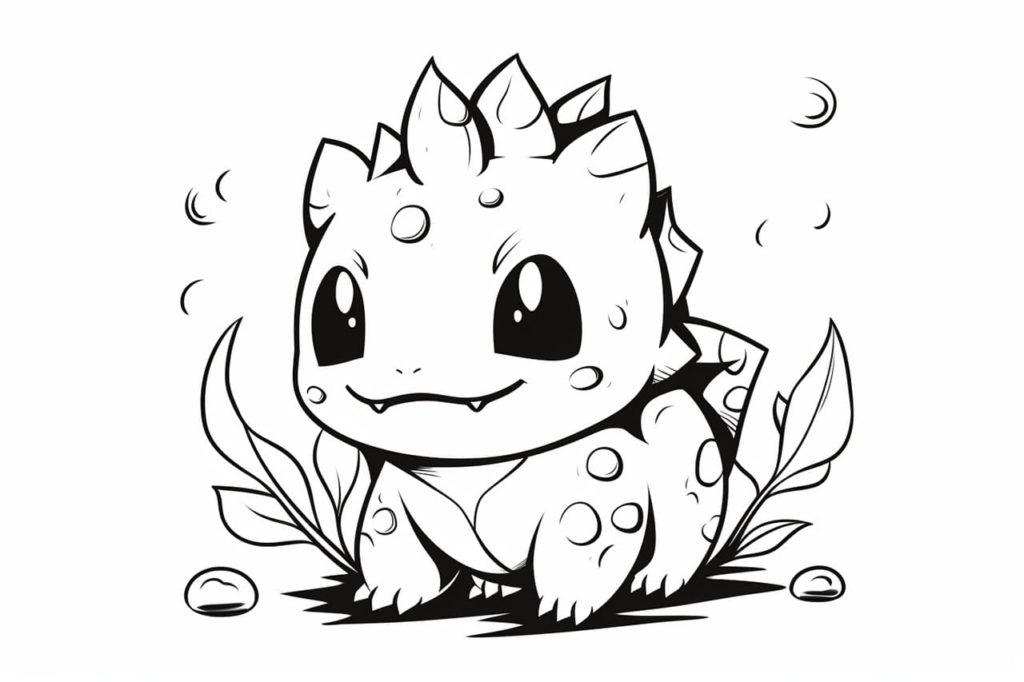
Gallery of Bulbasaur Drawings

Related posts:
 How to Draw a Dove: A Step-by-Step Guide
 How to Draw a Cornucopia: A Step-by-Step Guide
 How to Draw a Bulldog: A Step-by-Step Guide
 How to Draw Popcorn: A Step-by-Step Guide
 How to Draw a Realistic Snake: A Step-by-Step Guide
 How to Draw Kakashi – A Step-by-Step Guide
 How to Draw Nemo: A Step-by-Step Guide
 How to Draw a Skirt: A Step-by-Step Guide for Aspiring Artists