How to Draw a Peacock in 9 Easy Steps
Learn how to draw with this step-by-step tutorial.
Materials You'll Need
- Drawing paper
- Pencil (HB or 2B)
- Eraser
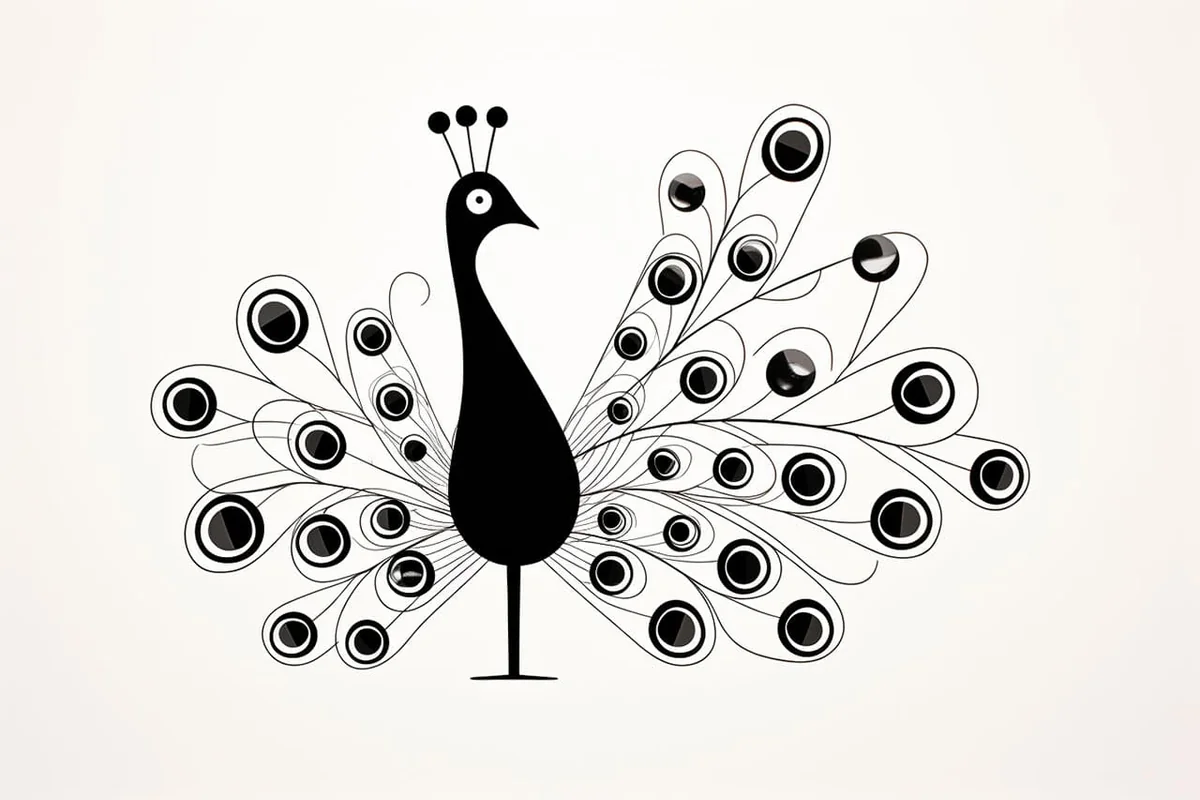
Few birds are as breathtaking and regal as the peacock—a symbol of beauty, grace, and extravagance. With its iridescent feathers, striking patterns, and elegant posture, the peacock is a fascinating subject for artists looking to master intricate details and dynamic compositions.
In this step-by-step tutorial, we will guide you through the entire process of how to draw a peacock, from sketching its graceful form to adding the intricate details of its extravagant tail feathers. Whether you're a beginner or an experienced artist, this guide will help you bring this magnificent bird to life on paper.
By the end of this tutorial, you'll have the skills and techniques to create a stunning peacock drawing that showcases its splendor and personality. So, grab your pencils, sketchbook, and a bit of patience, and let's begin this artistic journey into the world of the peacock! ✨
Materials Required
-
Pencils (HB, 2B, 4B)
-
Eraser
-
Drawing paper
How to Draw a Peacock Step-by-Step
Step 1: Draw the Basic Body Shape
To start, draw a small oval for the head of the peacock. Next, draw a larger oval connected to the head for the body. The body oval should be slightly elongated to represent the shape of a peacock's body.
Step 2: Add the Neck and Beak
Extend a curved line from the head oval to create the neck of the peacock. Draw a small triangle at the end of the neck for the beak. The beak should point downwards.
Step 3: Draw the Tail Feathers
The most distinctive feature of a peacock is its tail feathers. Draw a long, sweeping curve extending from the back of the body. This will be the first tail feather. Next, draw a second tail feather parallel to the first one, but slightly shorter. Continue this pattern and draw more tail feathers, making each one shorter than the previous one.
Step 4: Add Detail to the Tail Feathers
Now, let's add some detail to the tail feathers. Draw small, curved lines on each feather to represent the individual eye-like patterns that peacock feathers are known for. Add some intricate designs to the feathers to make them look more realistic and captivating.
Step 5: Draw the Wings
Next, draw the wings of the peacock. Extend a long, curved line from the side of the body to create the first wing. Repeat this step on the other side to draw the second wing.
Step 6: Sketch the Legs and Feet
Now, let's draw the legs and feet of the peacock. Draw two straight lines extending from the bottom of the body for the legs. At the end of each leg, draw three small toes for the feet.
Step 7: Add Details to the Head
Tip: As you work on your peacock drawing, remember to regularly step back and assess your proportions and details from a distance. This perspective can help you spot areas that may need adjustment or additional detail, ensuring that your final artwork captures the stunning beauty and grace of a peacock more effectively.
To make the head of the peacock more detailed, draw a small circle around the eye. Add some curved lines on the head to represent the peacock's crown or crest.
Step 8: Add Feathers to the Neck
Draw small, curved lines along the neck to represent the feathers on the peacock's neck.
Step 9: Final Touches
Take a step back and look at your drawing as a whole. Make any necessary adjustments and add any final touches that you feel are necessary to make your peacock drawing come to life with vibrancy and grace.
Conclusion
Congratulations! You have successfully drawn a magnificent peacock. The peacock's beauty lies in its vibrant colors and mesmerizing feathers, and with this step-by-step tutorial, you've captured its essence on paper. Keep practicing and exploring your artistic talents, and you'll be able to draw even more exquisite peacocks in different poses and styles. Happy drawing!
Gallery of Peacock Drawings


Fun Facts About Peacocks
-
Peacocks are actually the males of the species; the females are called peahens, and together they are known as peafowl.
-
Their dazzling tail feathers, or "train," can reach up to 6 feet in length and contain eye-like patterns known as "ocelli" to attract mates.
-
Peafowl are native to India and Sri Lanka, where they have been celebrated in art and legend for thousands of years.
-
Despite their heavy tails, peacocks are capable of short bursts of flight to escape predators.
-
Their vivid tail colors are due to microscopic crystal-like structures that reflect light, rather than pigments.
-
In addition to the Indian Peacock, there are two other species: the Green Peacock and the elusive Congo Peacock.
-
Peacocks molt and lose their splendid tail feathers each year after mating season, which regrow the following year.
-
A group of peafowl is known as a "party" or an "ostentation," fitting for such a showy bird.
-
Peacocks have a loud call that can be heard over a long distance, and it's rumored that they can even sense oncoming rain.
-
Peacocks are often kept in zoos and gardens for pest control, as they are known to eat snakes and insects.
Suggestions for Scenes and Settings for Peacock Drawings
-
Majestic Forest Clearing: Illustrate a peacock with its feathers fanned out in a serene woodland setting, dappled sunlight streaming through the trees.
-
Royal Palace Gardens: Depict a peacock strolling regally through an opulent garden, with marble statues and fountains in the background.
-
Rainforest Hideaway: Show a pair of peacocks amidst the lush greenery of a tropical rainforest, vibrant flora accentuating their brilliant feathers.
-
Lakeside Reflection: Design a picturesque scene of a peacock eyeing its shimmering reflection in a tranquil lake, surrounded by water lilies.
-
Colorful Market Day: Create an exotic scene with a peacock strutting through a bustling market, colorful stalls with fruits, fabrics, and spices adding vibrancy.
-
Dawn on a Farm: Picture a peacock perched on a weathered barn fence at sunrise, basking in the golden morning light.
-
Enchanted Fairy Tale: Imagine a dreamy setting where a peacock accompanies a fairy princess in an enchanted meadow, glowing under moonlight.
-
Island Paradise: Depict a peacock walking gracefully on a sunlit beach, the ocean waves and distant palms creating a tropical ambiance.
-
Mystical Ruins: Draw a scene where a peacock explores ancient ruins, vines creeping over stone archways and hidden symbols.
-
Peacock in Snow: Capture the contrast of a colorful peacock against a snowy landscape, with snowflakes dusting its iridescent feathers.