Are you ready to unleash your inner artist and draw corn? Welcome to this engaging step-by-step tutorial designed to walk you through the delightful process of illustrating this quintessential summer vegetable. Drawing corn can be a rewarding and enjoyable activity, whether you’re aiming to produce a picturesque cornfield scene or a detailed close-up of a single corn cob.
In this tutorial, we’ll explore various techniques that will help you capture the vibrant texture and intricate details of corn. With a little practice and a keen eye for detail, you’ll be able to create a realistic drawing that not only looks appealing but also showcases your artistic flair. So, gather your materials, clear a space, and let’s embark on this creative journey together!
No matter your skill level, this guide will provide clear and concise instructions, making it easy to follow along. By the end, you’ll have a stunning corn drawing that you can proudly share or even incorporate into your other artistic projects. Let’s get started and watch your corn creation come to life!
Materials Required
- Pencil
- Eraser
- Drawing paper
- Reference photos of corn
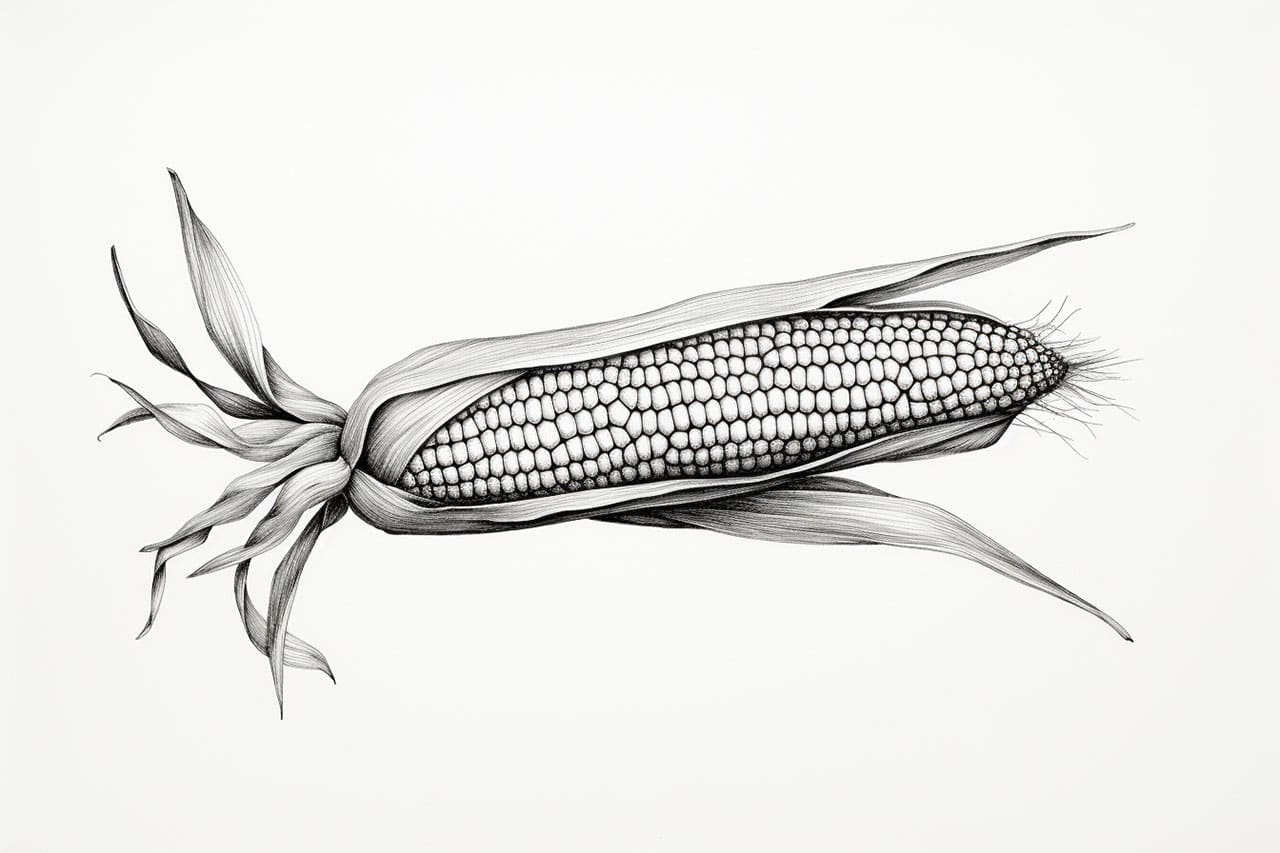
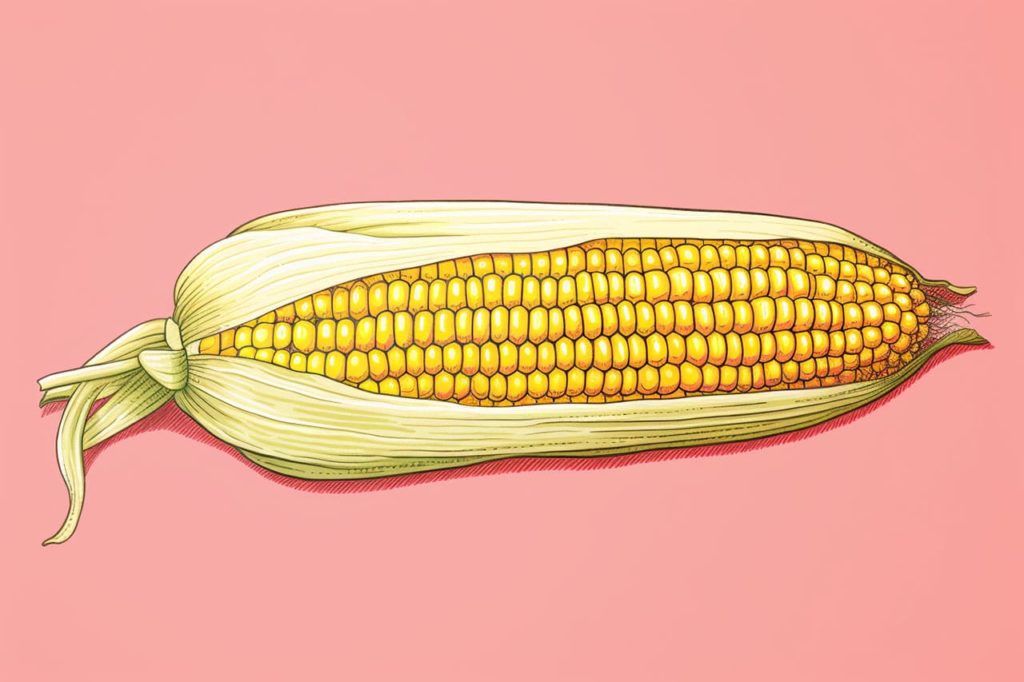
Step 1: Draw the Corn Cob
Start by drawing the basic shape of the corn cob. Draw a long oval shape in the center of your paper. This will be the main body of the corn cob.
Step 2: Add the Husk
Next, add the husk to the corn cob. Draw several long, narrow ovals around the main oval, extending outward from the top. These ovals will represent the layers of the husk.
Step 3: Detail the Husk
Now it’s time to add some detail to the husk. Draw some lines and curves along the length of the husk to give it a more natural and textured look.
Step 4: Draw the Kernels
To add the kernels to the corn cob, draw several rows of small oval shapes on the main oval. Make sure that the kernels are evenly spaced and follow the curves of the cob.
Step 5: Add Shading and Texture
Now it’s time to give your corn drawing some depth and dimension. Add shading to the corn cob to make it look more three-dimensional. Shade in the areas where shadows would naturally fall, such as the bottom of the cob and the spaces between the kernels. You can also add some texture to the husk by using short, curved lines to show the layers.
Step 6: Final Touches
Take a step back and look at your drawing as a whole. Make any necessary adjustments and add any final touches that you feel are necessary to make your corn drawing look more realistic and delicious.
Conclusion
Congratulations! You have successfully drawn a delicious corn cob. With practice and creativity, you can draw a variety of corn drawings with different perspectives and arrangements. So, grab your pencil and let your imagination soar as you create your own mouthwatering masterpieces with this “How to Draw Corn” tutorial.
Corn is a delicious summertime treat. Want another summer specialty? Try our how to draw a watermelon tutorial.
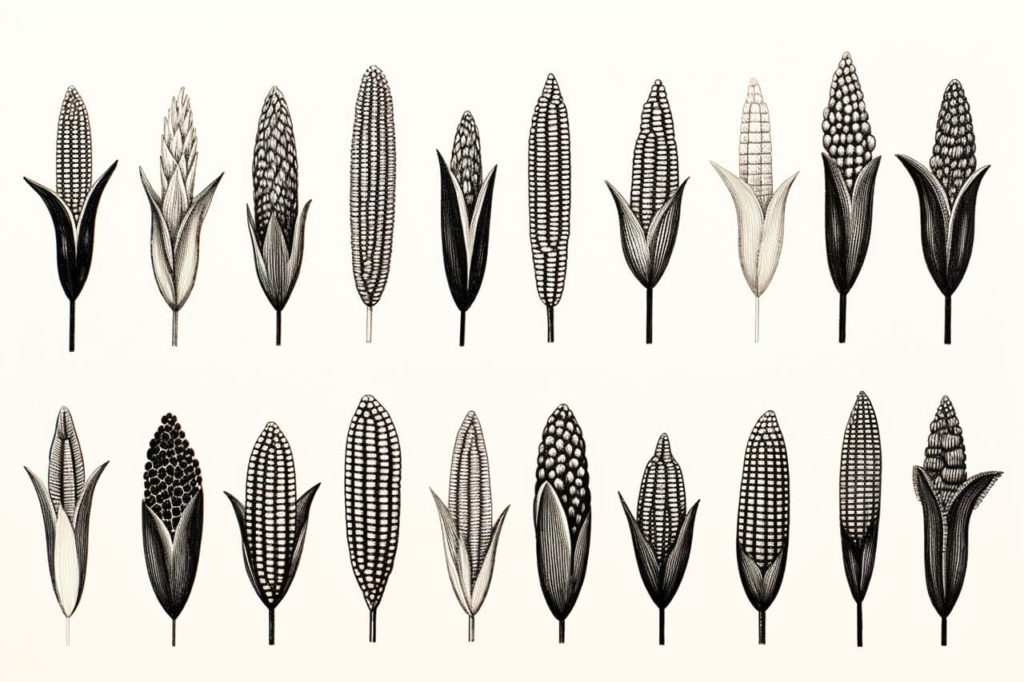
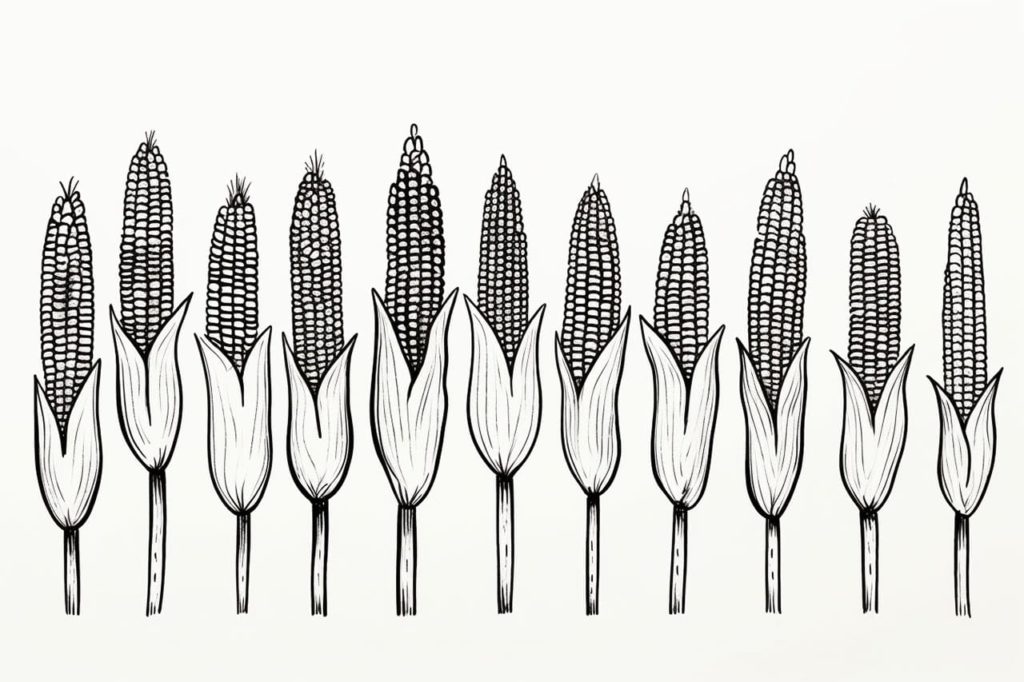
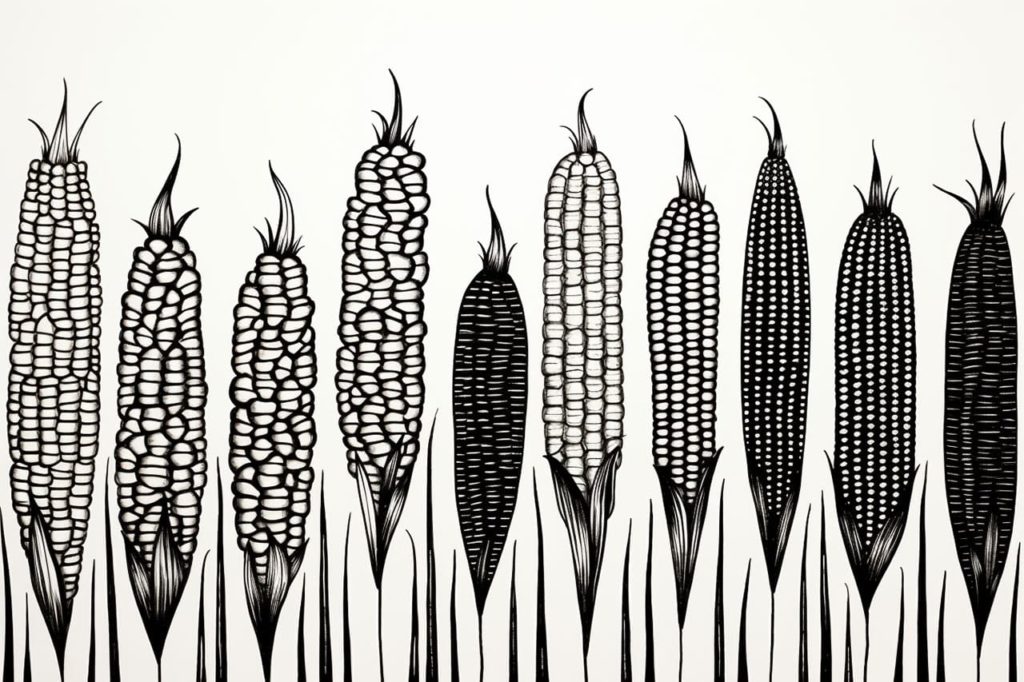
Gallery of Corn Drawings
Fun Facts About Corn
- Corn is a type of grass that was first domesticated in Mexico over 10,000 years ago and is now grown on every continent except Antarctica.
- There are six main types of corn: dent, flint, pod, popcorn, flour, and sweet corn.
- Each ear of corn typically has about 800 kernels arranged in 16 rows, and oddly enough, the number of rows on an ear is always even.
- Popcorn is a variety of flint corn with a hard, moisture-sealed hull, and it was first domesticated more than 5000 years ago.
- Corn can naturally occur in various colors, including yellow, red, purple, blue, white, and black.
- Corn is central to many Native American legends and is considered a gift from the gods by several Native cultures.
- One bushel of corn can sweeten more than 400 cans of soft drink or produce more than 30 pounds of high-fructose corn syrup.
- During the 1600s, English settlers learned about the diverse uses of corn from Native Americans, and it saved many of them from starvation.
- The United States is the world’s leading corn producer, and Iowa is the top corn-producing state.
- Corn mazes are a fun tradition in many places during the fall, with intricate designs cut into cornfields for people to navigate.
Suggestions for Scenes and Settings for Corn Drawings
- Cornfield Sunrise: Capture the beauty of a field of corn basking in the early morning sun, with dew glistening on the leaves.
- Rustic Farm Stand: Illustrate a cozy scene with bundles of corn displayed alongside pumpkins and squash at a roadside stand.
- Harvest Festival: Depict a festive scene of people celebrating the corn harvest, complete with hayrides and corn on the cob.
- Native American Legends: Recreate a mythical scene featuring corn as a divine plant, perhaps with spiritual symbols and stories.
- Popcorn Fest: Design a vibrant image of a popcorn-popping festival, with buttery smells wafting through the air and popcorn flying everywhere.
- Corn Maze Adventure: Create an adventurous scene of friends navigating a twisting and turning corn maze, with laughter and mystery around every corner.
- Autumn Picnic: Illustrate a peaceful autumn setting with a picnic blanket spread in a field of corn, complete with harvest-themed snacks.
- Cartoon Corn Characters: Give corn a personality by drawing animated cob characters with faces, engaging in farm life activities.
- Historical Corn Farming: Picture a historical depiction of traditional corn farming methods, showing people working with age-old tools.
- Alien Cornfield Encounter: Imagine a whimsical sci-fi scene with aliens investigating a cornfield, perhaps attempting to communicate with the plants.