Welcome to this step-by-step guide on how to draw an avocado! Whether you are a beginner or an experienced artist, this tutorial will provide you with clear instructions to create a realistic and detailed avocado illustration. So, let’s get started!
Materials Required
Before we begin, gather the following materials:
- Pencil
- Eraser
- Paper
- Colored pencils or markers (optional)
Now that you have everything you need, let’s dive into the process of drawing an avocado!
Step 1: Basic Outline
Start by drawing a simple oval shape that will serve as the main body of the avocado. You can make the oval slightly elongated to imitate a real avocado’s shape. Don’t worry about perfection at this stage, as we will refine our drawing as we progress.
Step 2: Divide the Avocado
Draw a vertical line down the center of the oval. This line represents the division between the two halves of the avocado. Make the line slightly curved to give a more organic appearance.
Step 3: Texture and Pit
To add texture to our avocado, draw small ovals or curved lines across the surface. These lines imitate the bumpy skin of an avocado. Next, draw an oval shape near the top portion of the avocado to represent the pit. The pit should be slightly off-center.
Step 4: Details
Now, let’s refine the outline of our avocado. Go over the basic shape, making the edges smoother and more defined. Erase any unnecessary lines, such as the division line we drew in step 2.
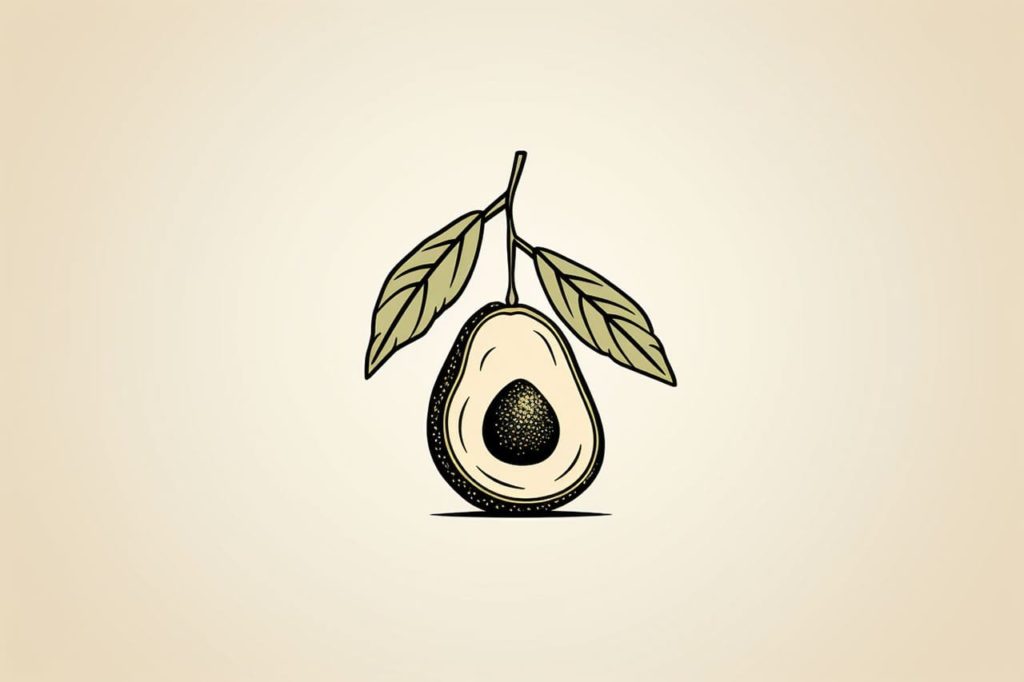
Step 5: Add Leaves
Avocados are often depicted with leaves at the top. Draw a small stem extending from the top of the avocado, and add two or three pointed leaves radiating from the stem. These leaves can be drawn as elongated ovals or teardrop shapes.
Step 6: Shading
To make our avocado drawing more realistic, let’s add some shading. Identify the light source in your drawing and imagine it coming from a specific direction. Begin by shading the side opposite the light source. Use light pencil strokes to gradually darken the area.
Step 7: Blending and Highlights
After shading, use your finger, a blending stump, or a tortillon to gently blend the shaded area. This will create a smooth transition between the shaded and unshaded regions. Additionally, add some highlights to the avocado by erasing small portions of the shaded area to simulate the reflection of light.
Step 8: Color (optional)
If you wish to add color to your avocado drawing, use green-colored pencils or markers to fill in the main body of the avocado. Try to vary the shades of green to make it look more natural. You can also use brown or grey for the pit and light green for the leaves.
Conclusion
Congratulations, you have completed the step-by-step guide on how to draw an avocado! By following these instructions, you have learned how to create a detailed and realistic avocado illustration. Practice regularly and experiment with different shading techniques and colors to enhance your drawing skills. Enjoy the process of creating art and have fun!
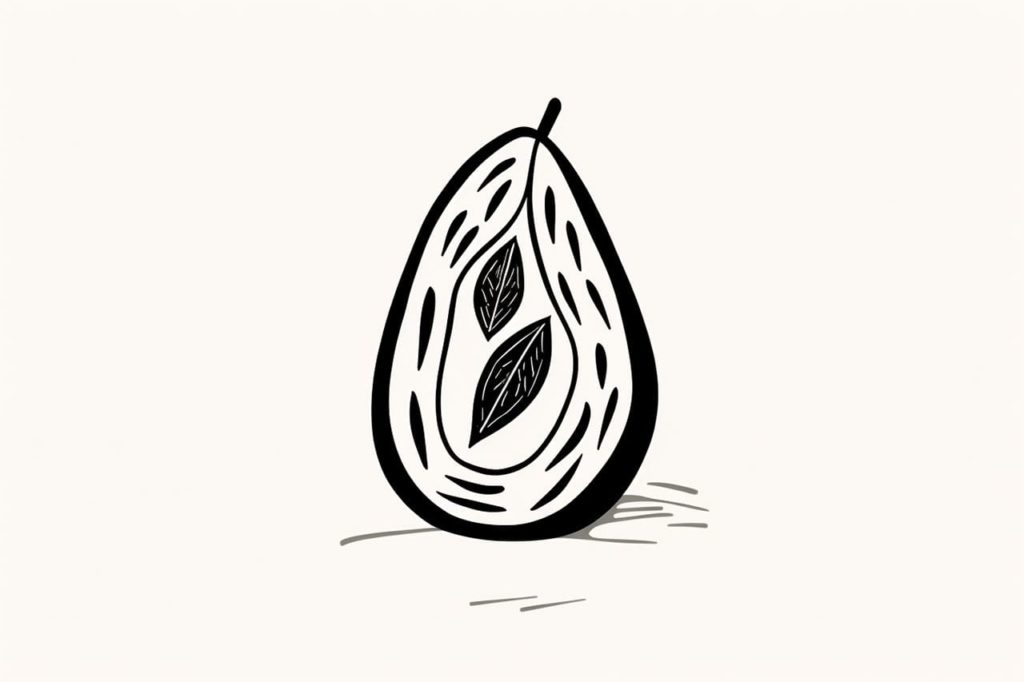
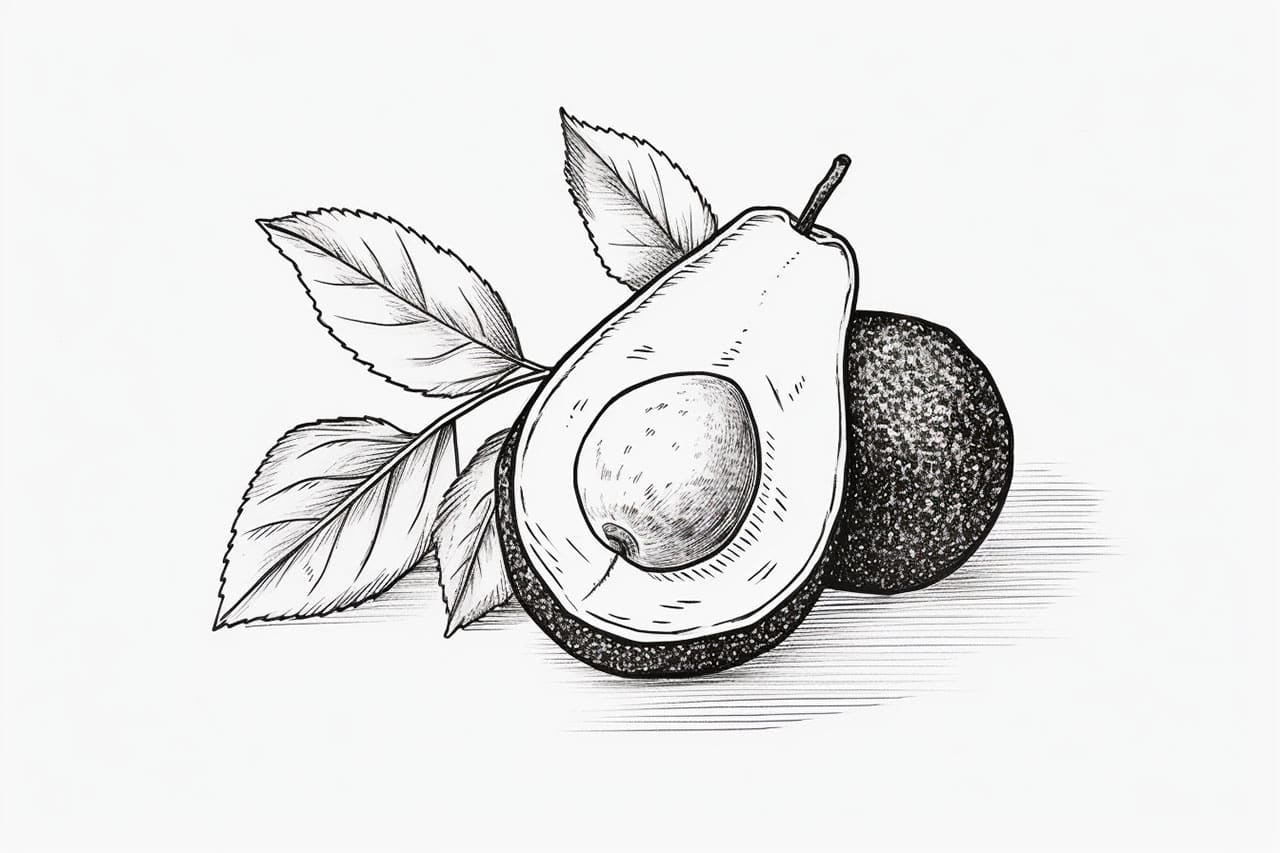
Gallery of Avocado Drawings