Welcome to this step-by-step guide on how to draw an umbrella! Whether you are a beginner or an experienced artist, this tutorial will provide you with clear and concise instructions to create a beautiful umbrella drawing. So grab your materials and let’s get started!
Materials Required:
Step 1: Draw the Outline of the Umbrella
To begin, draw a slanted line in the middle of your paper. This will serve as the umbrella’s handle. Next, draw a curved line from the top of the handle to the left side of the paper, creating the arc of the umbrella. Repeat this step on the right side to complete the outline of the umbrella.
Step 2: Add the Spokes
Starting from the top of the umbrella, draw several straight lines that extend outwards and connect to the curved line you drew in the previous step. These lines represent the spokes of the umbrella. Continue adding spokes evenly around the umbrella until you have the desired number.
Step 3: Draw the Canopy
Next, draw a curved line that connects the outer ends of the spokes, creating the umbrella’s canopy. Make sure the line is smooth and evenly curved. Remember, the canopy is not completely flat, so leave some space between the spokes and the outer edge of the canopy.
Step 4: Add Details to the Canopy
To give your umbrella more dimension, draw another curved line parallel to the outer edge of the canopy. This line represents the inner side of the canopy where the fabric is attached to the spokes. You can also add small curves and lines within the canopy to suggest folds and creases.
Step 5: Draw the Handle
Now it’s time to add some details to the handle of the umbrella. Start by drawing a small circle or oval shape at the top of the handle. Then, draw a series of curved lines that run vertically along the length of the handle, creating a ribbed texture. Don’t forget to add a small curve at the bottom of the handle to give it a more realistic look.
Step 6: Refine the Outline
Take a moment to review your drawing and make any necessary adjustments. You can erase any unwanted lines and refine the overall shape of the umbrella. Pay attention to the proportions and symmetry of your drawing.
Step 7: Ink Your Drawing
Once you are satisfied with the outline, go over your drawing with a fine liner pen or waterproof marker. Start by outlining the entire umbrella, including the handle and spokes. Then, carefully fill in the details such as the ribs and the inner side of the canopy. Take your time and use light, confident strokes.
Step 8: Erase Guidelines
After the ink has dried, gently erase any remaining pencil guidelines. Be careful not to smudge the inked lines as you erase.
Step 9: Add Color (Optional)
If you prefer a colorful umbrella, this is the step where you can unleash your creativity! Use colored pencils or markers to fill in the canopy and handle of your umbrella. You can choose any colors you like or even experiment with patterns or gradients.
Step 10: Final Touches
Now that your drawing is complete, take a moment to assess it. Add any final details or shading that you feel will enhance your artwork. You can use hatching or cross-hatching techniques to add shadows or give the drawing a more three-dimensional look.
Conclusion
Congratulations, you have successfully learned how to draw an umbrella! By following these step-by-step instructions, you can create a detailed and realistic representation of an umbrella. Remember to take your time, practice, and enjoy the process. So grab your pencil and start drawing beautiful umbrellas today!
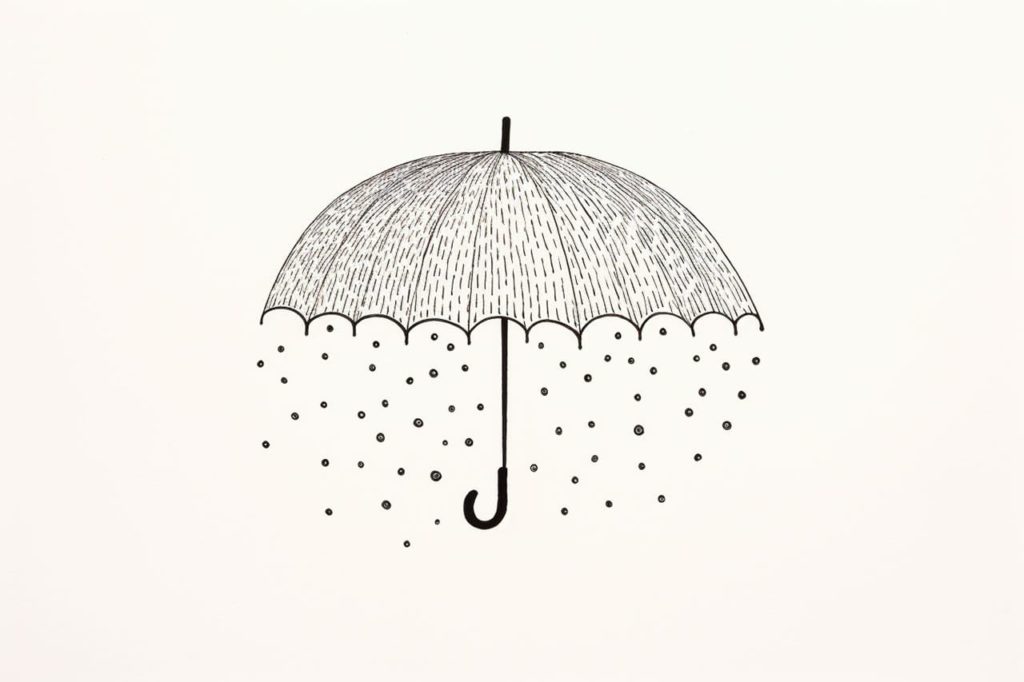
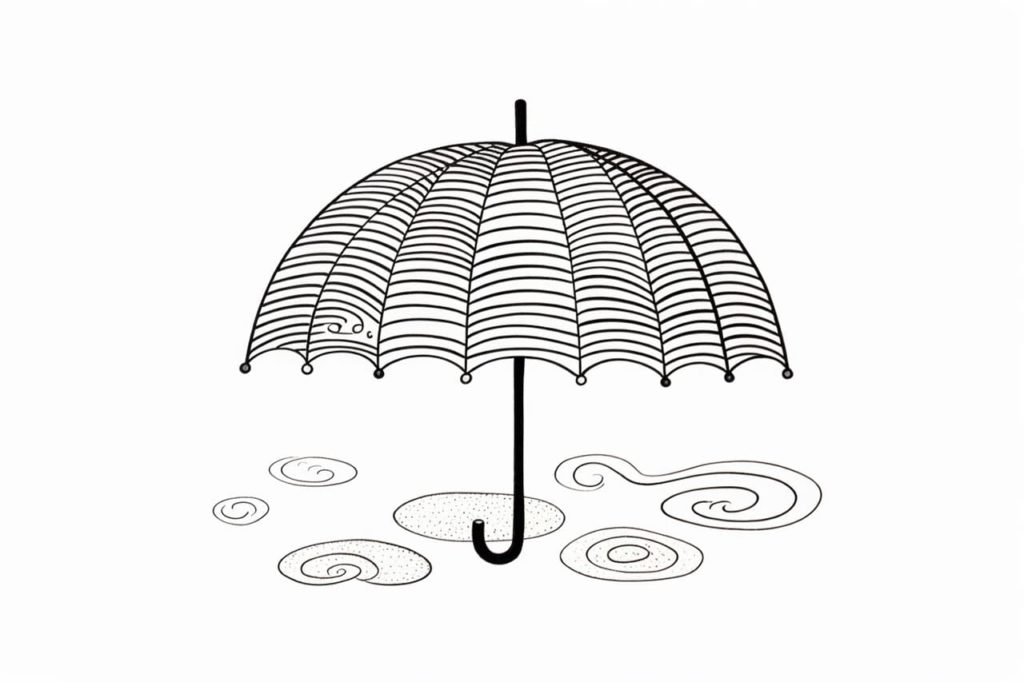
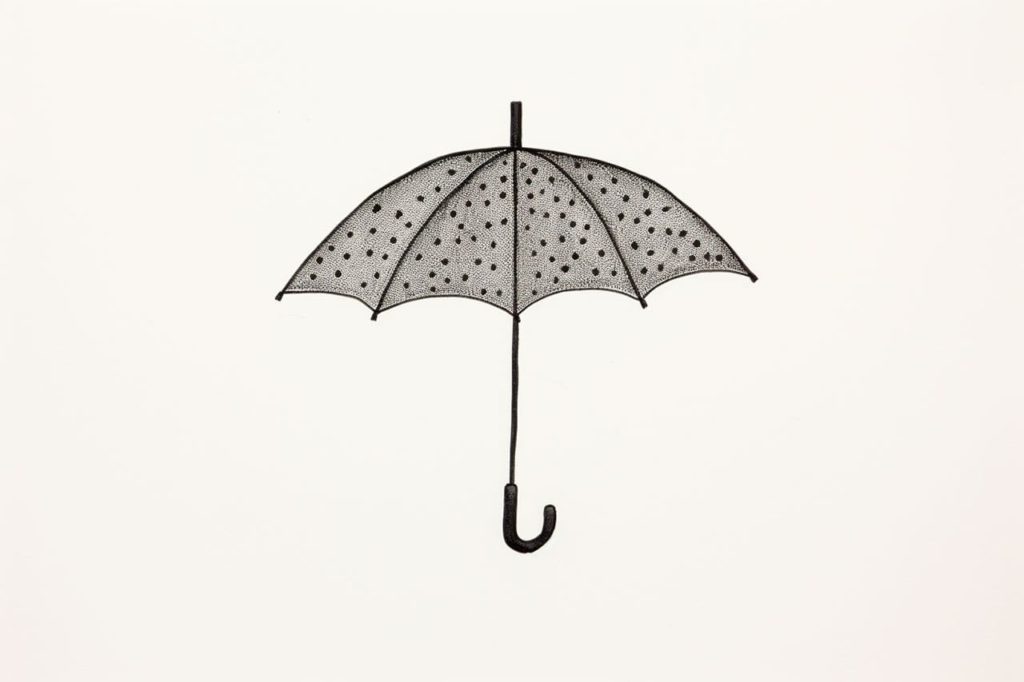
Gallery of Umbrella Drawings