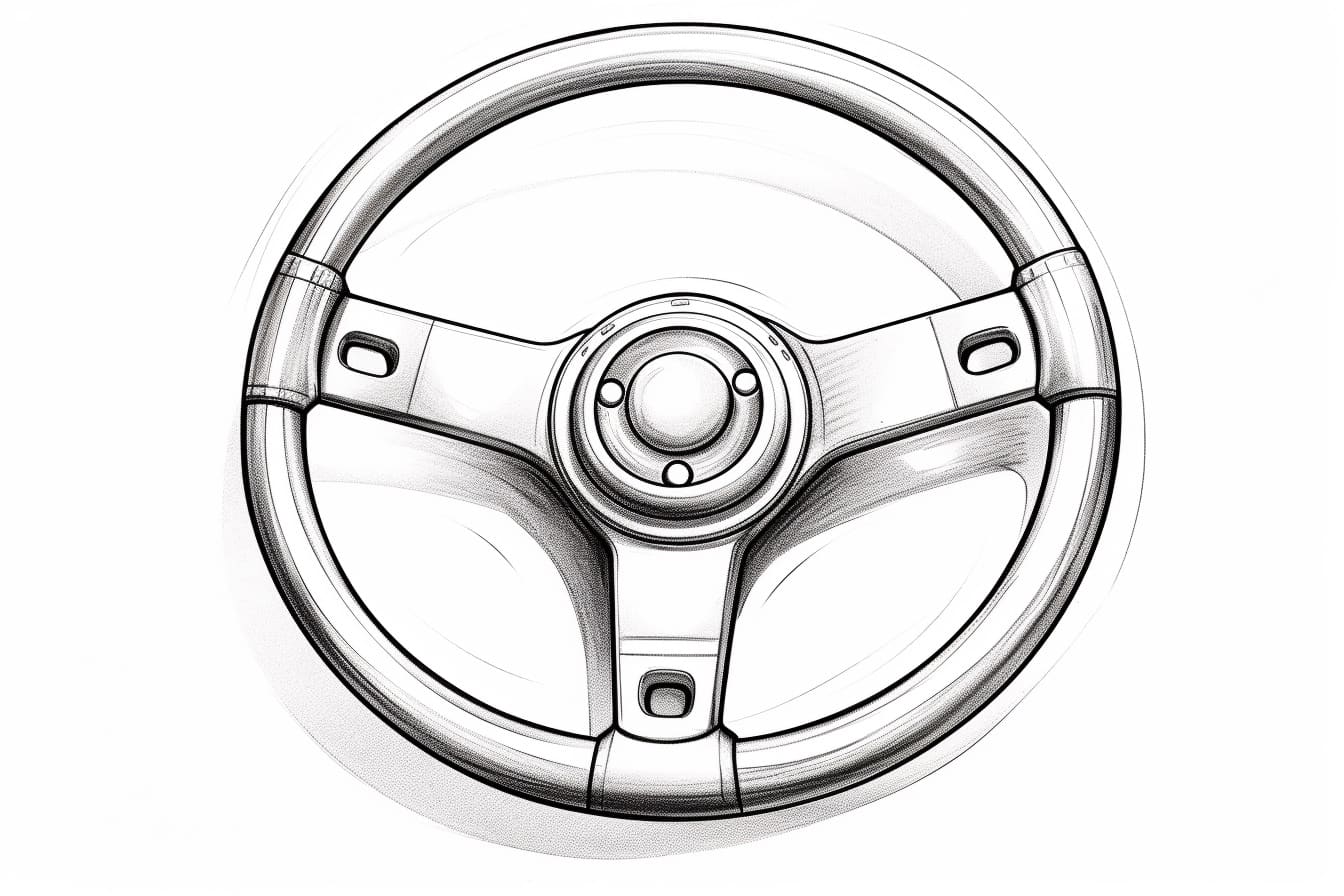
Welcome to this step-by-step guide on how to draw a steering wheel! Whether you’re an aspiring artist or simply looking to improve your drawing skills, this tutorial will walk you through the process of creating a realistic and detailed steering wheel. Get your pencils ready and let’s dive in!
Materials Required
Before we begin, make sure you have the following materials:
- Paper: It’s always good to start with a clean sheet of paper. You can use any type of paper you prefer, but drawing paper or sketch paper works best.
- Pencil: A regular HB pencil will do just fine. If you want to add shading to your drawing, consider having a set of pencils with different levels of hardness (e.g., 2B, 4B, 6B).
- Eraser: A good quality eraser will help you correct any mistakes or make adjustments to your drawing.
- Ruler: A ruler may come in handy when drawing straight lines or measuring proportions.
- Compass: If you want to create a perfectly circular steering wheel, a compass can be useful.
- Reference Image: Find a clear and high-resolution image of a steering wheel to use as a reference throughout the drawing process.
Now that we have all the necessary materials, let’s begin our drawing!
Step 1: Sketch the Basic Shape
Start by lightly sketching an oval shape in the center of your paper. This will form the outer edge of the steering wheel. Adjust the size of the oval based on how large or small you want your steering wheel to be.
Step 2: Draw the Inner Circle
Inside the oval shape, draw a smaller circle. This will represent the inner part of the steering wheel where the spokes connect. Use a compass or any circular object as a guide to create a perfect circle.
Step 3: Add the Spokes
Using the inner circle as a reference, draw evenly spaced lines extending outward towards the outer edge of the oval. These lines will serve as the spokes of the steering wheel. The number of spokes can vary depending on the design you want to achieve. For simplicity, let’s draw four spokes.
Step 4: Refine the Spokes
With the basic framework in place, it’s time to refine the spokes. Start by adding thickness to each spoke to make them more realistic. You can do this by drawing parallel lines on both sides of each spoke. Be careful to maintain consistency in the thickness of the spokes.
Step 5: Add the Rim
Next, draw a thicker line along the outer edge of the oval shape to create the rim of the steering wheel. This rim will give the wheel a more three-dimensional appearance. Make sure the rim is evenly thick all around the steering wheel.
Step 6: Create the Grips
On both sides of the rim, draw two curved lines that meet at the bottom-center of the steering wheel. These lines will form the grips of the steering wheel. They should follow the contour of the oval shape and gradually curve inward at the bottom.
Step 7: Add Texture
To add a realistic texture to the grips, draw small sections of horizontal lines across them. These lines should follow the curve of the grips. Vary the length and spacing of the lines slightly to create a more natural look. This texture will give the impression of a comfortable and non-slip surface.
Step 8: Refine and Darken the Lines
Go over your sketch, refining and darkening the lines as necessary. Pay attention to the details and make sure the proportions are correct. Erase any unnecessary guidelines or mistakes. Take your time with this step to achieve a polished and accurate drawing.
Step 9: Shade the Steering Wheel
Now it’s time to add shading to your drawing to give it depth and dimension. Start by identifying the light source in your reference image. Typically, the light source comes from the top-left or top-right corner. Shade the areas that are not directly exposed to the light, creating a gradient effect.
Use softer pencils, such as 2B or 4B, to add shading. Apply lighter pressure for lighter areas and gradually increase the pressure for darker areas. Blend the shading with a blending stump or a tissue to create smooth transitions between light and dark areas.
Step 10: Final Touches
To add the finishing touches to your drawing, pay attention to the small details. Add highlights to the rim and spokes, using an eraser to create light reflections. Darken any areas that need more contrast and refine the shading where necessary. Take a step back and observe your drawing from a distance to ensure overall balance and harmony.
Congratulations! You have successfully drawn a steering wheel. With practice, you’ll be able to create more complex steering wheel designs and incorporate them into larger illustrations.
Conclusion
In this tutorial, we explored the step-by-step process of drawing a steering wheel. By following these instructions and using the necessary materials, you can create a realistic and detailed representation of a steering wheel. Remember to be patient, take your time, and have fun with your drawing. Happy creating!


