Welcome to this step-by-step guide on how to draw a slingshot. Whether you are an aspiring artist or simply looking to engage in a fun and creative activity, drawing a slingshot can be a delightful project. In this article, I will provide you with clear and concise instructions that will help you create your very own slingshot drawing. So let’s get started!
Materials Required
Before we begin, let’s gather the materials you’ll need for this drawing:
Now that you have everything you need, let’s dive into the steps to create your slingshot drawing.
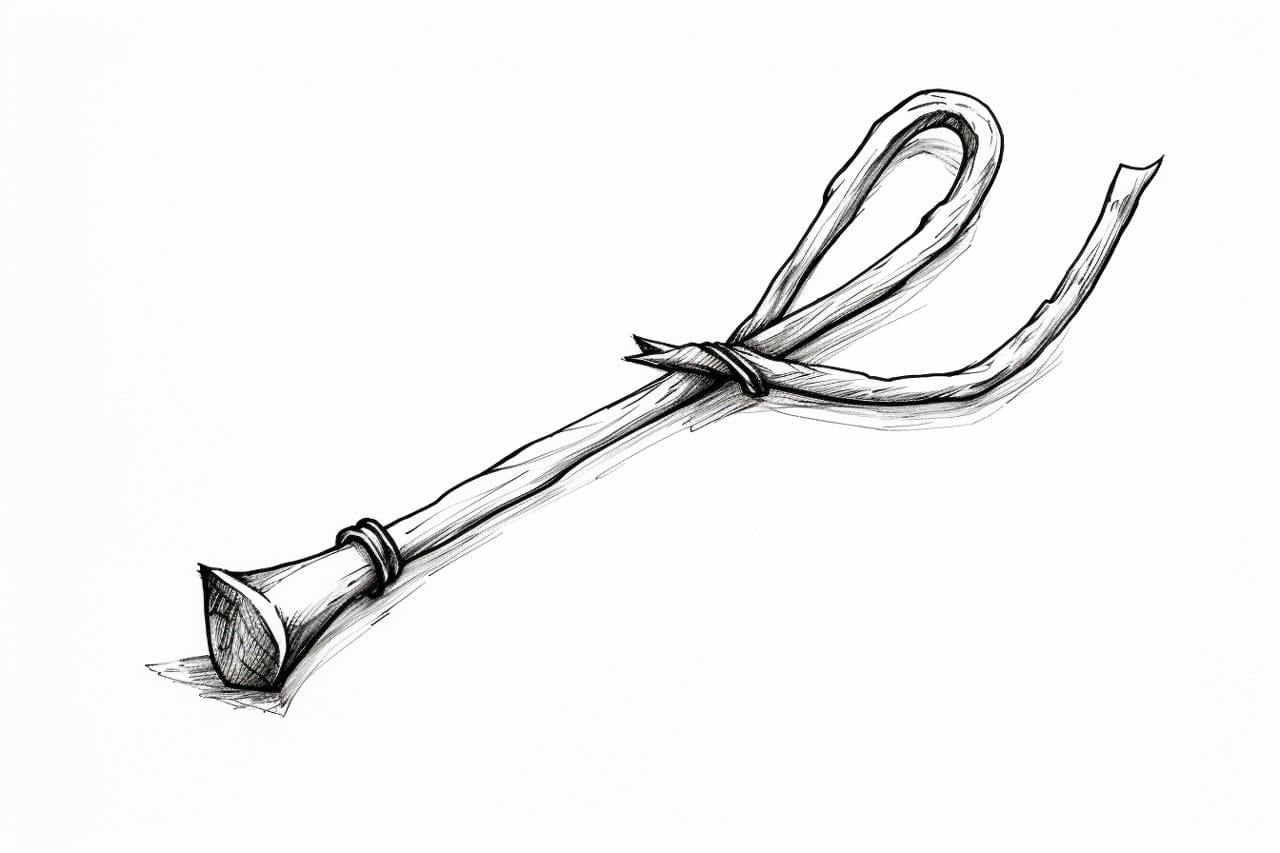
Step 1: Start with the Frame
Begin by drawing a horizontal line slightly above the center of your paper. This line will serve as the base for the frame of your slingshot. Use your ruler to ensure that the line is straight and even.
Step 2: Draw the Handle
From the center of the horizontal line, draw two vertical lines in a downward direction. The length of these lines will determine the size of the handle. Make sure they are parallel to each other and evenly spaced.
Step 3: Connect the Lines
Connect the ends of the vertical lines to the horizontal line using two diagonal lines, forming a triangular shape. This will create the base of the handle.
Step 4: Add Detail to the Handle
To make the handle look more realistic, draw curved lines on both sides of the triangular base. These lines will represent the grip of the slingshot.
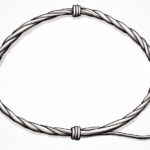
Step 5: Draw the Y-Shaped Frame
On both sides of the handle, draw two straight lines extending away from the frame. These lines should be at an angle, sloping downward and outward. Connect the ends of these lines using a slightly curved line, forming a “Y” shape.
Step 6: Add the Slingshot Bands
From the top of each arm of the “Y” shape, draw two curved lines extending inward towards the handle. These lines should meet at a point near the center of the handle. These lines represent the bands of the slingshot.
Step 7: Refine the Frame
Take a look at your drawing so far and make any necessary adjustments. Ensure that the proportions and angles are accurate. Erase any unwanted lines or guidelines.
Step 8: Add Details
To make your drawing more interesting, consider adding some extra details. You can draw a small circle at the center of the handle or add texture to the grip by lightly shading in some areas.
Step 9: Color Your Drawing (optional)
If you have colored pencils or markers, you can enhance your drawing by adding color. Be creative and choose colors that you find appealing. You can color the frame, handle, and bands in any combination you like.
Conclusion
Congratulations! You have successfully drawn a slingshot. By following these step-by-step instructions, you have created a detailed and visually appealing representation of this classic weapon. Drawing can be a rewarding and therapeutic activity, allowing you to express your creativity and bring your ideas to life on paper. I hope you enjoyed this tutorial and that it has inspired you to continue developing your artistic skills. Have fun exploring different drawing subjects and remember, practice makes perfect!