As an expert artist and drawing instructor, I’ll guide you through the process of how to draw a lasso step by step. The lasso is a versatile and essential tool for any cowboy or cowgirl. Whether you want to capture the excitement of a rodeo scene or simply add a cowboy touch to your artwork, learning how to draw a lasso will give your drawings a dynamic and realistic feel. So grab your pencil, paper, and let’s get started!
Materials Required:
- Drawing paper
- Pencil
- Eraser
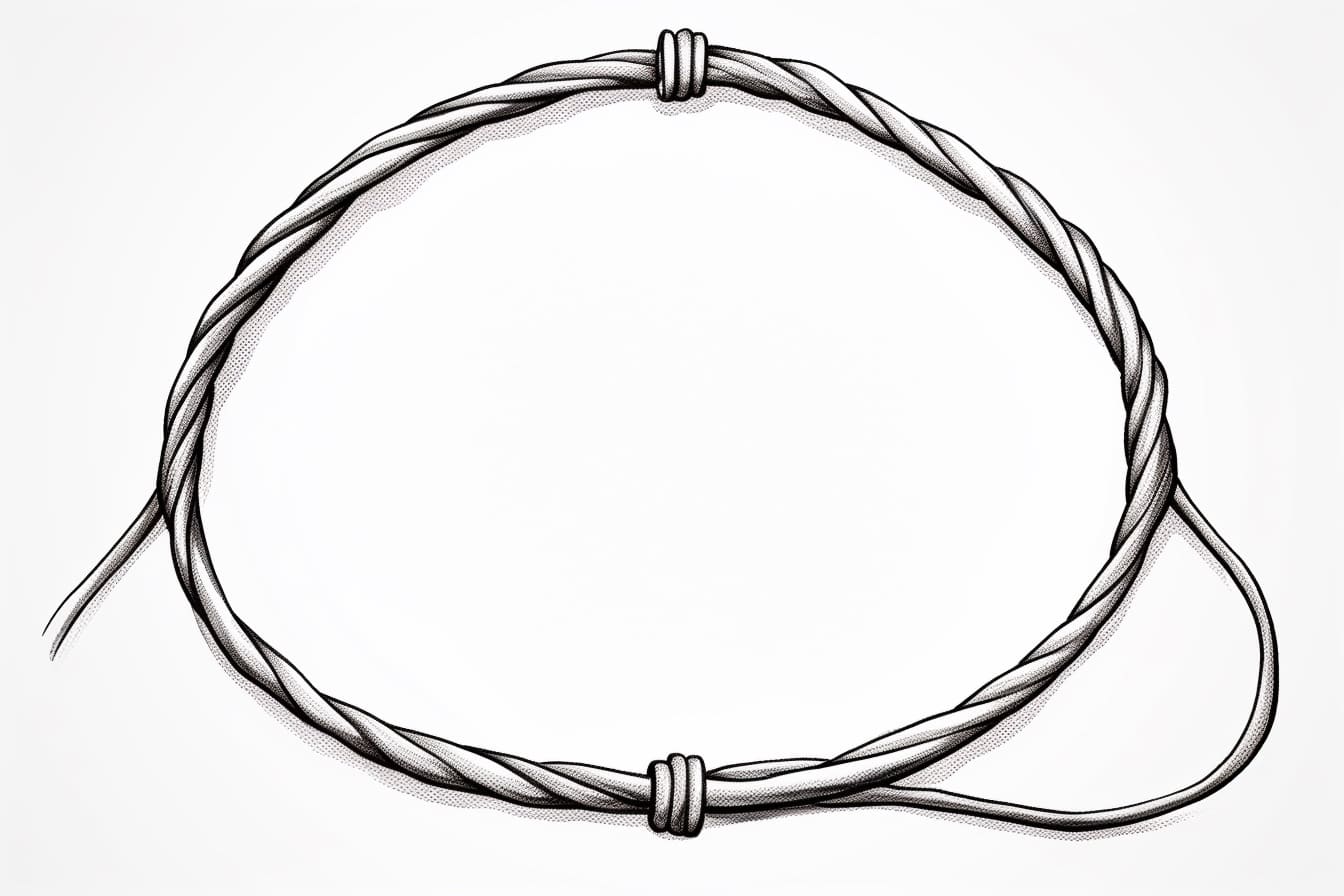
Step 1: Sketch the Loop
To begin, draw a small oval shape at the center of your paper. This shape represents the loop of the lasso. Keep in mind that the size of the loop can vary, so feel free to adjust it to your liking.
Step 2: Add the First Strand
Next, draw a curved line coming out from the top of the loop. This line represents the first strand of the lasso. Make sure it curves smoothly and extends slightly beyond the loop.
Step 3: Draw the Second Strand
Now, draw another curved line starting from the bottom of the loop, parallel to the first strand. This line represents the second strand of the lasso. It should also extend just a bit beyond the loop.
Step 4: Connect the Strands
To create the appearance of a three-dimensional shape, connect the ends of the two strands with a short, curved line. This line should be slightly wider at the top and taper towards the bottom, creating a triangular shape.
Step 5: Add Texture
To make the lasso look more realistic, we need to add some texture. Start by drawing a series of short, curved lines inside the loop. These lines should follow the shape of the loop and give the illusion of twisted rope.
Step 6: Shade the Lasso
To add depth and volume to the lasso, use your pencil to shade the curved lines that form the strands. Apply more pressure to create darker areas and lighter pressure for lighter areas. This shading technique will give the lasso a realistic and three-dimensional look.
Step 7: Refine the Shape
Take a moment to analyze your drawing so far. If any lines or curves need adjusting, now is the time to make those corrections. Use your eraser to carefully erase any unwanted lines or smudges.
Step 8: Add the Handle
A lasso wouldn’t be complete without a handle. To draw the handle, start by extending a curved line from the bottom of the lasso loop. This line should curve slightly downwards towards the bottom of your paper.
Step 9: Shape the Handle
Now, draw a rounded rectangular shape at the end of the curved line. This shape represents the handle of the lasso. Make sure the top part of the handle is wider than the bottom for a realistic look.
Step 10: Add Details
To bring your lasso to life, add some details to the handle. You can draw small curves and lines to represent the grip or wrap some lines around the handle to indicate texture.
Conclusion
Congratulations! You have successfully learned how to draw a lasso. By following these step-by-step instructions, you can now incorporate this versatile tool into your artwork. So, whether you’re drawing a western-themed illustration or simply want to showcase a cowboy’s skill, the lasso will surely add an extra touch of authenticity to your drawings. Keep practicing and experimenting with different sizes and shapes, and soon you’ll master the art of drawing a lasso.