Drawing is a wonderful way to express your creativity and improve your artistic skills. In this step-by-step tutorial, I will guide you through the process of drawing a lawn mower. Whether you’re a beginner or an experienced artist, I will provide clear and concise instructions to help you create a realistic representation of this common garden tool. So grab your pencils and let’s get started!
Materials Required:
To draw a lawn mower, you will need the following materials:
- Pencils: Use a range of graphite pencils, such as HB, 2B, and 4B, for shading and detailing.
- Eraser: Choose a kneaded eraser to easily correct any mistakes or make adjustments to your drawing.
- Drawing Paper: Opt for a smooth, heavyweight drawing paper that can handle pencil shading and erasing without tearing.
Now that you have your materials ready, let’s begin the drawing process.
Step 1: Sketch the Basic Shapes
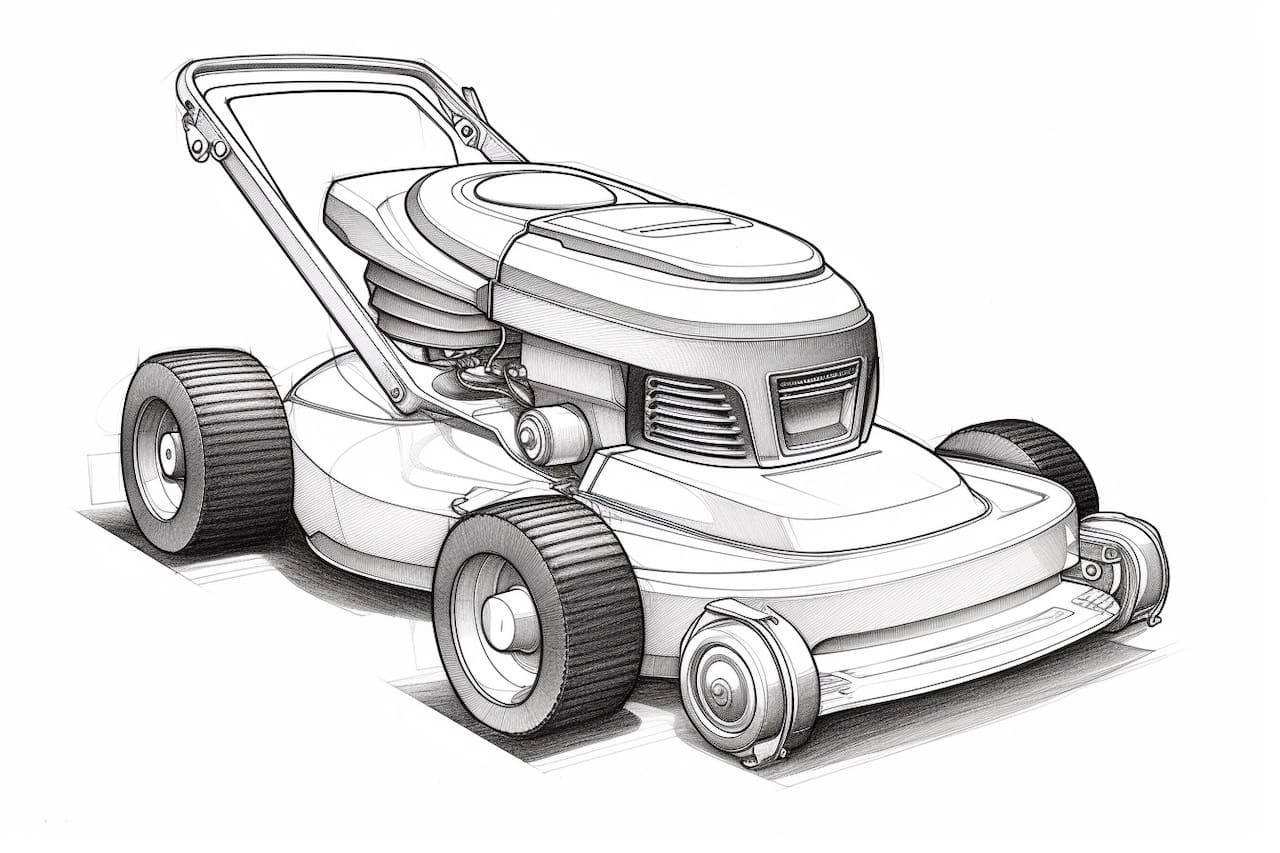
Start by lightly sketching the basic shapes that make up the lawn mower. Begin with a rectangle for the main body of the mower. Then, add two smaller rectangles for the wheels on either side. Finally, draw a trapezoid shape at the front of the main body to represent the cutting deck.
Step 2: Add Details to the Body
Next, add details to the main body of the lawn mower. Draw a smaller rectangle inside the main rectangle to create depth. Then, add a vertical line in the middle of the rectangle to represent the handle. Connect this line to the cutting deck with two diagonal lines to complete the shape of the body.
Step 3: Define the Wheels
Focus on the wheels now. Add more details by drawing circles within the smaller rectangles. Then, add spokes to each wheel by drawing straight lines extending from the center of the wheel to the circumference.
Step 4: Draw the Engine and Handle
Move on to the engine and handle of the lawn mower. On the front of the cutting deck, draw a rectangular box to represent the engine. Then, draw a horizontal line extending from the front of the engine to create the handle.
Step 5: Refine the Cutting Deck
Refine the cutting deck by adding more details. Draw a curved line at the front of the deck to create a smoother profile. Then, add a series of diagonal lines crossing each other on the deck to represent the blades.
Step 6: Add Depth and Shading
To make your drawing more realistic, add depth and shading. Start by identifying the light source and determine the areas that would be in shadow. Shade those areas lightly with a 2B pencil, gradually building up the darkness. Use an HB pencil for areas that are less shaded and a 4B pencil for darker areas. Remember to blend the shading using a tissue or a blending stump for a smooth transition between light and shadow.
Step 7: Refine the Details
Now it’s time to refine the details of your lawn mower drawing. Use an HB pencil to add smaller details like buttons, dials, and labels on the engine and handle. Pay attention to the texture of the various parts and add appropriate shading and lines to represent them.
Conclusion
Congratulations! You have successfully learned how to draw a lawn mower. By following these step-by-step instructions and practicing regularly, you can improve your drawing skills and create stunning artworks. Remember to be patient with yourself and enjoy the process of drawing. Whether you’re drawing for pleasure or to enhance your skills, drawing is a wonderful form of self-expression. So grab your pencils and start creating!