Are you fascinated by the mythical creatures that dominate legends and stories? If so, you’ve probably come across the majestic ice dragon—a mythical beast that embodies the power and grace of the frozen world. In this step-by-step guide, I will walk you through the process of drawing your very own ice dragon, capturing its icy majesty on paper. So grab your pencils and let’s begin!
Materials Required
Before we begin, gather the following materials to ensure a smooth drawing experience:
- Drawing paper or sketchbook
- Pencils (HB, 2B, 4B)
- Eraser
- Fine-liner pen or ink pen
- Colored pencils or markers (optional)
With the materials ready, let’s dive into the world of ice dragons!
Step 1: Study Ice Dragon Anatomy
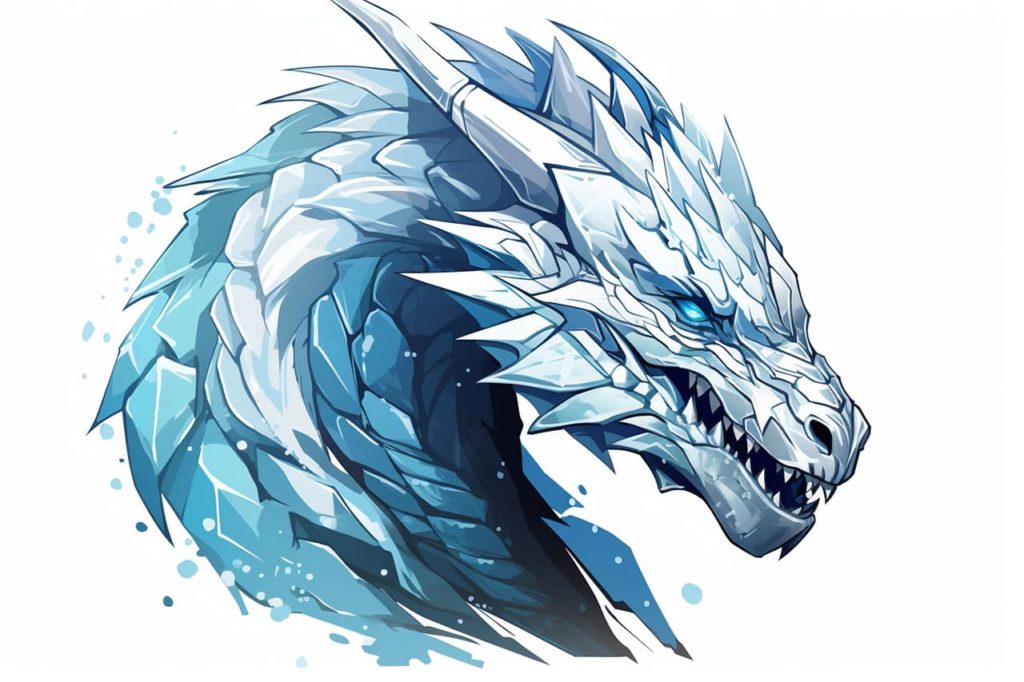
To accurately depict an ice dragon, it’s important to understand its anatomy. Ice dragons typically possess reptilian features with sharp, icy claws and large, powerful wings. Familiarize yourself with different dragon poses and shapes, paying attention to their scales, facial features, and distinct icy elements such as frost-covered horns or spikes.
Step 2: Sketch the Basic Form
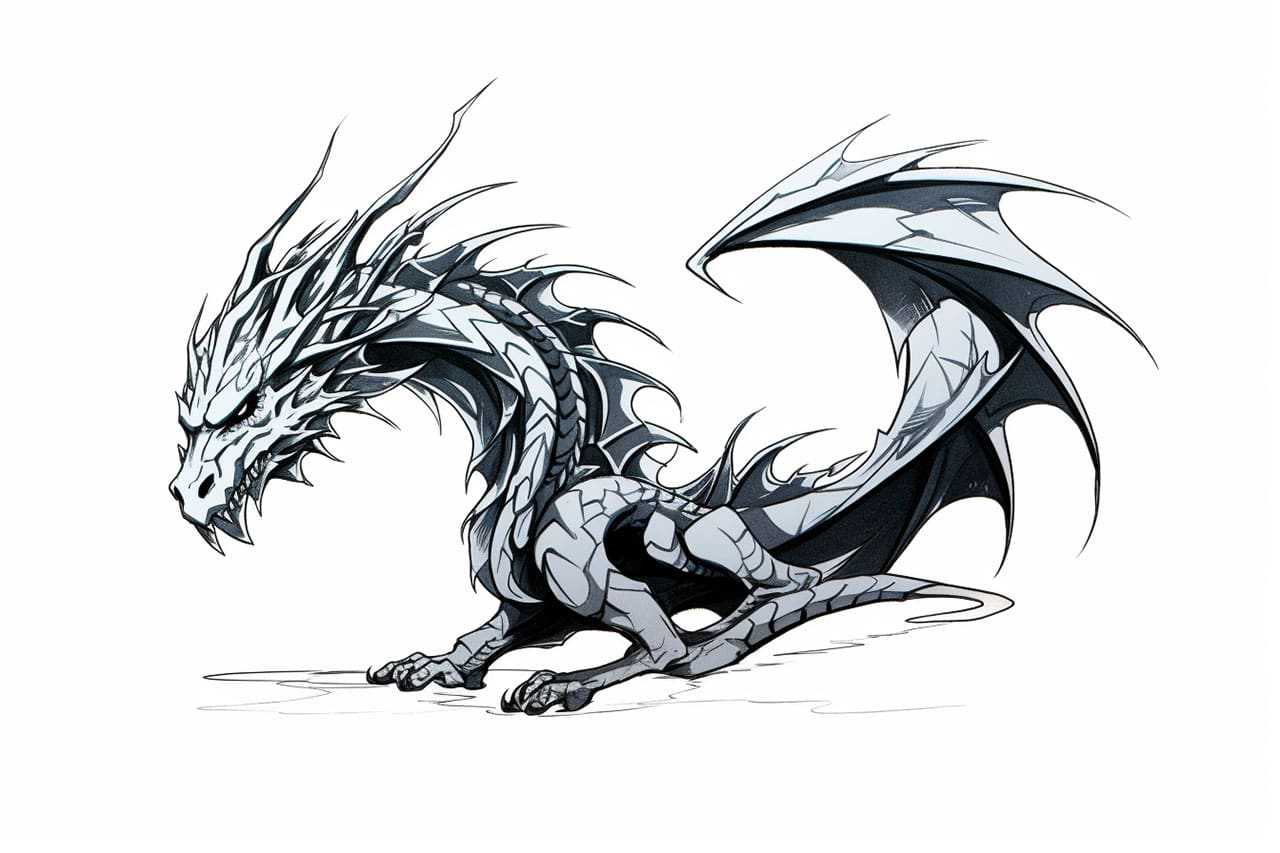
Begin by lightly sketching the basic shape of the ice dragon. Use simple shapes like circles and triangles to outline the dragon’s head, body, and limbs. This initial sketch will serve as a guide for the rest of the drawing process, so focus on getting the proportions right. Don’t worry about adding details at this stage.
Step 3: Define the Dragon’s Features
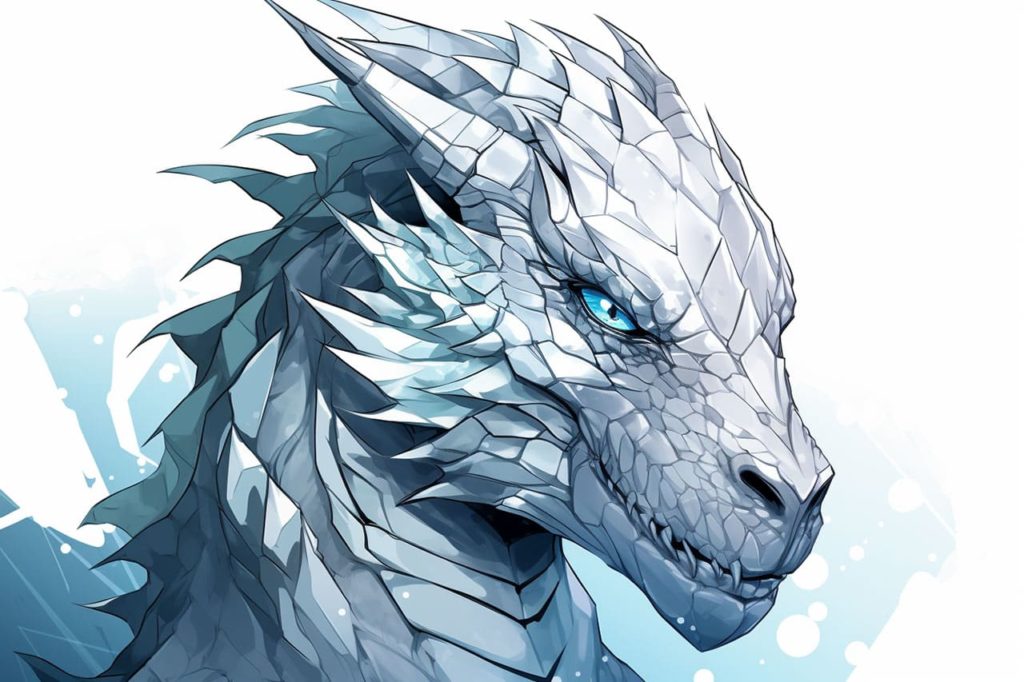
Now that you have the basic form in place, start adding details to the ice dragon’s features. Begin with the head, outlining the shape of the snout, eyes, and horns. Use light, curved lines to give the horns a sense of depth and presence. Next, move on to the body, adding the muscular structure and defining the dragon’s scales. Pay close attention to the wings and tail, ensuring they are proportionate and balanced.
Step 4: Add Icy Textures and Elements
This is where the magic happens—bringing the ice dragon to life! Start by adding icy textures to the dragon’s body and wings. Use a combination of curved and jagged lines to create the appearance of glistening ice or frost. Experiment with different line weights to add depth and dimension to the ice textures. Additionally, add icy elements such as frost-covered spikes or a breath of icy mist emanating from the dragon’s mouth.
Step 5: Refine and Add Details
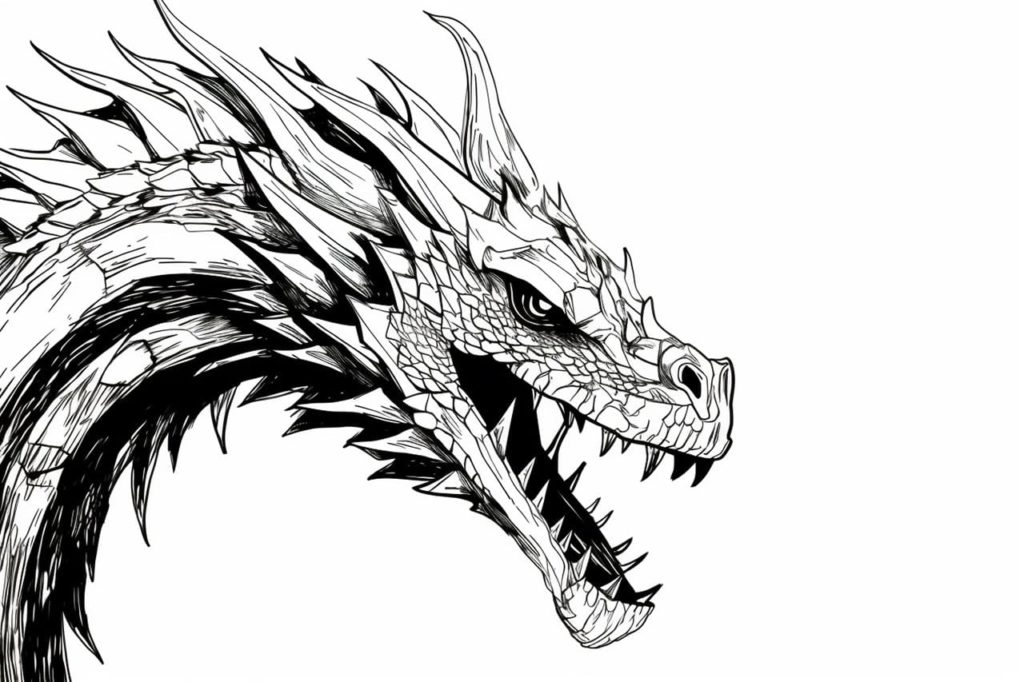
Now that your ice dragon is taking shape, it’s time to refine the drawing and add finer details. Use a darker pencil or a fine-liner pen to outline the dragon’s features, emphasizing the contours and shapes. Pay attention to the dragon’s eyes, scales, and claws, adding intricate details to make them stand out. Take your time with this step, as these small details can make a significant difference in the overall appearance of your dragon.
Step 6: Bring Your Ice Dragon to Life (Optional)
If you’re feeling adventurous, this step allows you to add a finishing touch to your ice dragon using colored pencils or markers. Experiment with shades of blue or white to accentuate the icy theme of your dragon. Apply light layers of color to build up depth, and use darker shades to add shadows to the scales and wings. Remember to blend the colors smoothly for a more realistic effect.
Conclusion
Congratulations on completing your ice dragon drawing! By following these step-by-step instructions, you have captured the essence of this mythical creature and brought it to life on paper. With practice, you can continue refining your technique and exploring different poses and variations of the ice dragon. So keep drawing, and let your imagination soar with these majestic beings of ice and frost!
Check our other tutorials to learn how to draw generic dragon, a bearded dragon, or a dragon’s head.
Gallery of Ice Dragon Drawings