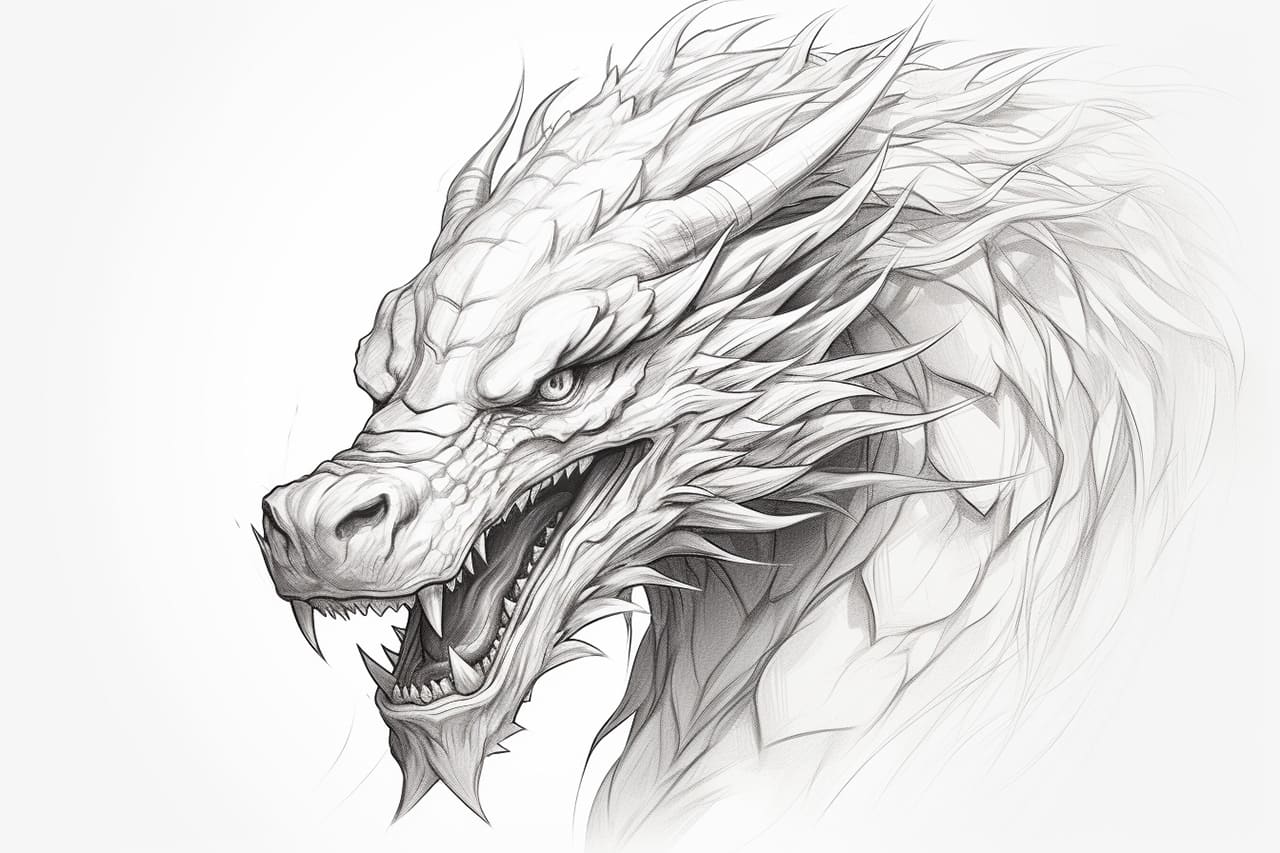
Welcome to this step-by-step guide on how to draw a Chinese dragon. Chinese dragons are not only a symbol of power and good luck but also a popular subject in art and culture. In this tutorial, we will break down the process into simple steps, making it easy for anyone to create their own stunning Chinese dragon artwork.
Materials Required
Before we delve into the drawing process, let’s gather the necessary materials:
- Pencil: Use a mechanical pencil with HB lead or any other pencil you are comfortable with.
- Paper: Choose a smooth and sturdy paper, such as drawing paper or sketch paper.
- Eraser: Have a soft eraser handy for correcting mistakes and refining your drawing.
- Black pen: A fine-tip pen will be useful for outlining and adding details to your dragon.
Now that we have our materials ready, let’s begin drawing our Chinese dragon!
Step 1: Basic Framework
To start, lightly sketch a large oval in the center of your paper. This oval will be the dragon’s body. Next, draw a smaller circle near one end of the oval. This circle represents the dragon’s head. Finally, add two curved lines extending from the oval to form the dragon’s neck and tail.
Step 2: Head and Facial Features
Now, let’s focus on the dragon’s head. Using the circle as a guide, draw the dragon’s eyes on either side of the vertical diameter. Chinese dragon eyes are typically almond-shaped. Add a small circle inside each eye to represent the pupils. Beneath the eyes, sketch a curved line for the dragon’s snout. From the top of the head, draw two curved lines that flow down to become the dragon’s upper jaw. Connect the snout and the upper jaw by drawing a curved line.
Step 3: Dragon’s Body and Limbs
Extend the oval shape to complete the dragon’s body. Chinese dragons are long and serpentine, so make sure to give your dragon a sinuous and flowing shape. Next, draw the limbs. From the bottom of the body, create two slightly curved lines on each side to represent the front legs. At the end of these lines, draw claw-like shapes. Moving towards the back of the body, add two more sets of lines for the hind legs and claws. Remember to make the hind legs slightly longer than the front legs.
Step 4: Details and Scales
Now that the basic structure is in place, it’s time to add detail and texture to your dragon. Start by adding scales along the dragon’s body. Chinese dragons are often depicted with fish-like scales. You can achieve this effect by drawing a series of overlapping curved lines that follow the contour of the dragon’s body. Make sure to vary the size of the scales to create a realistic and organic look.
Step 5: Wings and Spikes
Chinese dragons are known for their magnificent wings and elaborate spikes along their spine. To draw the wings, begin by sketching two large, curved lines starting from the upper part of the dragon’s body. Connect the lines at the bottom using a wavy line to represent the edge of the wing. Add smaller curved lines within the larger shape to create the appearance of individual feathers.
Moving on to the spikes, draw a row of triangular shapes along the top of the dragon’s body. These spikes should gradually decrease in size towards the tail. Make sure the spikes are evenly spaced and symmetrical.
Step 6: Finalize Your Drawing
Now that you have sketched the main features of your Chinese dragon, go over the outline with a fine-tip pen. Start by tracing the head and facial features, then move on to the body, limbs, wings, and spikes. Allow the ink to dry, and then erase any remaining pencil lines to clean up your drawing.
Conclusion
Congratulations! You have successfully learned how to draw a Chinese dragon. By following these step-by-step instructions, and with a little practice, you can create your own stunning dragon artwork. Remember to be patient and have fun with the process. Chinese dragons hold a special place in art and culture, and now you can capture their majesty on paper.