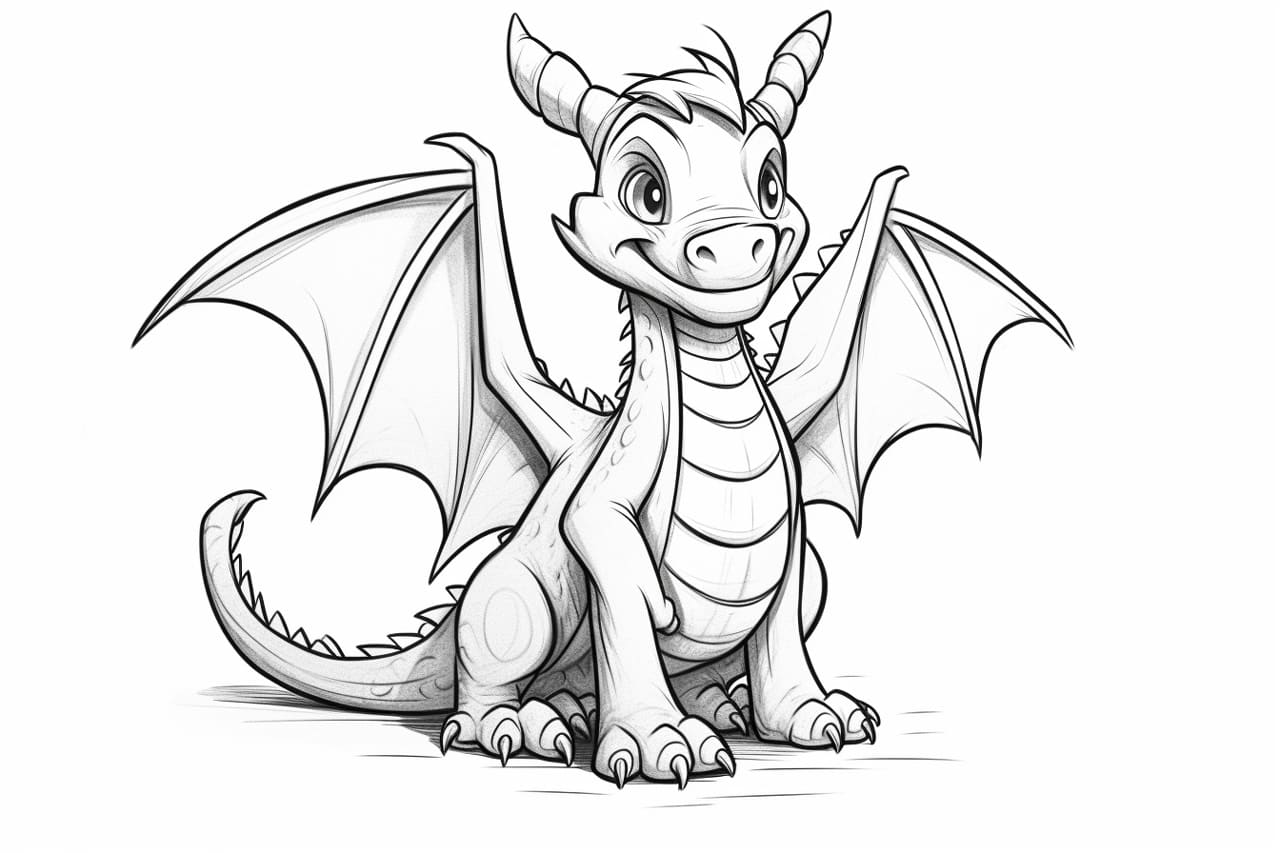
Welcome to this step-by-step guide on how to draw a cartoon dragon! Dragons have been a popular subject in art and mythology for centuries, and with these simple instructions, you’ll be able to create your very own whimsical dragon character. So, grab your drawing materials and let’s get started!
Materials Required:
- Paper (preferably sketch paper or drawing paper)
- Pencil
- Eraser
- Fine-tip marker or pen (optional)
- Colored pencils or markers (optional)
Step 1: Start with Basic Shapes
To begin drawing your cartoon dragon, sketch the basic shapes that will form the body and head. Use a light pencil so you can easily erase any mistakes as you go along. Start with an oval shape for the dragon’s head, and then add an elongated oval shape for the body. Connect the head and body with a curved line to create the neck.
Step 2: Add Facial Features
Next, let’s add some facial features to our dragon. Draw two large circular eyes towards the top of the head. Leave some space between the eyes for the nose and mouth. Draw a small curved line for the nose and add a smiley mouth underneath. If you want to give your dragon some character, feel free to experiment with different eye shapes and expressions!
Step 3: Create the Body
Now it’s time to give your dragon a body. Extend the body shape by drawing a long S-shaped curve. This will serve as the dragon’s back. Add a short line at the end of the body to indicate the tail. To give the dragon a distinct cartoon look, you can add a few spikes along its back. Simply draw small triangular shapes along the S-curve.
Step 4: Draw the Wings
Dragons are known for their majestic wings, so let’s add those next. Start by drawing two long curved lines that extend from the top of the dragon’s body. These lines will form the outer edge of each wing. Once you have the basic shape, add some details to the wings by sketching smaller curved lines inside. These lines will represent the individual feathers of the wings.
Step 5: Add Legs and Feet
To give your dragon some stability, draw two curved lines extending from the bottom of the body to form the front legs. Each leg should consist of two parallel lines, slightly curving inwards. Add feet to the ends of the legs by drawing curved lines with small ovals or triangles at the tips to represent the claws. Repeat this step to create the back legs and feet as well.
Step 6: Add Details and Textures
Now that the basic structure of your cartoon dragon is complete, it’s time to add some personality and details. Start by adding a few scales along the body and legs. Simply draw small curved lines or shapes to represent the scales. You can also add some texture to the wings by drawing small lines or shapes to indicate the different sections of the feathers.
Step 7: Refine and Add Final Touches
Take a step back and assess your drawing so far. Use an eraser to remove any unnecessary guidelines or mistakes you may have made. Once you’re satisfied with the overall structure and details of your dragon, you can go over your pencil lines with a fine-tip marker or pen to make them more defined. This step is optional, but it can give your drawing a polished and clean look.
Conclusion
Congratulations! You have successfully learned how to draw a cartoon dragon. By following these simple steps, you were able to create a whimsical and fun dragon character. Remember, practice makes perfect, so don’t be afraid to experiment with different shapes, expressions, and colors. Use your imagination to create unique dragon characters of your own. Have fun and keep drawing!