How to Draw a Piggy
Learn how to draw a piggy with this step-by-step tutorial. Follow the clear and concise instructions to create an adorable piggy drawing. Have fun and unleash your creativity!

Materials You'll Need
- Pencil
- Paper
- Eraser
Welcome, creative minds and animal lovers! Today, we're diving into the delightful world of drawing with a focus on one of the farm's most beloved residents—the piggy. Known for their round, plump bodies, cheerful snouts, and playful personalities, piggies have charmed their way into countless stories, cartoons, and children's books. Whether you're a beginner hoping to build your drawing skills or an experienced artist looking for a fun, lighthearted subject, learning how to draw a piggy is a perfect way to bring a touch of whimsy and joy to your artwork.
Piggies are popular drawing subjects because their simple shapes and expressive features make them ideal for practicing basic drawing techniques such as creating smooth curves, proportion, and facial expressions. In this tutorial, you'll find easy-to-follow steps designed for artists of all levels. You'll learn how to break down the piggy's form into manageable shapes, add details that capture its adorable personality, and use shading or color to bring your piggy to life. If you've ever wondered exactly how to draw a piggy that looks both cute and animated, you're in the right place—this guide will help you every step of the way!
Don't worry if you're new to drawing or if you've never tried sketching animals before. With a bit of patience and practice, you'll be surprised at how quickly your skills improve. So, gather your favorite drawing tools, get comfortable, and let's embark on this creative journey together. You're about to discover how fun and rewarding it can be to learn how to draw a piggy—let your imagination run wild and enjoy every moment of the process!
Materials Required
Before we dive into the drawing process, let's make sure we have all the necessary materials handy. Here's what you'll need:
- [Drawing paper or sketchbook](https://yonderoo.com/best-sketchbooks-for-artists/)
- Pencils (HB, 2B, and 4B)
- Eraser
- Fineliner or black pen (optional)
- Colored pencils or markers (optional)
Now that we have everything we need, let's move on to the fun part – drawing our piggy!
Step 1: Basic Outline
To begin, lightly sketch a large oval shape at the center of your paper. This will be the body of our piggy. Then, draw a smaller oval shape for the head at the upper part of the body. Connect the head and body with two curved lines to create the neck.
Step 2: Facial Features
Now it's time to bring our piggy to life by adding its facial features. Start by drawing two small circles near the top of the head for the eyes. Add a small oval shape at the bottom of the head for the snout. Inside the snout, draw two small ovals for the nostrils, and a curved line for the mouth. Finally, add two small ears on top of the head, using curved lines.
Step 3: Body Details
Let's add some more details to our piggy's body. Draw a curved line on the bottom part of the body to represent the belly. Next, sketch two short, straight lines at the lower sides of the belly for the legs. Connect the legs with horizontal lines to create the feet. Repeat this step for the other side of the body.
Step 4: Tail and Hair
Piggies have curly tails, so let's draw one for our piggy friend. Extend a curved line from the back of the body, towards the right side. Then, create a wavy pattern along the line to form the tail. To give our piggy some extra cuteness, draw a few small, curved lines on top of the head to represent its messy hair.
Step 5: Facial Details
Now, let's add some details to our piggy's face. Draw two small circles inside the eyes to represent the pupils. Add tiny curved lines above each eye to form the eyebrows. To make our piggy look happy, draw a small curved line at the end of the mouth to create a smile.
Step 6: Legs and Hooves
To make our piggy sturdy, let's add some details to its legs. Extend the lines of the legs downwards and close them off with small ovals to represent the hooves. Repeat this step for all four legs. You can also add a little shading or texture to the hooves to give them a bit of depth.
Step 7: Final Touches and Shading
Great job! We're almost done. Now, go over your pencil lines using a fineliner or black pen to make your drawing bold and clear. Feel free to add more details and refine any areas you'd like. If you prefer, you can also color your piggy using colored pencils or markers. Be creative and choose your favorite colors!
Tip: When drawing Piggy, start with light, circular pencil strokes to map out the round shapes that define its body, head, and snout—this helps you capture that signature chubby look without committing to harsh lines too early. Use a soft pencil (like a 2B) for your initial sketch so it's easy to erase and adjust proportions as needed. Pay special attention to the placement of the snout and ears; keeping them slightly oversized enhances Piggy's cuteness and makes the character more expressive. Once you're happy with the basic shapes, gradually refine your lines and add details like the nostrils, smile, and curly tail, using a firmer hand or a fineliner for the final outlines.
Conclusion
And there you have it – your very own piggy drawing! By following these simple steps, you've successfully created an adorable piggy that's ready to bring joy to anyone who sees it. Keep practicing and experimenting with different styles to further enhance your artistic skills.
Remember, drawing is all about enjoying the process and letting your creativity flow. So don't be afraid to make mistakes and challenge yourself. With time and practice, you'll be amazed at how much you can achieve!
I hope you enjoyed this tutorial on how to draw a piggy. Happy creating, and until next time, keep sketching!
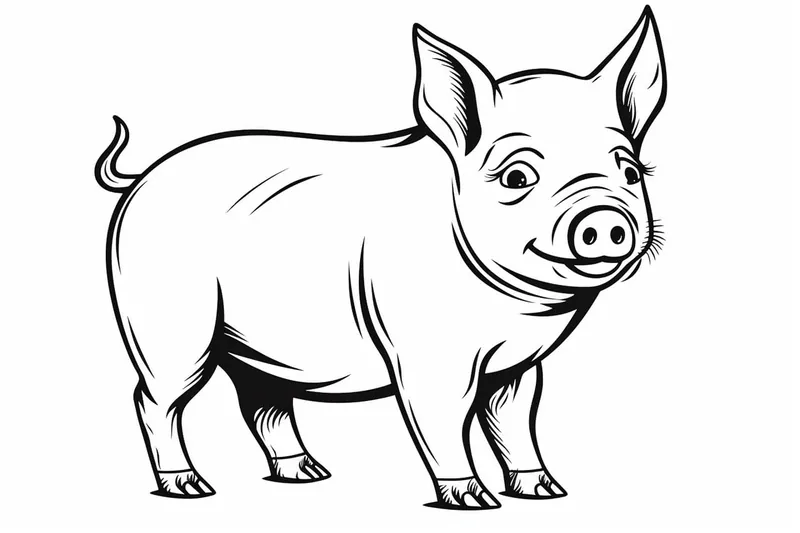
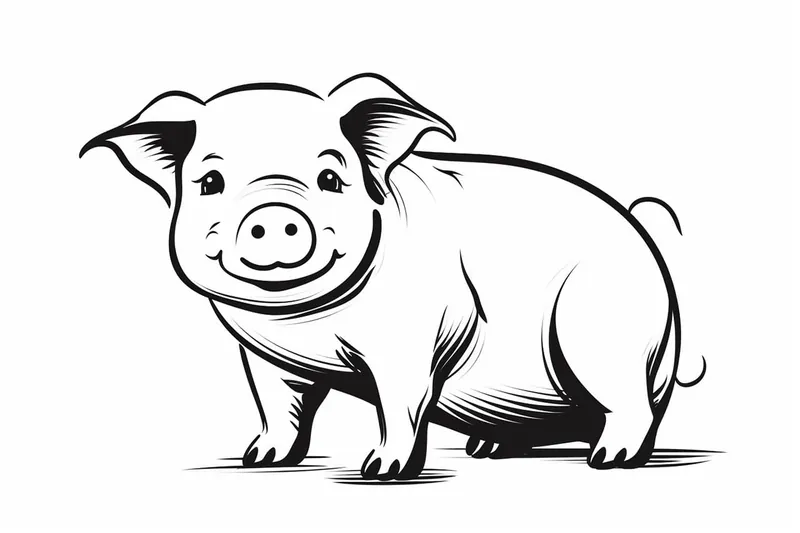
Gallery of Piggy Drawings
Fun Facts About Piggy
- Piggies are highly intelligent animals, often considered smarter than dogs.
- Pigs have an excellent sense of smell, which helps them find food underground.
- Despite their reputation, piggies are actually very clean animals when given enough space.
- Piggies communicate with each other using more than 20 different vocalizations.
- Newborn piglets recognize their mother's voice and can run to her when called.
- Pigs have a unique, curly tail that can express their mood.
- Piggies are natural swimmers and enjoy cooling off in water.
- The world's smallest pig breed is the pygmy hog, which is critically endangered.
- Pigs' snouts are so sensitive they can detect objects several inches underground.
- Piggies have been featured in famous stories and cartoons, such as "Charlotte's Web."
Suggestions for Scenes and Settings for Piggy Drawings
- Piggy splashing joyfully in a muddy puddle with butterflies fluttering around.
- A piggy wearing a sunhat and sunglasses, relaxing on a picnic blanket with a basket of treats.
- Piggy making friends with a curious duckling by the edge of a pond.
- A piggy adventurer exploring a magical forest, carrying a tiny backpack and map.
- Piggy helping out on the farm—watering flowers, carrying vegetables, or playing with other barnyard animals.
- A piggy superhero soaring through a cartoon cityscape, cape fluttering in the wind.
- Piggy dressed up for a party with a birthday hat and balloons, surrounded by confetti.
- A sleepy piggy curled up under a cozy blanket, dreaming of apple pies and cornfields.
- Piggy painting a colorful picture on an easel in a sunny meadow, with paint splatters on its cheeks.
- Piggy and friends enjoying a day at the fair, riding the Ferris wheel or munching on cotton candy.