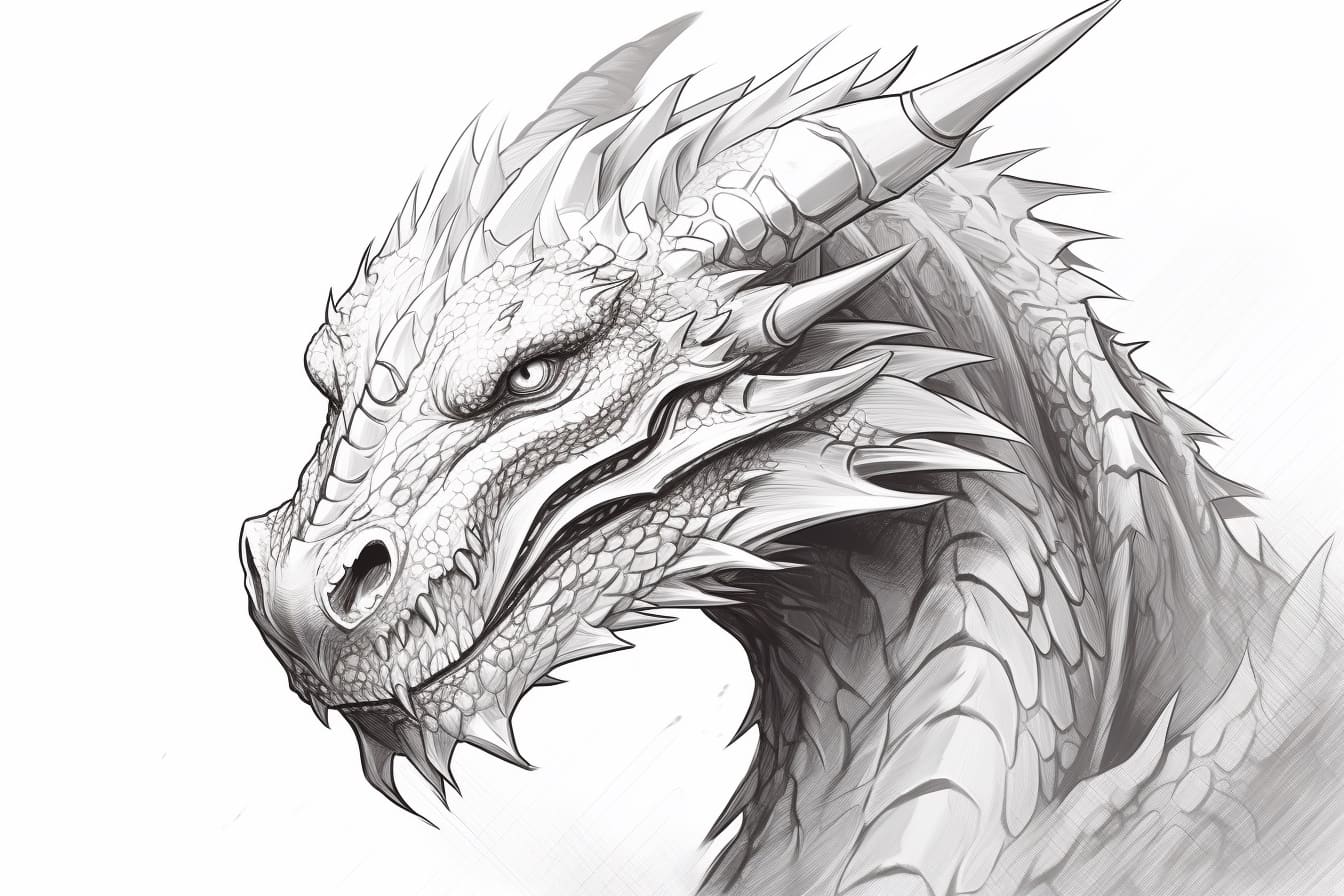
Are you eager to unleash your artistic abilities and create a fantastical creature on paper? Learning how to draw a small dragon is a fantastic way to explore your creativity and bring a bit of magic into your artwork. Whether you’re a seasoned artist or just starting out, this step-by-step guide will help you bring a small dragon to life on your canvas.
Materials Required
Before we embark on this artistic journey, let’s make sure we have all the necessary materials close at hand. Here’s what you’ll need:
- A pencil or a mechanical pencil with lead HB
- An eraser
- A sharpener
- Drawing paper or a sketchbook
- Fine-tipped markers or pens (optional)
Now that we have our tools ready, let’s dive into the enchanting world of drawing a small dragon!
Step 1: Sketch the Outline
Start by lightly sketching the basic shape of your small dragon. Begin with a simple oval for the body and a smaller oval for the head, ensuring they are proportionate to each other. Add a long, curved line extending from the body to represent the tail. Remember, these initial lines should be light, as they will be erased later.
Step 2: Add the Details
Next, it’s time to add some defining features to your dragon. Sketch the limbs, using curved lines for the arms and legs. Experiment with the positioning and posture of the limbs to give your dragon a unique character. Once you’re satisfied, outline the shape of the wings, extending them from the body. Dragons’ wings are typically elongated and pointed at the ends.
Step 3: Define the Dragon’s Face
Now, let’s focus on the dragon’s face. Draw two large circles for the eyes, positioning them on the head. Add tiny circles inside for pupils to give your dragon a lively expression. Right below the eyes, sketch a small and pointy snout, with a gentle curved line for the mouth. Feel free to add some small, pointed teeth to make your dragon’s appearance more fearsome or friendly, depending on your desired outcome.
Step 4: Refine the Body and Limbs
Take your time to refine the shape of the dragon’s body and limbs. Pay close attention to the curves and lines, ensuring they flow smoothly and create a sense of movement. Add more details, such as scales or spikes, to give your dragon depth and texture. Remember to erase any unnecessary guidelines from earlier sketches as you go along.
Step 5: Bring the Dragon to Life
Now that your dragon’s main structure is complete, it’s time to add more intricate details and make it come alive. Begin by shading certain areas to create depth and dimension. Consider using cross-hatching techniques to add texture to scales or shadows. If you feel comfortable, you can even experiment with colors by using colored pencils, markers, or paints.
Step 6: Final Touches and Finishing
Before you call your dragon drawing complete, take a step back and observe your artwork. Make any necessary adjustments or refinements to ensure it meets your expectations. Once you’re satisfied, carefully erase any remaining pencil guidelines, leaving behind only the clean and finished drawing of your small dragon.
Conclusion
Drawing a small dragon allows you to explore your creativity and imagination while bringing a touch of magic to your artwork. By following these step-by-step instructions and adding your personal flair, you can create a unique and captivating dragon. So, grab your pencils, and let your artistic journey begin!


