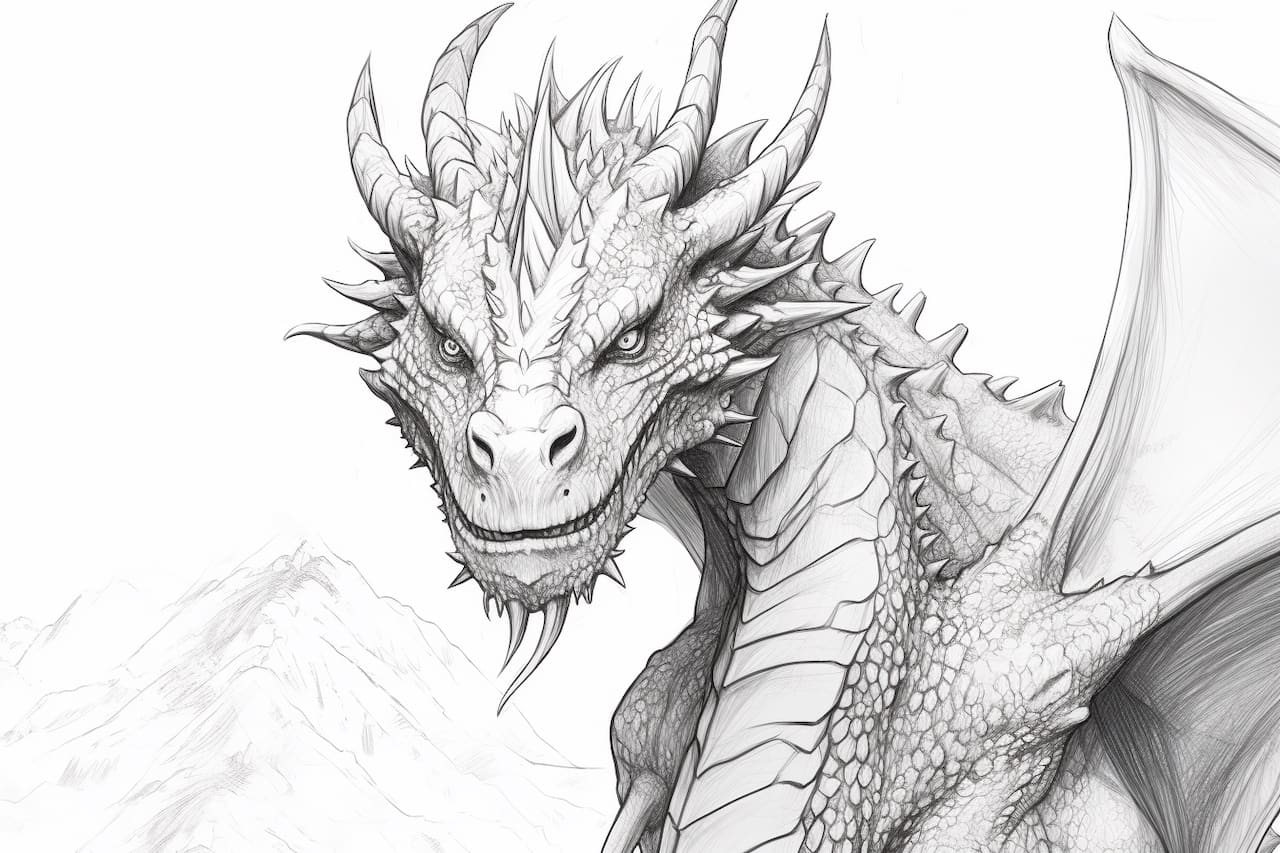
Have you ever wanted to bring your favorite dragon from the Wings of Fire series to life? Well, now you can! In this step-by-step guide, I will show you how to draw a dragon from the popular book series by Tui T. Sutherland. Whether you are an experienced artist or just starting out, these instructions will help you create stunning dragon artwork. So grab your pencils, and let’s get started!
Materials Required
Before we begin, make sure you have these materials handy:
- Pencils (HB, 2B, and 6B)
- Eraser
- Drawing paper
- Fine-tipped markers or pens
- Colored pencils or markers
Step 1: Reference Gathering
To start, gather some reference images of the dragon you want to draw from the Wings of Fire series. Study their appearance and characteristics to get a feel for their unique features. This will help you capture the essence of the dragon in your drawing.
Step 2: Basic Shapes
Begin by sketching the basic shapes that make up the dragon’s body. Start with an oval for the head, a larger oval for the body, and smaller ovals for the limbs. Don’t worry about the details at this point, just focus on getting the proportions right.
Step 3: Adding Details
Once you have the basic shapes in place, start adding the details. Begin with the dragon’s head, drawing the eyes, snout, and horns. Then, move on to the body, adding the wings, tail, and any additional features specific to the dragon you are drawing.
Step 4: Refining the Outline
After sketching the details, use a darker pencil (2B or 6B) to outline the dragon’s body. Make bold, confident lines to give your dragon a strong and powerful appearance. Don’t be afraid to make adjustments along the way to ensure the proportions are correct.
Step 5: Shading and Texturing
Now it’s time to add depth and dimension to your dragon drawing. Begin by shading the darker areas, such as the areas under the wings and the shadows on the body. Use a blend of light and dark pencil strokes to create a smooth transition between shades. Then, add texture to the dragon’s scales or skin using short, curved lines. This will give your dragon a realistic and detailed look.
Step 6: Adding Colors
If you want to take your dragon drawing to the next level, add colors using colored pencils or markers. Refer back to your reference images to get the colors right. Start by applying a base layer of color, then gradually build up the intensity by layering and blending different shades. Don’t forget to add highlights and shadows to create a more three-dimensional effect.
Step 7: Fine Details and Highlights
To add the finishing touches, use fine-tipped markers or pens to emphasize the dragon’s features. Outline the eyes, scales, and other details to make them stand out. You can also add highlights using a white gel pen or a white colored pencil to make certain areas pop. This will add depth and bring your dragon drawing to life.
Conclusion
Congratulations! You have successfully learned how to draw a dragon from the Wings of Fire series. By following these step-by-step instructions, you were able to bring your favorite dragon to life on paper. Remember, practice makes perfect, so don’t be discouraged if your first attempt doesn’t turn out exactly as you envisioned. Keep exploring and experimenting with different techniques to develop your own unique style. Now go ahead and unleash your creativity as you draw more dragons from the Wings of Fire series!


