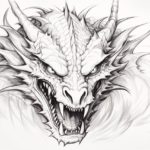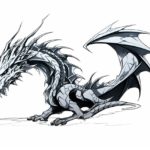
Dragons have captivated our imagination for centuries. From ancient myths to modern fantasy stories, these legendary creatures have been portrayed in various forms. One of the most iconic and awe-inspiring depictions of a dragon is the flying dragon. With its majestic wings and powerful presence, a flying dragon truly embodies the essence of mythical creatures. In this tutorial, we will explore step-by-step instructions on how to draw a flying dragon. So grab your pencil, paper, and let your creativity soar!
Materials Required
Before we begin, gather the following materials:
- Drawing paper
- Pencil (preferably an HB or 2B)
- Eraser
- Fine-tipped markers or pens (optional)
- Colored pencils or markers (optional)
Now that we have our materials ready, let’s dive into the step-by-step process of drawing a flying dragon.
Step 1: Basic Sketch
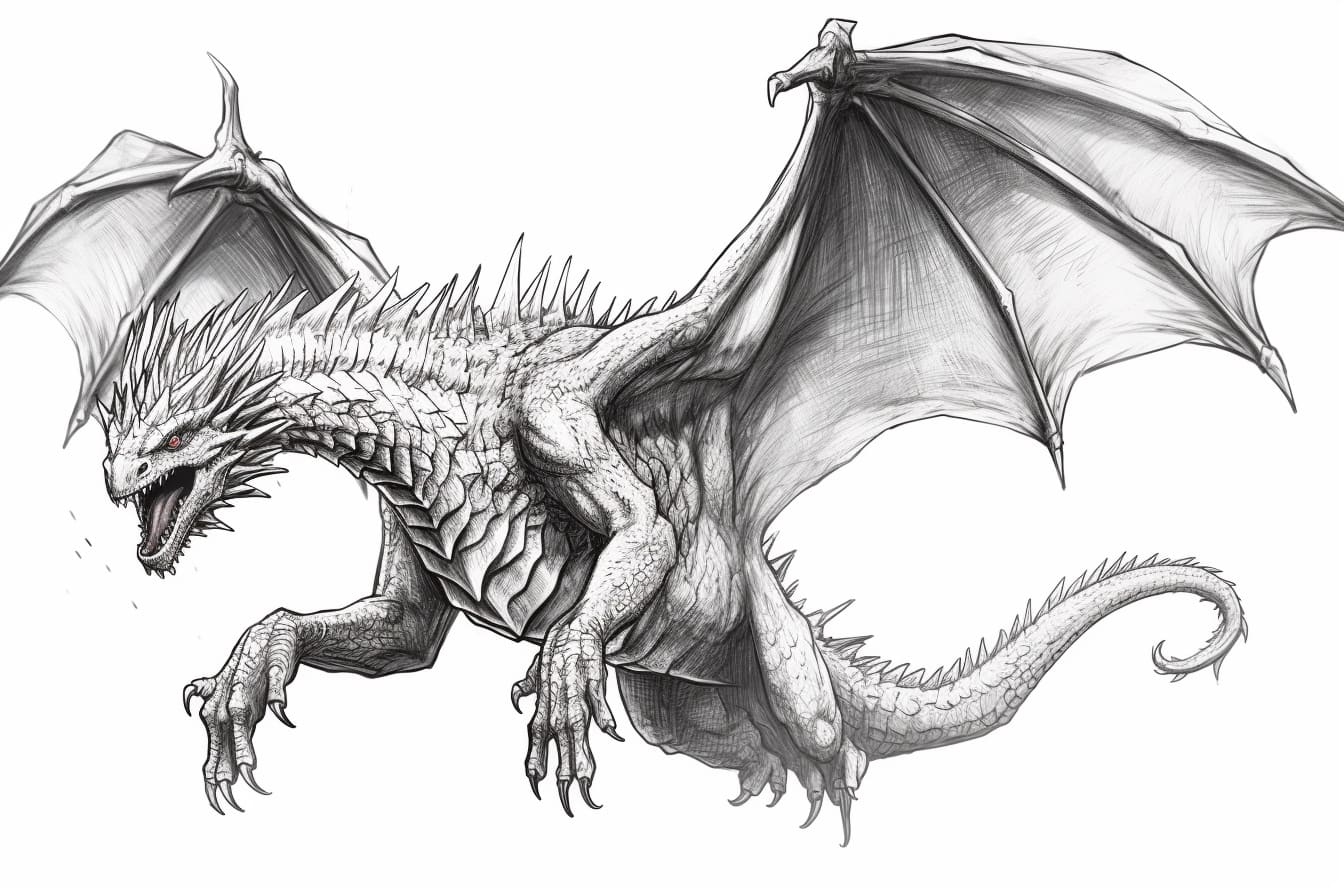
Start by sketching the basic framework of the dragon. Begin with a circle for the dragon’s head and a curved line to create the neck. From the neck, draw the body using a slightly curved line. Extend the line downwards to form the dragon’s tail. Add a small circle at the base of the tail to represent the tip.
Step 2: Wings
Next, it’s time to draw the wings. Position the wings on the upper part of the dragon’s body, slightly above the midpoint. Each wing consists of three parts: the primary wing, the secondary wing, and the tertiary wing. Begin by drawing the primary wing, which is the largest and closest to the body. It should start just below the head and extend towards the back of the dragon. Repeat the same process to draw the secondary and tertiary wings, making them progressively smaller as they move away from the body.
Step 3: Details
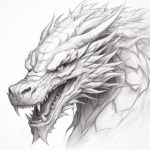
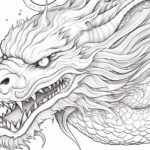
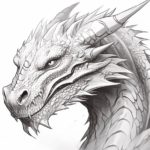
Now, let’s add some details to our dragon. Start by drawing the dragon’s facial features. Add two small circles for the eyes, a small triangle for the snout, and some curved lines to represent the mouth and nostrils. Next, draw the dragon’s crest or horns on top of its head. These can be any shape you prefer, such as spikes or curved horns. Add some scales along the dragon’s body using small, overlapping curved lines.
Step 4: Wings and Tail Details
To give the wings a more dynamic and realistic look, draw some smaller feather-like details along the primary and secondary wings. These can be in the form of curved lines or small loops. Add some curved lines to the tail to represent the segments and give it a textured look.
Step 5: Muscles and Texture
Dragons are muscular creatures, so let’s add some definition to our drawing. Start by adding some muscle definition on the dragon’s neck, chest, and limbs. Use curved lines to create a sense of volume and strength. To add texture to the dragon’s scales, draw some lines or small circles within the scales. This will give them a three-dimensional appearance.
Step 6: Finalize the Outline
Now that we have all the major details in place, it’s time to finalize the outline of our dragon. Go over the sketch, refining the lines and erasing any unwanted guidelines or stray marks. Make the lines bold and clear to give your dragon a strong and confident presence.
Step 7: Add Color (Optional)
If you want to take your drawing to the next level, consider adding color to your flying dragon. Use colored pencils, markers, or any other media of your choice to bring your dragon to life. Experiment with different color schemes, whether it’s a fiery red dragon or an icy blue one. The choice is yours!
Conclusion
Congratulations, you have successfully learned how to draw a flying dragon! By following these step-by-step instructions, you have created a magnificent creature that is ready to take flight. Drawing dragons can be a challenging but rewarding experience, allowing you to unleash your creativity and imagination. So keep practicing and exploring different poses and styles, and soon, you’ll become a master of dragon art. Embrace the magic and mystery of these mythical creatures as you continue your artistic journey.