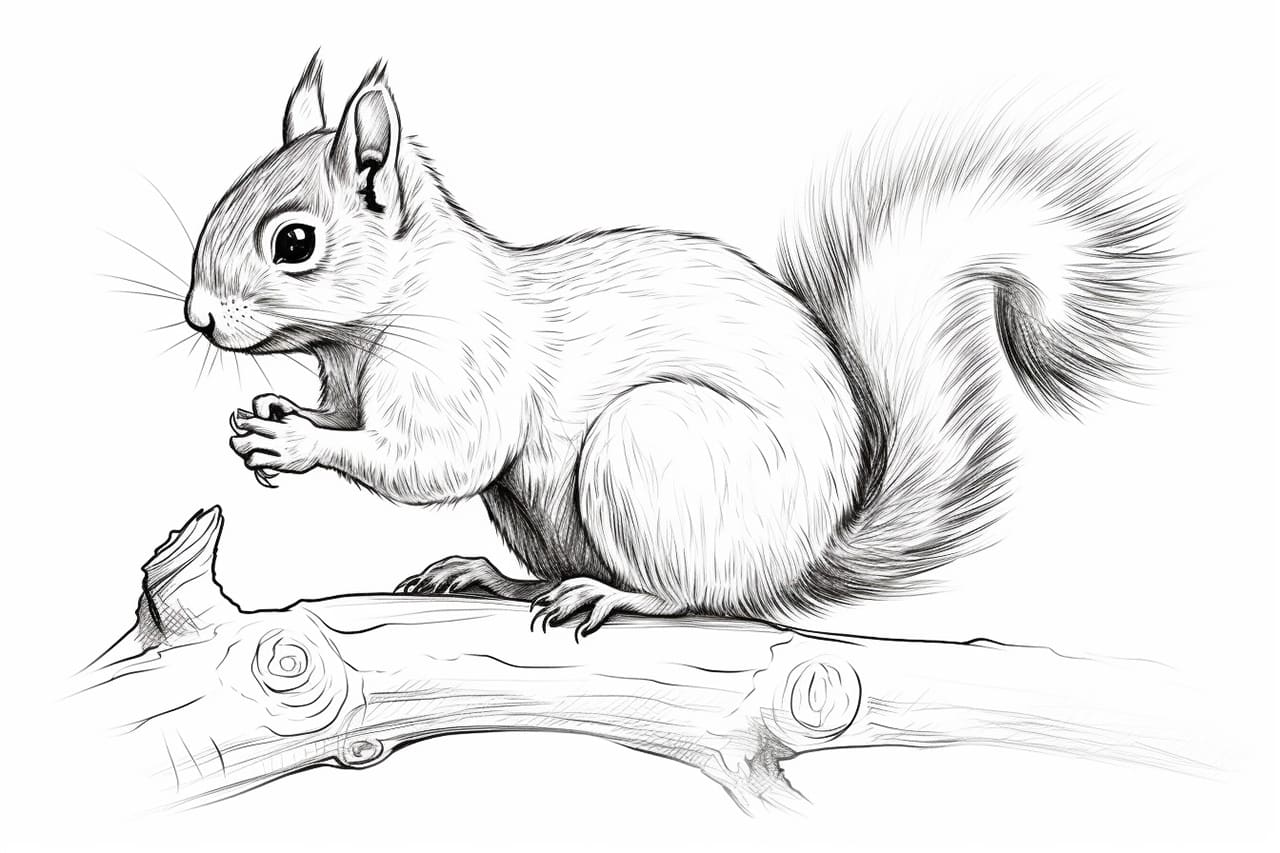
Welcome to this step-by-step guide on how to draw a squirrel! If you have ever wanted to capture the playfulness and charm of these delightful creatures on paper, you’ve come to the right place. In this tutorial, I will walk you through the process of drawing a realistic squirrel using simple shapes and techniques. So grab your pencil and let’s get started!
Materials Required
To begin drawing a squirrel, you will need the following materials:
- Pencil (HB or 2B recommended)
- Eraser (kneaded eraser or vinyl eraser)
- Drawing paper (preferably smooth and heavyweight)
- Reference image of a squirrel (optional, but highly recommended for accuracy)
Now that you have gathered your materials, let’s dive into the step-by-step process of drawing a squirrel.
Step 1: Basic Shapes
Start by lightly sketching the basic shapes that make up the squirrel’s body. Begin with an oval shape for the head, followed by a larger oval for the body. Add two small circles for the ears and a long oval for the tail. These shapes will serve as a foundation for the rest of your drawing, so take your time and adjust them as needed.
Step 2: Facial Features
Now that you have the basic shapes, it’s time to add the squirrel’s facial features. Draw two almond-shaped eyes, placing them slightly below the center of the head. Add a small triangular shape for the nose, followed by a curved line for the mouth. Don’t forget to include small rounded shapes for the squirrel’s cheeks.
Step 3: Body Proportions
Next, work on the squirrel’s body proportions. Use curved lines to define the shape of the squirrel’s back, belly, and limbs. Pay attention to the reference image or your observations of squirrels to ensure the proportions are accurate. Remember that squirrels have slender bodies and long, thin limbs.
Step 4: Legs and Feet
Focus on the squirrel’s legs and feet in this step. Use simple shapes and lines to sketch the positions and proportions of the front and hind legs. Pay attention to the bends and curves of the limbs, as squirrels have flexible joints. Add small ovals at the ends of each limb to represent the squirrel’s paws.
Step 5: Tail
The squirrel’s bushy tail is a defining feature, so let’s give it the attention it deserves. Start by defining the shape and length of the tail using curved lines. Add some fur texture by drawing short, overlapping lines throughout the tail. Remember to make the tail look fluffy and full.
Step 6: Fur Texture
Now it’s time to add some texture to the squirrel’s fur. Use short, curved lines to create the appearance of fur all over the squirrel’s body. Pay attention to the direction of the fur, which usually follows the natural contours of the body. Build up layers of these lines to achieve a realistic, fluffy look.
Step 7: Details and Refinement
Take a moment to observe your drawing and make any necessary adjustments. Refine the shape of the head, body, and facial features. Add details such as the squirrel’s claws and whiskers. Use light and gentle strokes, gradually building up darker lines and shading as needed.
Step 8: Shading and Highlights
To bring your squirrel drawing to life, it’s important to add shading and highlights. Determine the direction of the light source and shade the areas that would be in shadow accordingly. Use a combination of hatching, cross-hatching, and blending techniques to create depth and volume. Add highlights to the squirrel’s eyes, nose, and fur using an eraser or white pencil for a more realistic effect.
Step 9: Final Touches
For the finishing touches, go over your entire drawing, adding any necessary details or adjustments. Use your eraser to clean up any stray lines or smudges. Take a step back and assess your drawing to ensure it captures the essence of a squirrel.
Conclusion
Congratulations on completing your squirrel drawing! By following these step-by-step instructions, you have learned how to create a realistic depiction of these charming creatures. Remember, practice is key to improving your drawing skills, so don’t be discouraged if your first attempt isn’t perfect. Keep drawing, experimenting, and exploring different techniques. Happy sketching!

