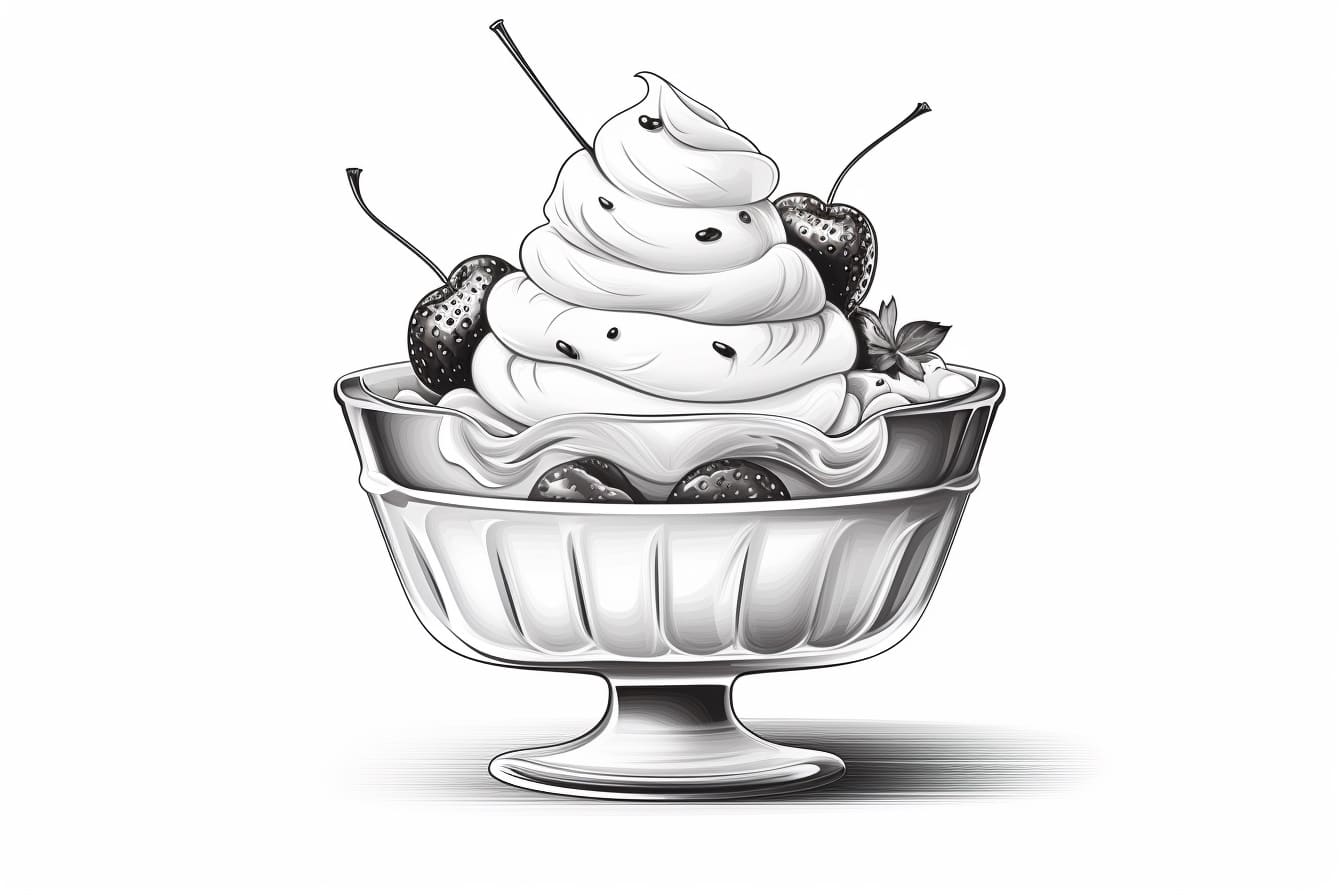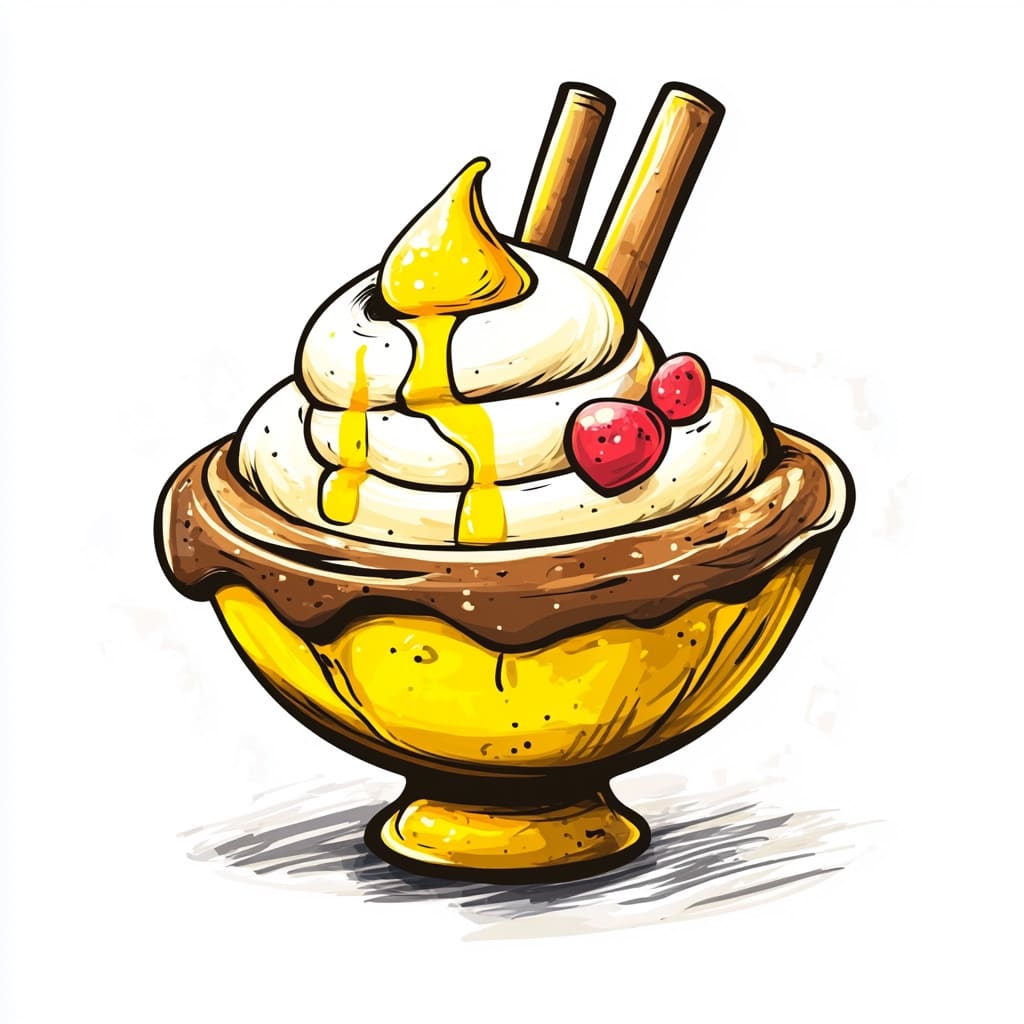
Welcome to the enchanting realm of creativity and self-expression! Today, we invite you to embark on a delightful journey into the art of drawing, where whimsy meets skill in an exciting project—creating a gorgeous Ice Cream Sundae masterpiece. This ice cream treat, with its smooth, creamy textures and vibrant colors, is more than just a delicious dessert; it’s a canvas for your artistic imagination.
As we dive into this drawing adventure, you’ll learn to capture every luscious detail of an Ice Cream Sundae. From the silky swirls of ice cream to the luxurious drizzle of chocolate sauce and a shower of playful sprinkles, this project promises to be a joyful exercise in artistic exploration. So, gather your materials, let your creativity flow, and prepare to transform a blank page into a mouthwatering illustration that will surely make anyone crave a sweet treat!
Get ready to unleash your inner artist as we guide you step by step through this fun and engaging process. Whether you’re a seasoned illustrator or just getting started, this Ice Cream Sundae drawing will not only enhance your skills but also fill your day with joy and sweetness. So grab that pencil and get excited to create a colorful, appetizing piece of art!
Materials Required
To draw an ice cream sundae, you will need the following materials:
- Drawing paper or sketchbook
- Pencils (different hardness for shading and detailing)
- Eraser (for correcting mistakes)
- Ruler (for straight lines or proportions)
- Colored pencils or markers (for adding color to your drawing)
- Reference image of an ice cream sundae (optional, but helpful for accuracy)
- Blending stump or cotton swabs (for blending colors and creating smooth textures)
- Sharpener (to keep your pencils sharp for detailed work)
How to Draw an Ice Cream Sundae: a Step-by-step Guide
Step 1: Gather Your Materials
Gather all the necessary materials for your drawing: a sheet of paper, a pencil, an eraser, and coloring materials of your choice.
Step 2: Start with the Ice Cream Scoops
Begin by drawing three overlapping ovals to represent the scoops of ice cream. Position them slightly off-center to create a dynamic composition.
Step 3: Add Texture to the Ice Cream
Sketch curved lines within each oval to create a textured appearance for the ice cream. This will give it a more realistic and delicious look.
Step 4: Draw the Waffle Cone
Below the ice cream scoops, sketch a large, curved triangle shape to represent the waffle cone. Add some lines to indicate the texture of the cone.
Step 5: Create the Toppings
Draw various toppings on the ice cream sundaes such as whipped cream, chocolate syrup, sprinkles, and a cherry on top. Be creative with the placement and variety of toppings.
Step 6: Add Details
Add details like a waffle wafer or a cookie on the side of the sundae, and maybe even a spoon sticking out of the ice cream.
Step 7: Outline and Refine
Go over your sketch with a darker pencil or pen to outline and refine the shapes and details of your ice cream sundae drawing. Erase any unnecessary guidelines.
Step 8: Color Your Drawing
Finally, use your chosen coloring materials to add color to your ice cream sundae. Be sure to blend the colors smoothly and add shading to create depth and dimension.
Step 9: Final Touches
Add any final touches or highlights to enhance your drawing. Consider adding shadows underneath the sundae to make it appear more three-dimensional.
Step 10: Enjoy Your Ice Cream Sundae Drawing
Step back and admire your delicious-looking ice cream sundae drawing! Feel free to experiment with different colors and toppings to make your drawing even more unique and appetizing.
Conclusion
In conclusion, mastering the art of drawing an ice cream sundae is a delightful and rewarding experience that allows for creativity and personal expression. By following the step-by-step instructions outlined in this article and practicing regularly, artists of all skill levels can create realistic and mouth-watering illustrations of this beloved dessert. Remember to have fun, experiment with different techniques, and enjoy the process of bringing your ice cream sundae masterpiece to life on paper. Happy drawing!
Fun Facts About Ice Cream Sundaes
- The exact origins of the ice cream sundae are debated, but it is believed to have been invented in the late 19th century in the United States as a way to bypass blue laws that prohibited the sale of soda on Sundays. Ice cream sundaes were created as an alternative to the popular ice cream soda.
- The name “sundae” is said to have originated from the practice of serving the dish on Sundays, but some also believe it may have been named after the day of the week it was invented.
- The traditional ice cream sundae consists of a scoop or scoops of ice cream topped with syrup, sauce, whipped cream, nuts, and a cherry on top. However, there are countless variations and toppings that can be added to create unique and delicious sundaes.
- National Ice Cream Sundae Day is celebrated on July 25th each year in the United States, honoring this beloved dessert.
- The world’s largest ice cream sundae was made in Edmonton, Alberta, Canada, in 1988. It weighed over 24 tons and used over 18,000 liters of ice cream.
- Some popular variations of the ice cream sundae include the banana split, hot fudge sundae, and the classic caramel sundae.
- In 2006, a town in Wisconsin set the record for the world’s longest ice cream sundae, measuring over 1.2 miles long.
- Ice cream sundaes are a versatile dessert that can be customized to suit different tastes and dietary preferences, with options for vegan, gluten-free, and dairy-free sundaes available.
- The Guinness World Record for the most expensive ice cream sundae is held by “The Frrrozen Haute Chocolate” sundae, which costs $25,000 and is served in a goblet lined with edible gold and topped with 23-karat gold leaf.
Suggestions for Scenes and Settings for Ice Cream Sundae Drawings
Of course! Here are some creative and fun suggestions for scenes and settings for drawings of ice cream sundaes:
- Beach Bonfire Sundae: Imagine a sundae with sandy shores in the background, palm trees swaying in the breeze, and a bonfire crackling nearby. Add seashells and a starry night sky for a dreamy touch.
- Carnival Sundae: Picture a colorful and bustling carnival setting with a sundae topped with cotton candy clouds, carousel horses, and twinkling lights from the rides.
- Enchanted Forest Sundae: Transport your sundae to a magical forest setting with whimsical creatures like fairies and unicorns peeking out from behind trees, mushrooms, and fireflies lighting up the scene.
- Space Sundae: Create a futuristic sundae floating in outer space, surrounded by twinkling stars, planets, and a galaxy of colors. Add a sprinkle of stardust for a cosmic touch.
- Vintage Diner Sundae: Set your sundae in a classic 1950s diner with a retro jukebox playing in the background, checkered floors, and neon signs lighting up the scene.
- Garden Party Sundae: Place your sundae in a lush garden setting with blooming flowers, buzzing bees, and a quaint wooden table set for a delightful afternoon tea party.
- Winter Wonderland Sundae: Imagine a snowy landscape with your sundae nestled among snow-capped mountains, frosted pine trees, and a cozy log cabin in the background. Add a touch of sparkle with glistening snowflakes.
- Underwater Sundae: Dive deep into the ocean for an underwater sundae scene featuring colorful coral reefs, playful sea creatures like turtles and seahorses, and sunken treasures surrounding your delicious creation.
Feel free to mix and match these suggestions or come up with your own unique scenes to inspire your ice cream sundae drawings. Let your imagination run wild and have fun creating these whimsical and enchanting settings!

