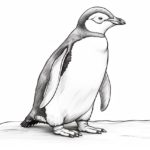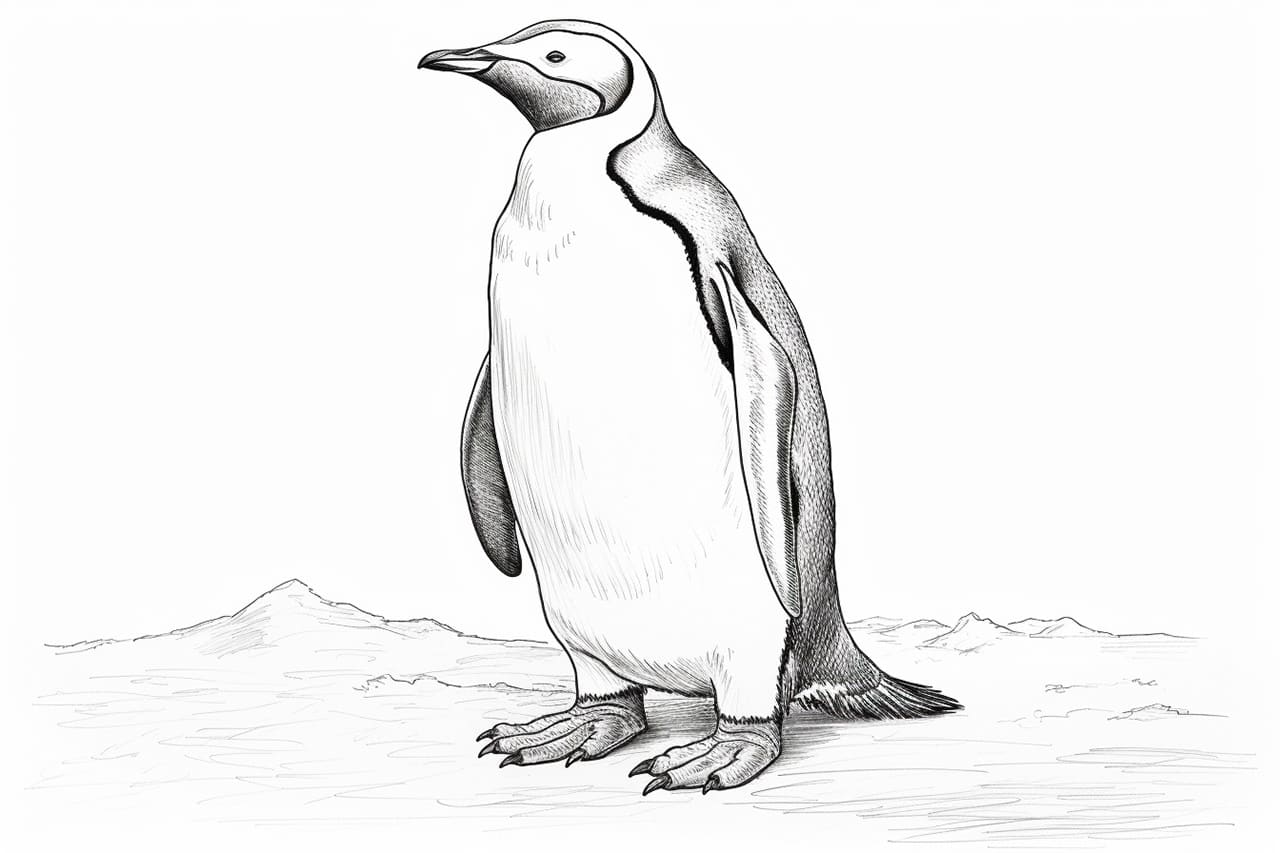
Welcome to this step-by-step guide on how to draw an Emperor Penguin. In this tutorial, we will break down the process into easy-to-follow steps, allowing both beginners and experienced artists to create a realistic and charming depiction of this fascinating creature. So, let’s grab our art supplies and get started!
Materials Required
Before we begin, let’s gather the materials you’ll need for this drawing:
- Drawing paper or sketchbook
- Pencil
- Eraser
- Black pens or fine liners (optional)
- Colored pencils, markers, or watercolor paints (optional)
Now that we have our materials ready, let’s dive into the drawing process!
Step 1: Basic Shapes
To start, we will outline the basic shapes that will serve as the framework for our Emperor Penguin. Begin by drawing a medium-sized oval shape in the center of your paper. This will be the penguin’s body. Below the oval, draw another smaller oval horizontally. This will represent the feet.
Step 2: Adding Details to the Body
In this step, we will add some details to the penguin’s body, giving it a more refined shape. Extend two curved lines on either side of the body oval to create the wings. Then, draw a small curve on the top part of the oval to form the head.
Step 3: Shaping the Head and Beak
Now, let’s work on the penguin’s head and beak. Starting from the top of the head curve, draw two angled lines that gradually taper inwards to create the sides of the head. Connect these lines at the bottom with a gentle curve to form the chin. Add a small circle at the tip of the chin for the beak.
Step 4: Eyes and Facial Features
With the basic head shape complete, focus on the eyes and other facial features. Draw two small ovals within the head shape to represent the eyes. Within each eye, add a small circle for the pupils. Above the eyes, draw two short curves to create the eyebrows. Then, add a small curve below the beak to form the mouth.
Step 5: Body and Wing Details
Let’s add some structural details to our penguin’s body. Starting from the bottom of the body oval, extend two slightly angled lines downwards for the belly. On either side of the body, draw two slightly curved lines that connect to the wings, creating the distinctive white chest patch. Add some feather-like texture to the wings by drawing short, curved lines.
Step 6: Flippers and Feet
Now, let’s move on to the flippers and feet. Extend two curved lines from the bottom of the body, forming the flippers. At the end of each flipper, draw three short, pointed curves to represent the individual toes. Make sure to add some webbing between the toes. If you like, you can also draw small, triangular shapes on the tips of the toes to emulate the appearance of claws.
Step 7: Final Touches
In the final step, we will refine our drawing and add any additional details. Go over your pencil lines with a black pen or fine liner, carefully outlining the major shapes and erasing any unwanted pencil marks. Once the ink is dry, you can add shading and texture to your drawing using colored pencils, markers, or even watercolor paints. Pay attention to the penguin’s characteristic black and white pattern, as well as the subtle shading on its body and beak.
And there you have it—a beautiful Emperor Penguin drawing! We hope you enjoyed following along with this tutorial and that it inspired you to explore your artistic abilities. Remember, practice makes perfect, so don’t be discouraged if your first attempt doesn’t turn out exactly as you imagined. With time and dedication, you’ll be able to create stunning penguin illustrations.
Conclusion
Drawing an Emperor Penguin may seem daunting at first, but by breaking down the process into simple steps, anyone can create a captivating representation of this remarkable bird. By following the instructions in this tutorial and using your creativity, you can produce a realistic and charming penguin drawing. So, grab your materials and give it a try!