Do you love drawing adorable and whimsical characters? If so, learning how to draw a cartoon duck is the perfect way to showcase your artistic skills. Whether you want to create a charming illustration, entertain children with your drawings, or simply have fun expressing your creativity, this step-by-step guide will help you bring a cute cartoon duck to life on paper.
Materials Required
Before we get started, let’s gather all the materials you’ll need:
- Drawing paper or sketchbook
- Pencil
- Eraser
- Fine-tip black marker or pen
- Colored pencils or markers (optional)
Now that you have everything you need, let’s dive into the step-by-step process of drawing a cartoon duck!
Step 1: Draw the Duck’s Body
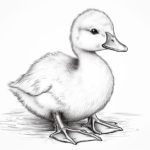
Start by drawing a curved line that resembles an oval shape. This will be the body of our cartoon duck. Don’t worry about making it perfect – a rough sketch will do for now.
Step 2: Add the Duck’s Head and Beak
Above the body, draw a smaller oval shape to represent the duck’s head. Then, extend a curved line downwards from the head to create the beak. The beak can be a triangular shape with a curved tip.
Step 3: Sketch the Eyes and Feathers
Draw two small circles within the head to form the eyes of the duck. Inside the eyes, add smaller circles to represent the reflection. Next, imagine the shape of the duck’s feathers and add a few curved lines to indicate their presence.
Step 4: Outline the Duck’s Body
Using a fine-tip black marker or pen, carefully trace over the lines you want to keep as part of your final drawing. Start with the body, head, and beak, and then move on to the eyes and feathers. Take your time and try to make the lines smooth and clean.
Step 5: Decorate the Duck’s Body
Now it’s time to add some details to make your cartoon duck even more adorable. Draw two small dots inside the eyes to create pupils. Then, add a curved line above the eyes to represent the eyebrows. You can also add a few feather details on the body by drawing short, curved lines.
Step 6: Draw the Duck’s Wings and Tail
To draw the wings, start by adding two curved lines on each side of the body. The lines should slightly curve downwards and end with a pointy tip. For the tail, draw a short, curved line at the back of the body.
Step 7: Finalize the Beak and Feet
Refine the shape of the beak by adding a small triangle at the curved tip. Then, draw two small V-shaped lines below the body to represent the duck’s feet.
Step 8: Erase the Guidelines
Carefully erase any unnecessary guidelines that are still visible. Make sure to use a gentle touch to avoid smudging your drawing.
Step 9: Add Color (Optional)
If you want to add color to your cartoon duck, grab your colored pencils or markers and let your imagination run wild! Ducks are often depicted with bright yellow bodies, orange beaks and feet, and blue or green eyes. However, feel free to experiment with different colors and create a unique look for your duck.
Conclusion
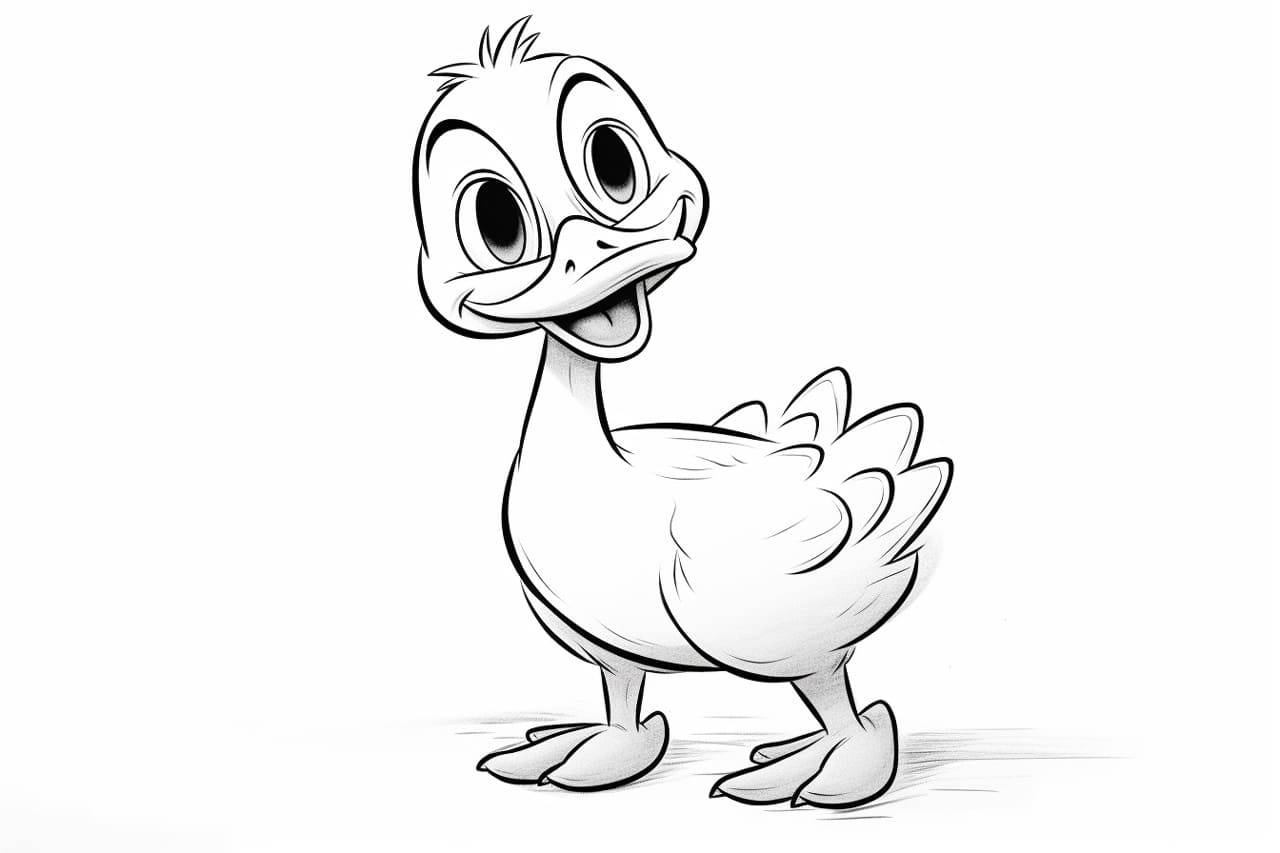
Congratulations, you have successfully learned how to draw a charming cartoon duck from start to finish! Remember to practice regularly to improve your skills and explore different poses and expressions for your duck. Get creative and have fun adding your personal touch to each drawing.
Drawing cartoon ducks is a delightful way to unleash your artistic abilities and bring joy to others through your artwork. So grab your materials, follow the step-by-step instructions, and start creating your own lovable cartoon ducks today!