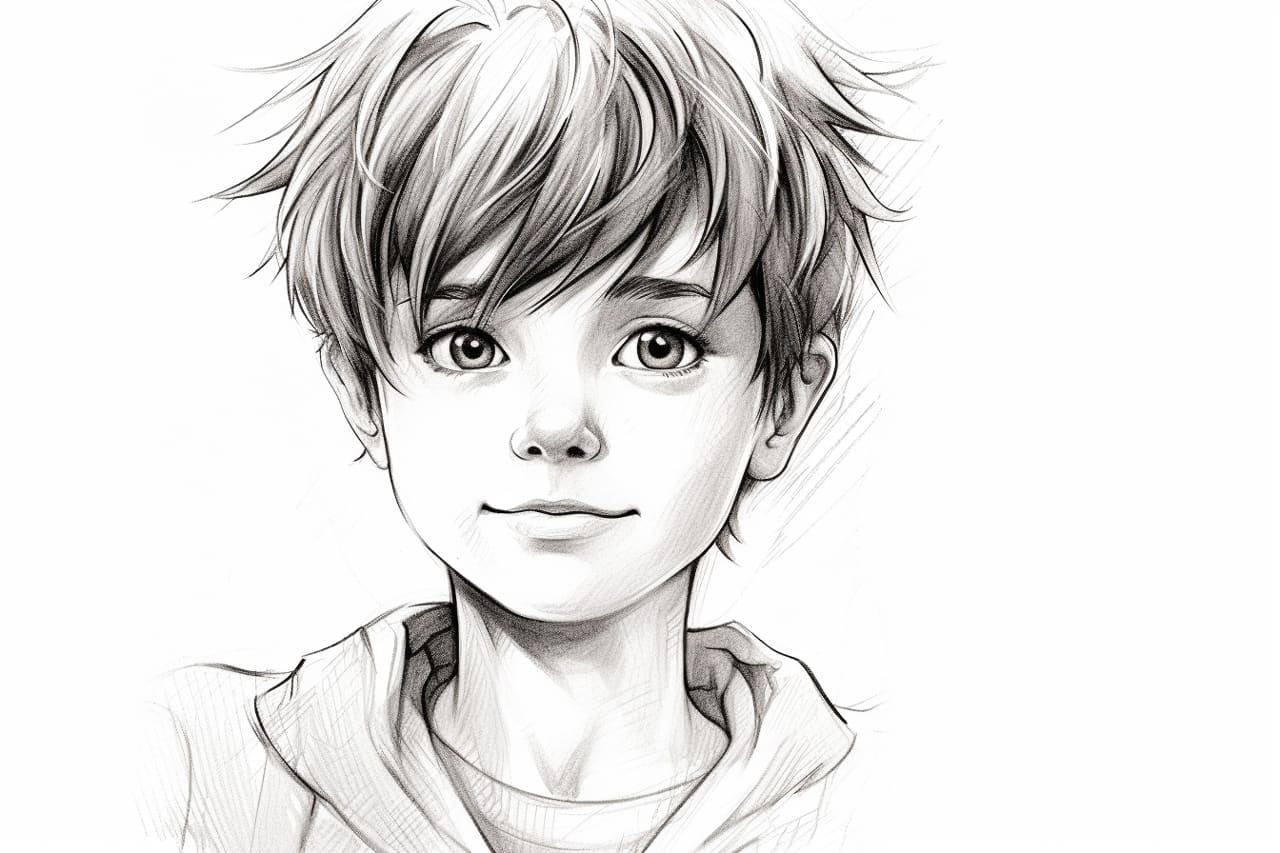
Drawing a boy can be a fun and rewarding experience. Whether you are a beginner or an experienced artist, capturing the essence of a young boy’s features can bring your artwork to life. In this step-by-step guide, we will walk you through the process of how to draw a boy, from creating the basic shapes to adding details and finishing touches. So let’s grab our pencils and get started!
Materials Required
Before we begin, let’s gather the materials you will need for this drawing:
- Pencil: Choose a pencil with a medium lead, such as an HB or 2B, for sketching the initial lines lightly.
- Eraser: Keep a soft eraser handy for correcting mistakes and refining your drawing.
- Paper: Opt for a smooth sheet of drawing paper that can handle pencil strokes and shading well.
Now that we have our materials ready, let’s dive into the step-by-step process of drawing a boy!
Step 1: Basic Shapes
Start by drawing a circle for the head. This will serve as the foundation for the boy’s facial features. Then, draw a vertical line through the center of the circle to help you position the facial elements accurately. Next, sketch a horizontal line across the circle, intersecting the vertical line slightly below the center. This will act as a guide for the boy’s eyes.
Step 2: Facial Features
Using the guidelines, draw two oval shapes for the eyes on either side of the vertical line. Within each eye, add a smaller circle to represent the iris. Above the eyes, draw a curved line for the boy’s eyebrows. Below the eyes, draw a small curve for the nose, followed by a horizontal line for the mouth.
Step 3: Hair and Ears
Extend the top of the circle to form the boy’s hairline. You can experiment with different hairstyles, whether it’s short and tidy or long and tousled. Next, draw the boy’s ears on either side of the head, starting from the top of the eyes and ending just below the nose.
Step 4: Neck and Shoulders
From the bottom of the head, draw two slightly curved lines downwards to form the neck. Extend these lines further to create the boy’s shoulders. Add some details to the neck, such as collarbones or shirt collars, depending on the style you prefer.
Step 5: Torso and Arms
Now, let’s work on the boy’s torso. Starting from the shoulders, draw two lines curving slightly inwards to create the sides of the chest. Connect these lines at the bottom to form the waist. Next, sketch the boy’s arms by drawing two slightly curved lines from the shoulders towards the waist.
Step 6: Legs
To depict the boy’s legs, draw two lines extending downwards from the waist. These will serve as the guidelines for the thighs. From the end of each line, draw two more lines that curve slightly outwards to create the lower legs. Finally, add small ovals at the bottom of the legs to represent the feet.
Step 7: Clothing and Details
Now that we have the basic body structure, it’s time to add some clothing and details to make our boy come to life. You can dress him in a t-shirt, shorts, or any other attire you prefer. Add creases and folds to the clothing to give it a realistic appearance. Don’t forget to refine the facial features by adding eyelashes, pupils, and shading to create depth.
Step 8: Shading and Texture
To make your drawing more three-dimensional, add shading to create light and shadow. Observe the light source in your drawing and shade accordingly, keeping in mind that areas farther from the light will appear darker. You can also experiment with different textures, such as smooth skin or rough hair, by varying the pressure and direction of your pencil strokes.
Step 9: Final Touches and Cleanup
Take a step back and evaluate your drawing. Make any necessary adjustments to proportions or details that may need tweaking. Use your eraser to carefully remove any unwanted lines and smudges. Pay attention to the overall composition and balance of your drawing.
Conclusion
Drawing a boy can be a fantastic artistic challenge, allowing you to capture the unique characteristics and personality of a young individual. With this step-by-step guide, you have learned the basic process of drawing a boy, from establishing the initial shapes to adding details and shading. Remember to practice regularly and experiment with different poses and expressions to enhance your skills.
So grab your pencil and let your creativity soar as you bring your drawings to life. Happy drawing!