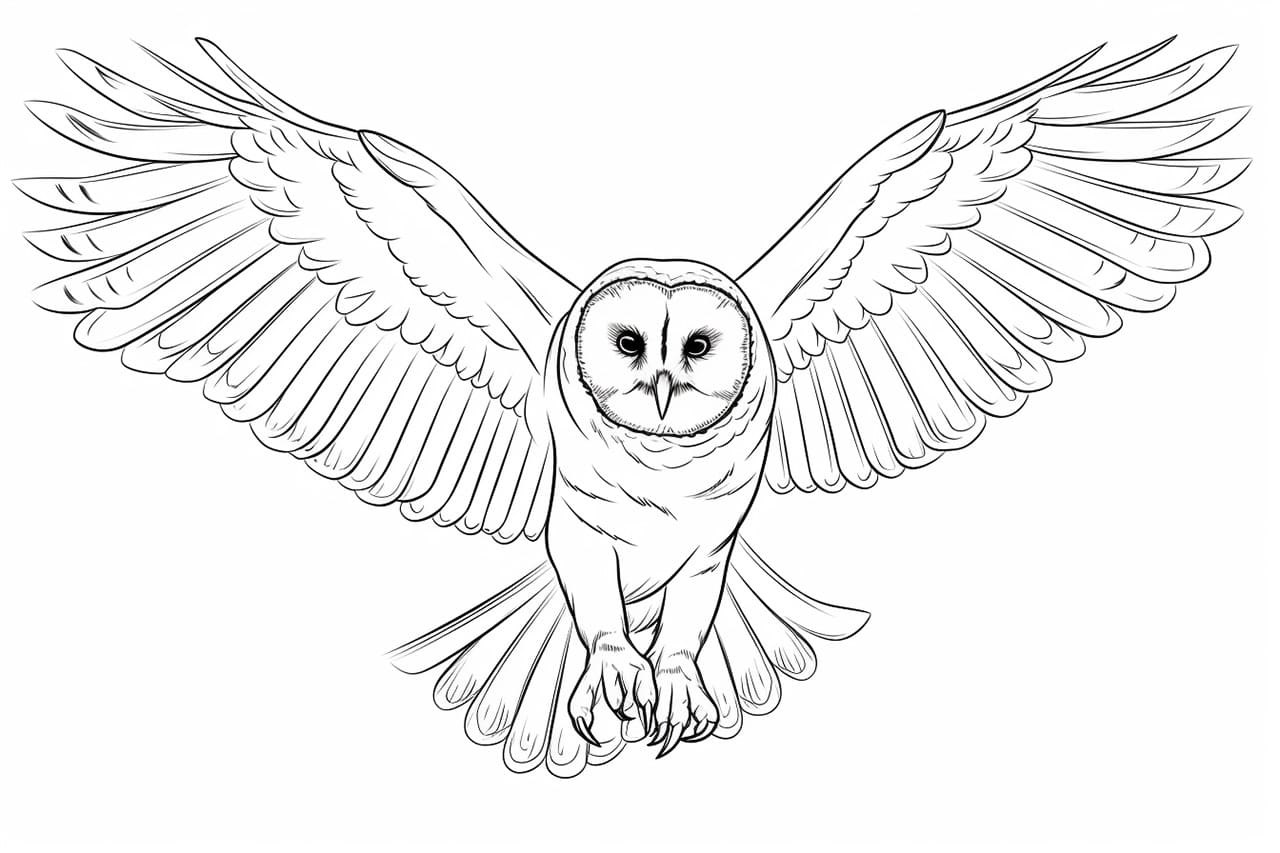
Welcome to this step-by-step tutorial on how to draw a barn owl. Whether you are an experienced artist looking to expand your skills or a beginner wanting to learn the basics of drawing, this guide will help you create a stunning representation of this majestic creature. So grab your art supplies and let’s get started!
Materials Required
Before we begin, make sure you have the following materials ready:
- Pencil: A medium-soft graphite pencil will work well for sketching.
- Eraser: A kneaded eraser is recommended for easy removal of mistakes.
- Drawing paper: Choose a smooth and sturdy paper that can handle your chosen medium.
- Colored pencils or markers (optional): If you want to add color to your drawing, have some colored pencils or markers on hand.
Now that you have all your materials ready, let’s dive into the step-by-step process of drawing a barn owl.
Step 1: Basic Shape
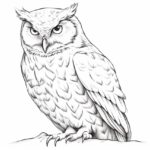
Start by lightly sketching the basic shape of the owl’s head using simple geometric forms. Draw a circle for the head and a smaller oval shape for the body. These shapes will serve as the foundation for the rest of your drawing.
Step 2: Facial Features
Next, let’s add the owl’s facial features. Draw two large circles for the eyes, positioning them towards the front of the head. Inside each eye, add a smaller circle for the pupils. Then, draw a curved line for the beak, extending it slightly below the eyes. Finally, sketch two small lines near the bottom of the face to indicate the owl’s beak tufts.
Step 3: Feathers and Details
Now, it’s time to add the intricate details of the owl’s feathers. Start by adding feather-like lines around the face, gradually working your way outwards. Pay attention to the direction of the feathers, creating texture and depth as you go. Remember to keep your lines light and loose, as we will refine them later.
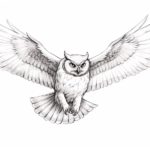
Step 4: Body and Wings
Extend the oval shape you drew earlier to create the owl’s body and wings. Use curved lines to give the body a rounded and fluffy appearance. Add some lines to indicate the division between the feathers on the body and the wings. Don’t worry about perfection at this stage; we’ll refine the details in the next steps.
Step 5: Refining the Face
Now let’s refine the owl’s face. Darken the outline of the eyes and make them more defined. Add some shading around the eyes using short, light strokes to create the appearance of feathers. Darken the beak and beak tufts, adding some texture to make them look realistic.
Step 6: Details and Shading
Proceed to add more details to the body and wings. Use a combination of short, curved lines to create the appearance of feathers. Pay attention to the contours of the owl’s body and make sure to vary the length and direction of your lines to add depth and realism. Shade the areas that appear darker, such as the underside of the wings and the body’s shadowed areas.
Step 7: Final Touches
Take a step back and evaluate your drawing. Make any necessary adjustments to the proportions or details. Erase any guidelines that are still visible. Use your pencil to add final touches, such as enhancing the contrast in certain areas or adding additional shading for more depth. This is also the time to decide if you want to leave your drawing in black and white or add color using colored pencils or markers.
Conclusion
Congratulations, you have successfully drawn a barn owl! By following these step-by-step instructions, you have created a stunning representation of this beautiful bird. Remember, practice makes perfect, so don’t hesitate to try this tutorial multiple times to improve your skills. Whether you choose to leave your drawing in black and white or add vibrant colors, your barn owl drawing will undoubtedly be a masterpiece. Enjoy the process and happy drawing!
Of course, what’s a barn owl without a barn? Check out our guide on how to draw a barn.