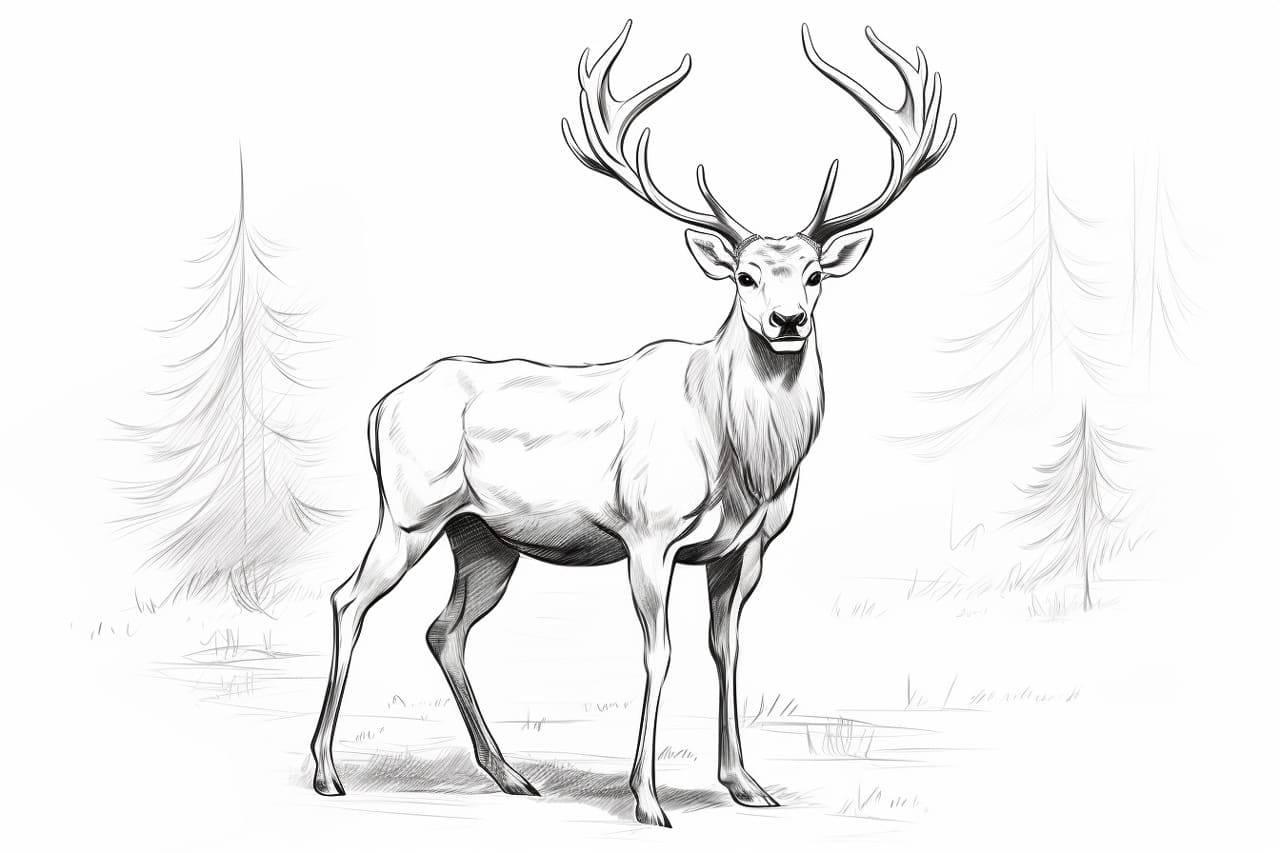
Welcome to this step-by-step guide on how to draw a caribou! Whether you are an experienced artist or just starting out, I will walk you through the process of creating a realistic caribou drawing. Caribou, also known as reindeer, are fascinating creatures with their majestic antlers and unique features. So let’s grab our pencils and dive into the world of caribou drawing!
Materials Required
Before we begin, make sure you have the following materials ready:
- Drawing paper: Choose a high-quality drawing paper that is suitable for your preferred medium, such as graphite pencils or colored pencils.
- Pencils: A set of graphite pencils ranging from light to dark, such as HB, 2B, 4B, and 6B.
- Eraser: A kneaded eraser is recommended for easy erasing and shaping.
- Blending tools: You can use blending stumps, tortillons, or a piece of tissue paper to blend and smooth out your shading.
- Reference image: Find a clear and detailed reference image of a caribou to help you with proportions and details.
Now that we have our materials ready, let’s get started!
Step 1: Basic Shapes
Begin by lightly sketching the basic shapes to establish the proportions of the caribou. Start with an oval shape for the body and a smaller oval shape for the head. Add a curved line for the back and another one for the neck.
Step 2: Antlers
Caribou are known for their magnificent antlers. Sketch the antlers by drawing two curved lines that branch out from the top of the head. Add smaller branching lines along the main lines to create the details of the antlers.
Step 3: Face and Features
Refine the shape of the head by adding details to the face. Draw two large ovals for the eyes and a small, pointed oval for the nose. Add a gentle curve for the mouth and two small dots for the nostrils. Sketch the ears as two triangular shapes on either side of the head.
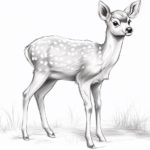
Step 4: Body and Legs
Connect the head and body by drawing the neck and chest. Extend the body by drawing a curved line for the back and another one for the belly. Sketch the legs by adding four straight lines, two for each front leg and two for each back leg. Add small ovals at the end of each leg for the hooves.
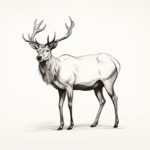
Step 5: Shading and Texture
Now it’s time to add depth and dimension to your caribou drawing. Start by lightly shading the entire body using a mid-tone pencil, such as 2B. Pay attention to the direction of the fur and use light, hatching strokes to create texture. Gradually build up the layers of shading to add darker values where necessary.
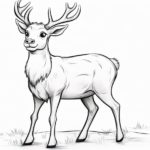
Step 6: Refine Details
Continue adding details to your caribou drawing. Use a darker pencil, such as 4B or 6B, to define the edges and emphasize the contours of the body, face, and antlers. Add more texture to the fur by carefully observing the reference image and adding small strokes in the direction of the fur.
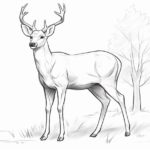
Step 7: Highlights and Final Touches
To create highlights, use an eraser to gently lift off some of the graphite in areas where light would hit the caribou’s body. This will help create a sense of shine and add dimension to your drawing. Pay close attention to the reference image to accurately place the highlights. Lastly, refine any areas that need additional details or adjustments.
Conclusion
Congratulations on completing your caribou drawing! By following these step-by-step instructions and using your observation skills, you have created a beautiful representation of this majestic creature. Remember, practice makes perfect, so don’t hesitate to experiment with different techniques and styles. With time and dedication, you will continue to improve your drawing skills. Happy drawing!