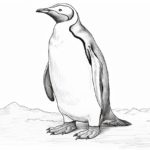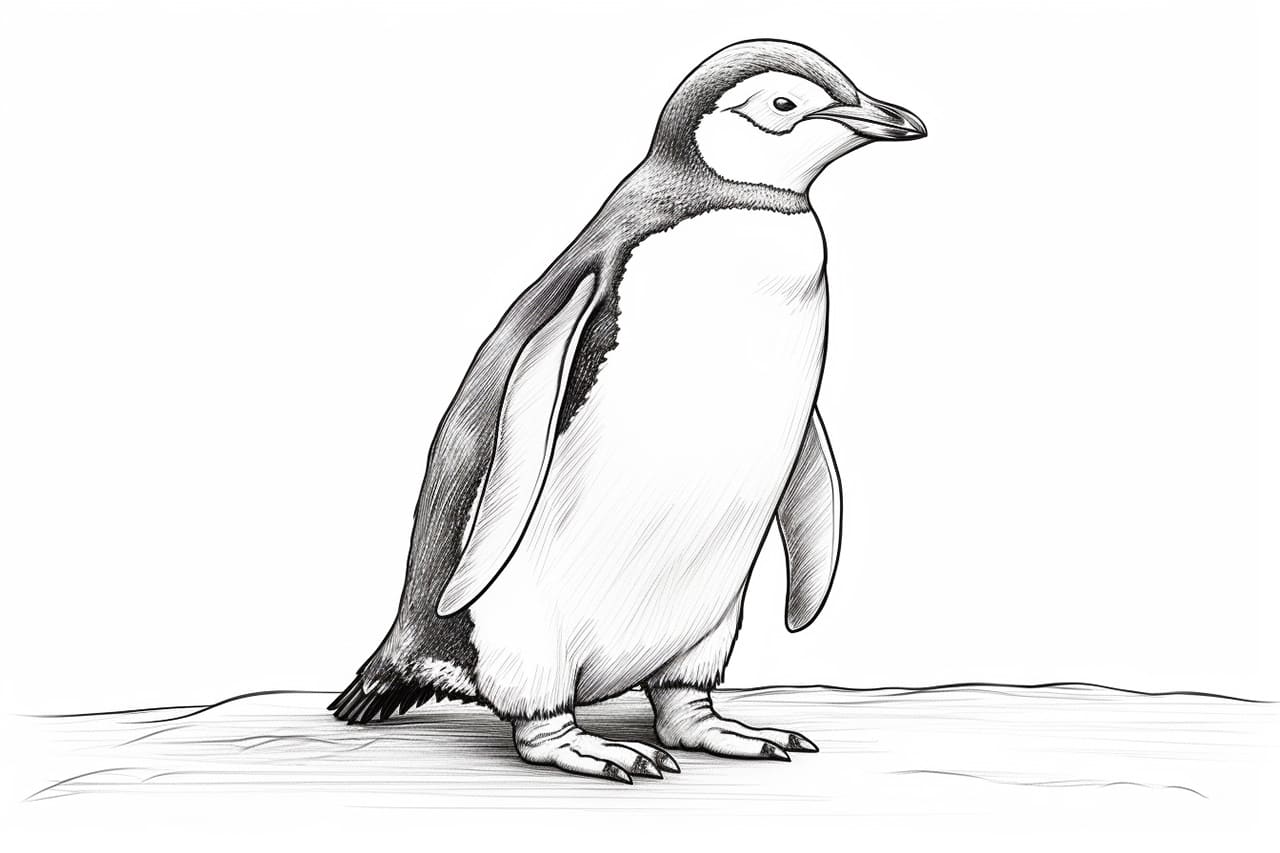
Penguins are fascinating creatures that have captured the hearts of many. They have a unique appearance with their black and white feathers, flippers, and adorable waddle. In this step-by-step guide, I will show you how to draw a penguin using simple shapes and lines. Whether you are a beginner or an experienced artist, this tutorial will help you create a realistic and charming penguin drawing.
Materials Required
Before we begin, make sure you have the following materials ready:
- Drawing paper
- Pencil
- Eraser
- Fine-tip black marker or pen
- Colored pencils or markers (optional)
Now that you have gathered all the necessary materials, let’s dive into the step-by-step process of drawing a penguin!
Step 1: Sketch the Basic Shapes
Start by drawing a large oval shape for the body of the penguin. Place it slightly towards the left side of your paper. This oval will serve as the foundation for the entire drawing.
Next, draw a smaller oval shape on top of the larger one, slightly to the right. This will be the head of the penguin. Connect the head and body with two curved lines to create the neck.
Step 2: Add the Beak and Eyes
Now, let’s focus on the penguin’s face. Draw a triangle shape protruding from the bottom of the head. This will be the beak. Make the base of the triangle wider, and taper it towards the tip.
Within the head shape, draw two large circles for the eyes. Leave a small gap between them, and make sure they are evenly spaced. These circles will give your penguin a cute and expressive look.
Step 3: Define the Body and Wings
To give your penguin more volume, draw two curved lines on each side of the body. These lines should start from the bottom of the head and taper towards the back of the body. These will be the outline of the wings.
Now, let’s work on the belly. Draw a curved line from the bottom of the head, following the contour of the body. This line should be slightly curved upwards towards the back. Repeat the same step on the opposite side to complete the belly shape.
Step 4: Create the Flippers
Penguins have flippers instead of wings. To draw the flippers, start by drawing a small oval shape at the bottom of each curved line we drew in the previous step. These ovals should point downwards. Connect the ovals to the body with a slightly curved line to form the flippers.
Step 5: Add the Feet
The characteristic feature of penguins is their unique feet. To draw them, start by drawing two long, curved lines from the bottom of the body, extending downwards. These lines should be close to each other and slightly overlap towards the bottom.
At the end of each line, draw three short, triangular shapes to represent the toes. These toes should be wider at the base and taper towards the tips.
Step 6: Refine the Details
Now that we have established the basic shape of the penguin, it’s time to add some details. Start by adding eyebrows above the eyes. These can be simple curved lines that point slightly downwards.
Next, add a small oval shape within each eye to represent the iris. Leave a small gap at the top of the iris to create a highlight, giving the eyes a lively appearance.
To add the feathers on the penguin’s body, draw small, inward-curving lines along the outline of the body and wings. These lines should follow the shape of the body and taper towards the center.
Step 7: Finalize the Outline
With the main features in place, we can now finalize the overall outline of the penguin. Go over your sketch, refining the lines and making them more defined. Use a fine-tip black marker or pen to trace the final lines of your drawing. Once you are satisfied with the outline, let the ink dry, and erase any remaining pencil marks.
Step 8: Add Color (optional)
If you want to add some color to your penguin drawing, you can use colored pencils or markers. Penguins are mostly black and white, but you can also experiment with shades of gray, blue, or even yellow for the beak and feet.
Color the body and head with a combination of black, dark gray, and light gray. Leave the belly white to create contrast. Add some shading and highlights to give your penguin a three-dimensional look.
Conclusion
Congratulations! You have successfully learned how to draw a penguin step by step. Starting with simple shapes and adding details gradually, you have created a charming penguin drawing. Remember to practice regularly to improve your skills and experiment with different poses and expressions.
Drawing penguins can be a delightful and relaxing experience, allowing you to explore your creativity. Whether you want to use your drawing as a standalone artwork or incorporate it into a larger piece, drawing penguins is a great way to express your artistic vision.