Drawing a world map may seem like a daunting task, but with the right guidance and step-by-step instructions, it can be a fun and rewarding project. In this article, we will walk you through the process of how to draw a world map. Whether you are an experienced artist or just starting out, follow these instructions to create a beautiful and accurate representation of our planet.
Materials Required
Before we begin, let’s gather the materials you will need:
- Drawing paper
- Pencil
- Eraser
- Ruler
- Compass
- Fine-tipped pens or markers
- Colored pencils or markers (optional)
With these materials on hand, you are ready to embark on your artistic journey.
Step 1: Outline the Contours
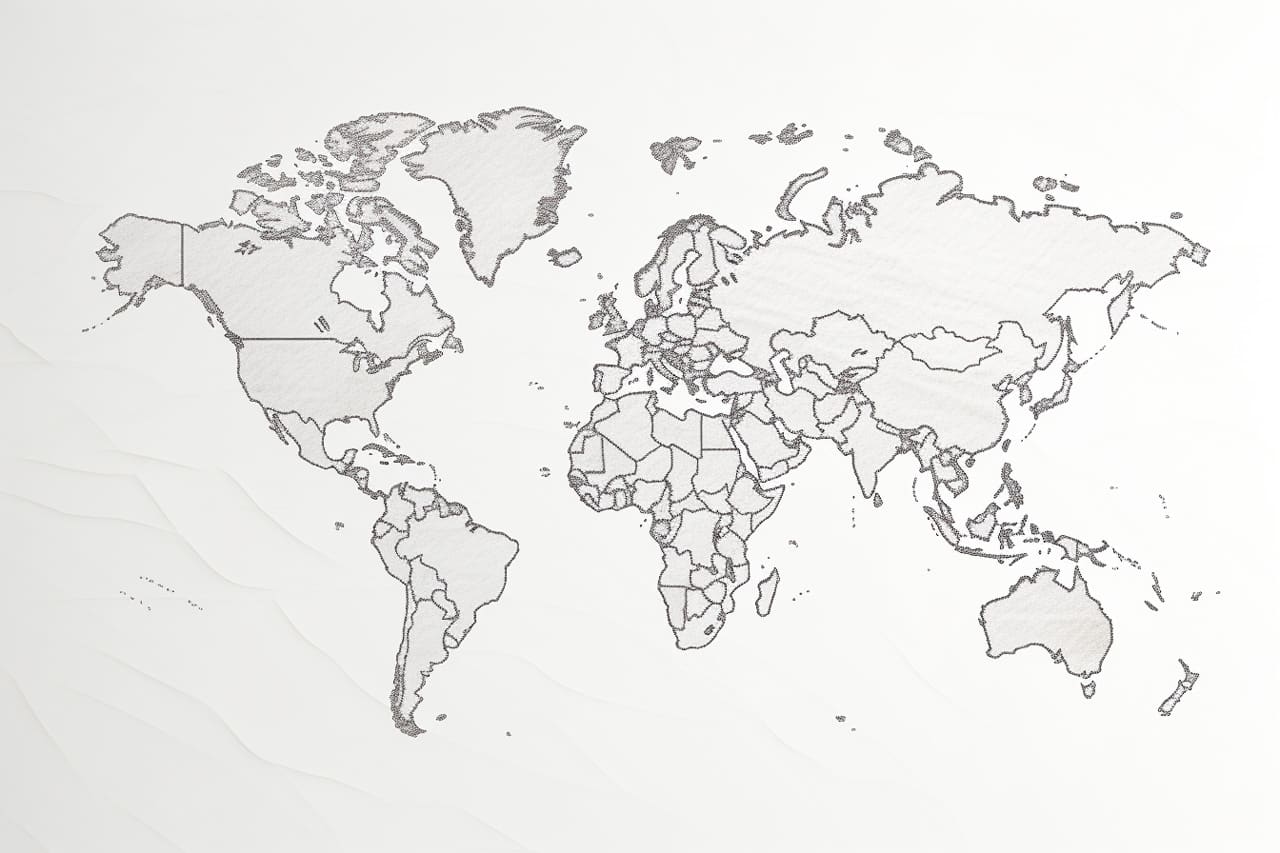
Start by drawing a rough outline of the continents on your drawing paper. Begin with a light pencil sketch, focusing on the basic shapes and proportions. Use reference materials such as maps or globes to ensure accuracy. Remember to keep the scale in mind, as the size of continents and countries may vary.
Step 2: Add the Mountains and Rivers
Once you have outlined the continents, it’s time to add the mountains and rivers. Use your pencil to sketch the mountain ranges and the major rivers around the world. Pay attention to the natural curves and contours of these features. This step adds depth and detail to your map.
Step 3: Define the Coastlines
Next, go over the pencil outline of the continents with a fine-tipped pen or marker to define the coastlines. Pay attention to the jagged edges and irregularities that give each coastline its unique character. Take your time and be precise, as this step sets the foundation for the rest of your drawing.
Step 4: Label the Countries and Cities
Now it’s time to add the names of countries and major cities. Use a fine-tipped pen or marker to neatly write the names in their respective locations. You can refer to a map or an atlas for accurate labeling. If you prefer, you can use colored pencils or markers to differentiate between countries or add vibrancy to your map.
Step 5: Add the Equator and Meridians
To make your world map more accurate, draw the equator and the meridians. Use a ruler to create straight lines that divide the world into hemispheres. The equator should be a horizontal line across the middle, while the meridians should be vertical lines that converge at the North and South poles. These lines will help with orientation and navigation on your map.
Step 6: Fill in the Oceans
To complete your world map, fill in the oceans with a light blue color. You can use colored pencils or markers for this step. Gradually layer the color to achieve a smooth and natural look. Be mindful of the coastline edges, ensuring that the blue color does not overlap onto the land.
Step 7: Final Touches
Once the oceans are filled in, take a moment to review your world map. Make any necessary adjustments, such as reinforcing lines or adding additional details. You can also use colored pencils or markers to enhance the countries’ colors or add shading to the mountains. Take your time and experiment until you are satisfied with the final result.
Congratulations! You have successfully drawn your own world map. Display it proudly or use it as a reference for future projects or studies.
Conclusion
Drawing a world map may seem like a complex task, but breaking it down into steps becomes an achievable project for artists of all levels. Remember to gather your materials, outline the continents, add mountains and rivers, define coastlines, label countries and cities, add the equator and meridians, fill in the oceans, and add any final touches. Following these steps can create a beautiful and accurate representation of our planet. Enjoy the process and have fun exploring the world through art.