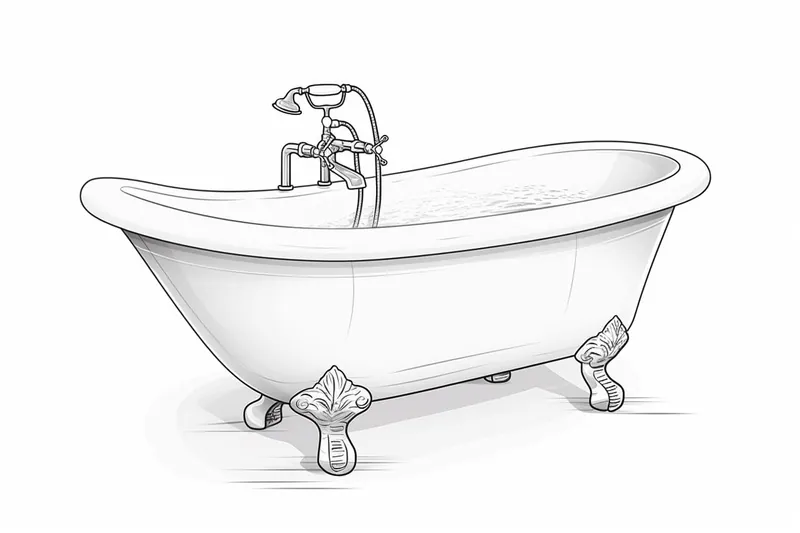
How to Draw a Bathtub
Learn how to draw a bathtub with this step-by-step tutorial. Develop your drawing skills and create a detailed and realistic bathtub drawing.
Materials You'll Need
- Pencil
- Paper
- Eraser
Drawing everyday objects is a fundamental skill that can greatly enhance your artistic abilities, and learning how to draw a bathtub is a perfect example of this. Bathtubs, with their smooth curves, structured edges, and reflective surfaces, provide an excellent opportunity to practice various drawing techniques such as shading, perspective, and proportion. Whether you're an aspiring illustrator, an interior designer preparing concept sketches, or simply someone who enjoys bringing ordinary objects to life on paper, mastering the art of drawing a bathtub can add versatility to your portfolio and boost your confidence in tackling more complex subjects.In this tutorial, we will break down the process of how to draw a bathtub into manageable steps that cater to artists of all skill levels. From sketching the basic shapes to adding intricate details like the faucet and drain, you'll learn how to observe and translate real-world objects into your artwork accurately. The skills you develop here will also be transferable to drawing other household items and architectural elements, making this exercise both practical and rewarding. So, whether you're a beginner eager to build foundational skills or a seasoned artist looking to refine your technique, this guide will support your creative journey.Prepare your pencils, erasers, and paper because this step-by-step approach will guide you through every stage with clear instructions and helpful tips. By the end of this tutorial on how to draw a bathtub, you'll not only have a beautiful sketch to be proud of but also a deeper understanding of form and detail that will serve you well in future artistic endeavors. Remember, every great artist starts with simple shapes — so let's dive in and bring this classic bathroom fixture to life on your canvas!
Tip: As you work through the steps of drawing your bathtub, consider taking breaks to step back and assess your progress; this will help you identify areas that need refinement or adjustment before moving on. Additionally, try to keep your hand relaxed and use light strokes during the initial sketching phase to make it easier to erase and modify shapes as needed. This approach will enhance your overall accuracy and confidence as you develop your drawing.
Materials Required
Before we begin, make sure you have the following materials handy:
These materials will ensure that you have everything you need to create a detailed and realistic drawing of a bathtub.
Step 1: Draw the Base Shape
Start by drawing a rectangular shape to represent the base of the bathtub. Use your ruler to draw straight lines, making sure the proportions are accurate. The size of the rectangle will depend on how big you want your bathtub to be.
Step 2: Add the Curves
Next, add curves to the top edges of the rectangle to create the outline of the bathtub. Use your compass or freehand drawing to achieve the desired curves. Be careful to maintain a consistent curve on both sides.
Step 3: Draw the Inner Shape
Inside the bathtub, draw a slightly smaller rectangular shape to represent the inner part of the tub. This will give the illusion of depth. Make sure the inner shape is aligned with the outer shape.
Step 4: Add Details
To make your drawing more realistic, add details such as the faucet, handles, and drain. Use your ruler to draw straight lines for the faucet and handles, and small circles or ovals for the drain. Pay attention to the proportions and placement of these details.
Step 5: Refine the Outline
This step involves refining the outline of the bathtub and making any necessary adjustments. Use your eraser to remove any unnecessary lines or mistakes. Take your time to ensure that the outline is smooth and accurate.
Step 6: Shade and Add Texture
To give your drawing depth and dimension, add shading to the bathtub. Identify the areas that would be in shadow and use your pencil to add darker tones. Blend the shading using a blending tool or your finger to create a smooth transition between light and dark areas.
If you want to add texture to your drawing, you can use various techniques like cross-hatching or stippling. Experiment with different shading techniques to achieve the desired effect.
Step 7: Add Color (Optional)
If you prefer a colored drawing, you can use coloring tools such as colored pencils, markers, or watercolors to add color to your bathtub drawing. Pay attention to the material and texture of the bathtub when selecting your colors.
Step 8: Finalize Your Drawing
Take a step back and evaluate your drawing. Make any final adjustments or additions to ensure that all the elements of the bathtub are accurately represented. Use your eraser to clean up any smudges or stray marks.
Conclusion
Drawing a bathtub may seem like a daunting task, but by following these step-by-step instructions, you can create a detailed and realistic drawing. Remember to take your time and pay attention to details. With practice, you'll be able to draw various objects with ease. So grab your sketchbook and start drawing!
Fun Facts About Bathtubs
- The oldest known bathtub dates back to 1700 BCE and was found in the Indus Valley Civilization, showcasing early advancements in hygiene.
- Clawfoot bathtubs, popular in the 19th century, were originally made from cast iron and coated with porcelain enamel for durability.
- Modern bathtubs can be made from a variety of materials including acrylic, fiberglass, and stone resin, each offering different benefits in weight and heat retention.
- The average bathtub holds about 80 gallons (300 liters) of water, enough for a relaxing soak. EPA WaterSense
- Japanese bathtubs, called "ofuro," are traditionally deeper than Western tubs and designed for sitting and soaking rather than lying down.
- Whirlpool bathtubs use jets to circulate water, providing a therapeutic massage effect that can help relieve muscle tension.
- Freestanding bathtubs have surged in popularity due to their aesthetic appeal and versatility in bathroom design.
Suggestions for Scenes and Settings for Bathtub Drawings
- A vintage clawfoot bathtub in a rustic bathroom with wooden floors and antique fixtures.
- A modern freestanding bathtub by a large window overlooking a city skyline at sunset.
- A whimsical outdoor bathtub surrounded by lush garden foliage and blooming flowers.
- A bathtub filled with bubbles and rubber ducks, capturing a playful and cozy atmosphere.
- An elegant marble bathroom featuring a built-in bathtub with intricate tile patterns.
- A minimalist Scandinavian-style bathroom with a sleek, simple bathtub and natural light.
- A bathtub in a luxurious spa setting, complete with candles, towels, and aromatic oils.
- A bathtub on a wooden deck beside a tranquil lake, blending nature with comfort.
- [A bathtub scene with a pet, such as a cat or dog](https://yonderoo.com/how-to-draw-a-dog/), curiously exploring the bathroom.
- A steampunk-inspired bathroom featuring a bathtub with metallic pipes and gears.