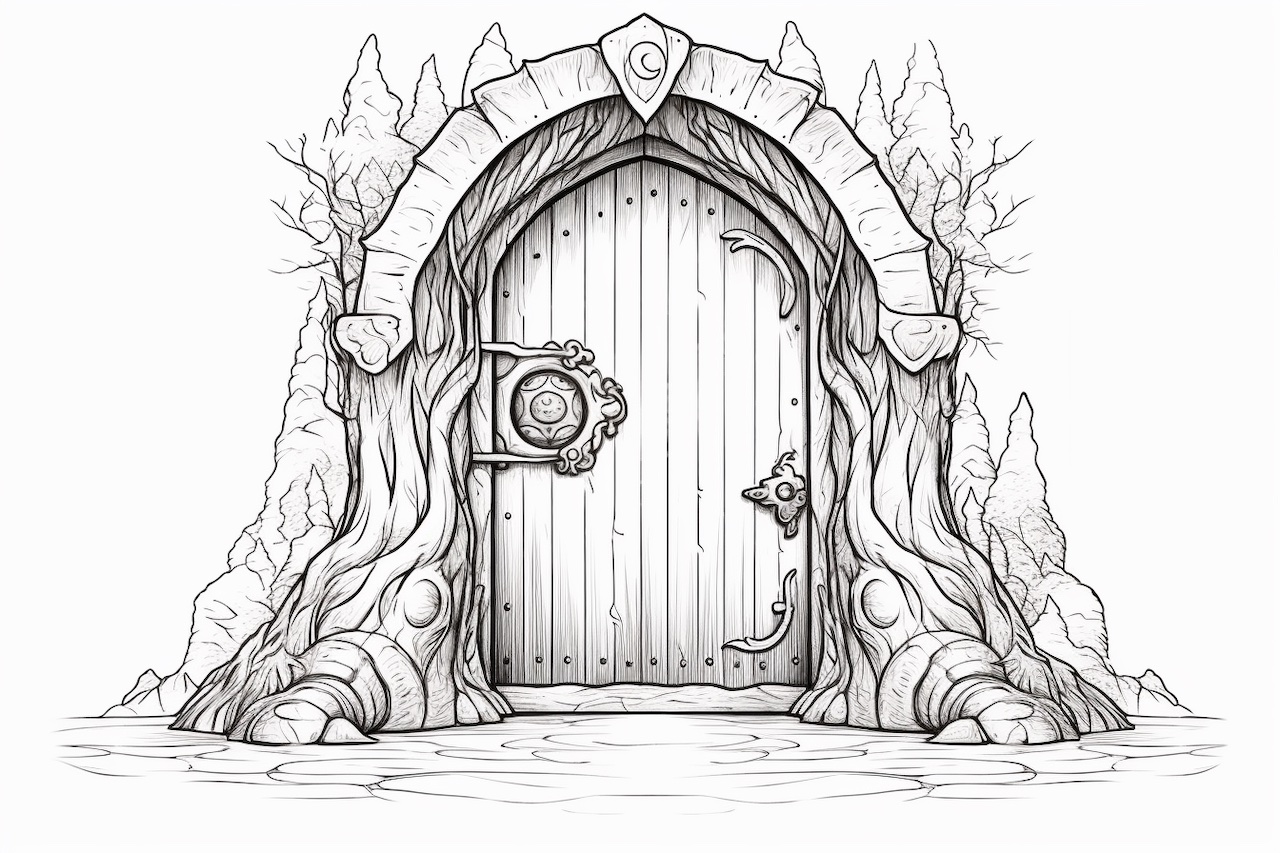
Welcome to this step-by-step tutorial on how to draw a portal. Whether you’re a beginner artist or an experienced illustrator, creating a portal can be a fun and engaging way to add a touch of magic to your artwork. In this guide, I will walk you through the process of drawing a portal, from the initial sketch to the final details. So grab your drawing materials and let’s begin!
Materials Required
To create a portal drawing, you will need the following materials:
- Pencil
- Eraser
- Paper
- Fine-tip pens or markers
- Colored pencils or markers (optional)
- Ruler (optional, for straight lines)
Now that you have gathered your materials, let’s dive into the step-by-step instructions for drawing a portal.
Step 1: Sketch the Basic Shape
Start by lightly sketching the basic shape of the portal on your paper. A portal can take many forms, but for this tutorial, let’s imagine a circular portal. Begin by drawing a lightly dashed circle of your desired size in the center of your paper. This will serve as the framework for your portal.
Step 2: Define the Portal’s Border
Using a fine-tip pen or marker, carefully trace over the dashed circle to create a solid outline for your portal. Make sure the lines are smooth and clean. You can erase any remaining pencil marks once the ink has dried.
Step 3: Add Details to the Border
To give your portal more depth and dimension, we will add some details to the border. Start by drawing a series of evenly spaced lines around the inner edge of the circle. These lines will serve as the base for the portal’s intricate design. Feel free to get creative and experiment with different patterns and shapes.
Step 4: Create the Inner Space
Within the border of the portal, create an inner space that will serve as the gateway to another world. This can be a swirling vortex, a door, or any other design of your choice. Sketch the basic outline of the inner space, making sure it fits within the portal’s border.
Step 5: Add Texture and Shading
To add depth and realism to your portal drawing, we will incorporate texture and shading. Start by adding lines and curves to the inner space of the portal, creating a sense of movement and energy. Use your pencil or fine-tip pen to create these lines, varying the thickness and direction to add visual interest.
Step 6: Enhance the Portal with Color
Now it’s time to add color to your portal drawing. Select your preferred coloring tools, whether it’s colored pencils, markers, or a combination of both. Begin by coloring the border of the portal, using shades that complement or contrast with each other. Then, add color to the inner space, experimenting with different hues to create a magical effect.
Step 7: Add Final Details
To bring your portal drawing to life, add some final details. This can include additional patterns or designs within the inner space, highlights and shadows to create a sense of depth, or any other creative elements you desire. Take your time to carefully refine and enhance your drawing until you are satisfied with the result.
And there you have it – a beautiful portal drawing! I hope you enjoyed following along with this step-by-step tutorial. Let your imagination run wild and experiment with different variations and styles to create truly unique portals. Have fun exploring new worlds through your art!
Conclusion
In this tutorial, we explored the step-by-step process of drawing a portal. We began by sketching the basic shape and went on to define the border, add details, create the inner space, and enhance the drawing with texture, color, and final details. With practice and creativity, you can create stunning portals that captivate and inspire. So grab your drawing materials and start your artistic journey into the realm of portals!


