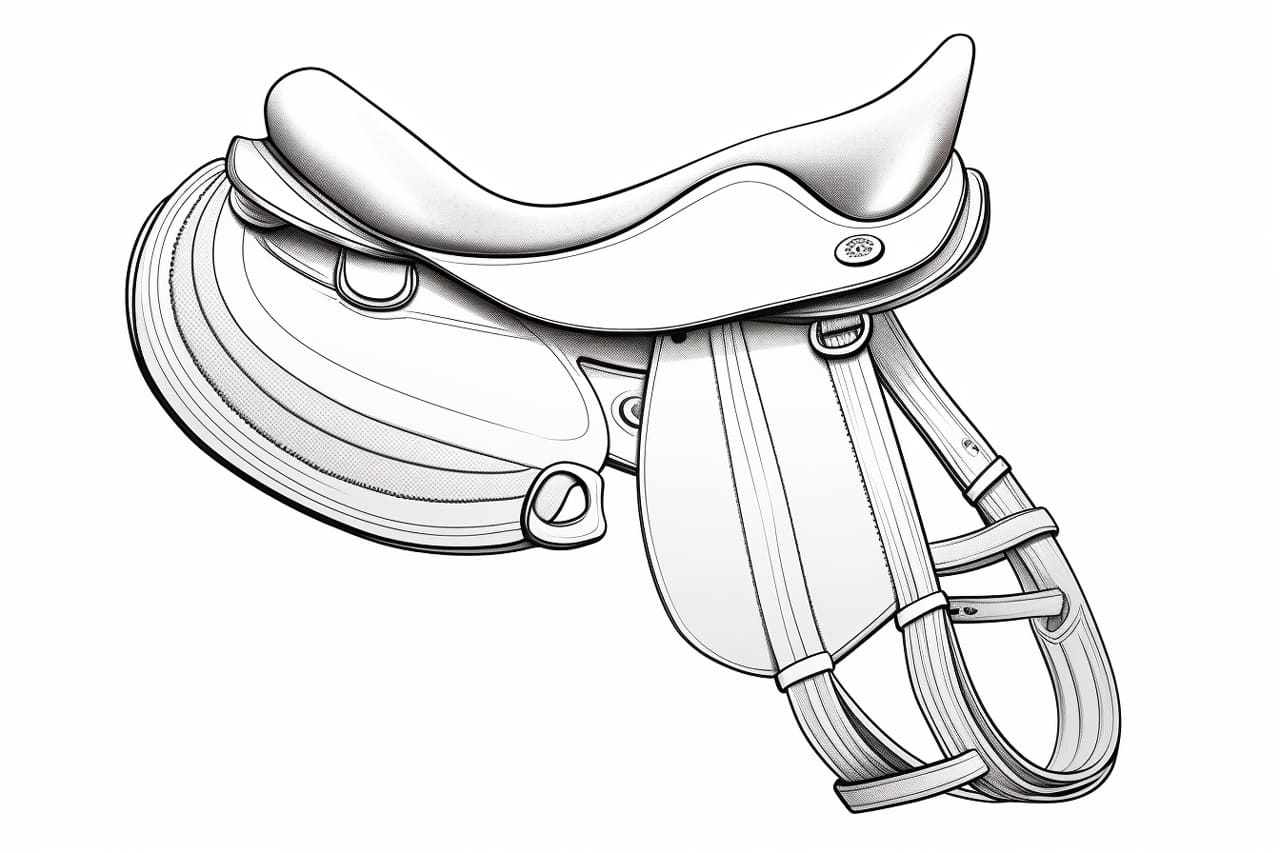
As an artist, learning to draw various objects can help expand your skills and enhance your artistic repertoire. One such object is a saddle, which can add a touch of realism to your illustrations of horses or Western-themed artwork. In this step-by-step guide, we will walk you through the process of how to draw a saddle, providing clear instructions and tips along the way. So grab your pencils, paper, and let’s get started!
Materials Required:
To draw a saddle, you will need the following materials:
- Graphite pencils (HB, 2B, 4B, and 6B)
- Drawing paper
- Eraser
- Ruler
- Reference image of a saddle (optional)
Step 1: Sketch the Basic Shape
Start by lightly sketching a rectangle on your drawing paper. This shape will represent the seat of the saddle. Use a ruler to ensure straight lines and maintain proportion. Remember, the size of your rectangle may vary depending on the desired dimensions of your saddle.
Step 2: Add the Flaps
Extend two lines downward from the bottom corners of the rectangle to create the flaps of the saddle. These lines should slant slightly inward to maintain the correct shape. At the ends of these lines, sketch another smaller rectangle, which will represent the saddle flaps.
Step 3: Outline the Pommel and Cantle
At the front of the rectangle, draw a slightly curved line to represent the pommel of the saddle, which is the raised portion at the front. At the back of the rectangle, draw another curved line to represent the cantle, which is the raised portion at the back. These lines should mirror each other and follow the contour of the saddle seat.
Step 4: Refine the Shape
Using more definitive lines, refine the shape of the saddle by tracing over your initial sketch. Pay attention to the curves and angles of the various components, ensuring that they flow naturally. Take your time and make adjustments as needed to achieve the desired overall shape.
Step 5: Add Details
Now it’s time to add the finer details that will give your saddle a realistic look. Begin by drawing a line across the seat of the saddle, parallel to the shorter sides of the rectangle. This line represents the stitching that holds the seat and flaps together.
Step 6: Draw the Stirrup Bars
On each side of the saddle, near the pommel, draw two small rectangular shapes. These are the stirrup bars, which allow the rider to attach stirrups securely.
Step 7: Sketch the Stirrups
Beneath the stirrup bars, draw the stirrups themselves. These can vary in shape and style, but a common design is an elongated oval with an open bottom. Make sure both stirrups are symmetrical and aligned properly with the stirrup bars.
Step 8: Define the Floral Tooling
Many saddles feature intricate floral tooling patterns that add decorative elements. To draw these patterns, lightly sketch flowing curves and shapes along the saddle flaps and seat. Once you’re satisfied with the layout, darken the lines to create the illusion of depth and dimension.
Step 9: Shade and Add Shadows
To give your saddle a realistic appearance, it’s important to add shading and shadows. Use a range of pencils, from HB to 6B, to create various shades and tones. Pay attention to the light source and shade accordingly, making areas closer to the edges or underneath the saddle darker.
Step 10: Finalize Your Drawing
Once you are satisfied with your shading and overall look, carefully erase any remaining guidelines. Take a step back and assess your drawing. Make any necessary adjustments or additions to ensure a polished and finished saddle drawing.
Conclusion
Drawing a saddle may seem challenging at first, but with the right guidance and practice, you can create a realistic and detailed representation. By following the step-by-step instructions outlined in this guide, you will gradually develop your skills and produce drawings that showcase your artistic abilities. So grab your materials and start drawing your very own saddle today!